教你用ps给贝克汉姆制作炫酷艺术感的头像教程
(编辑:jimmy 日期: 2026/7/11 浏览:3 次 )
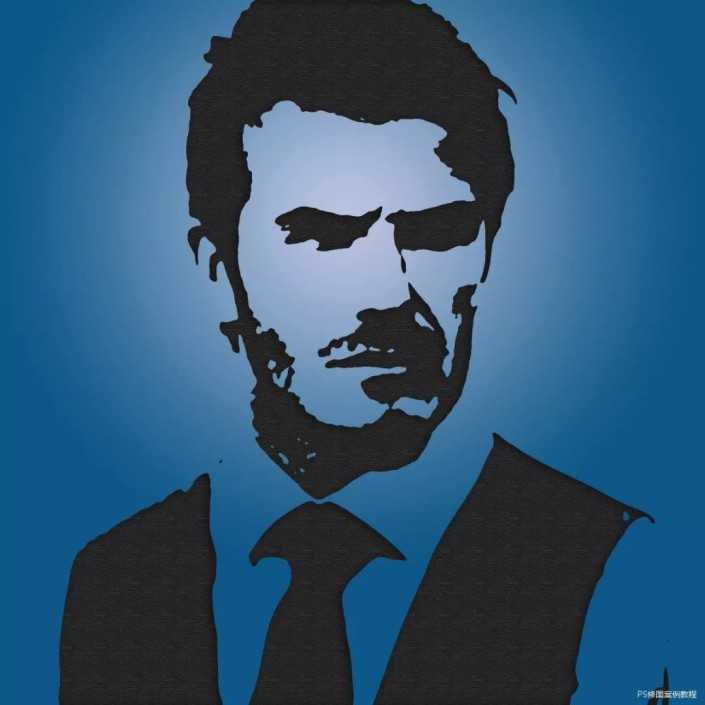
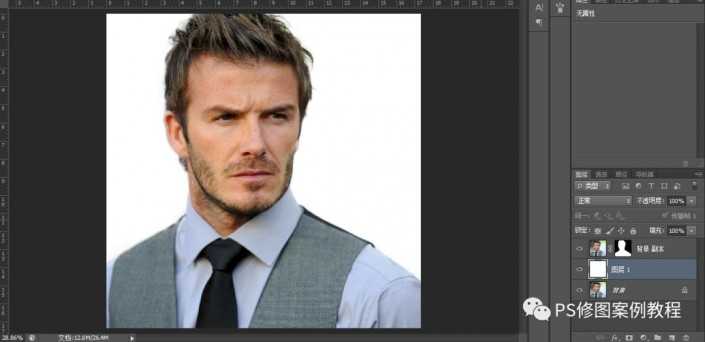
效果图:
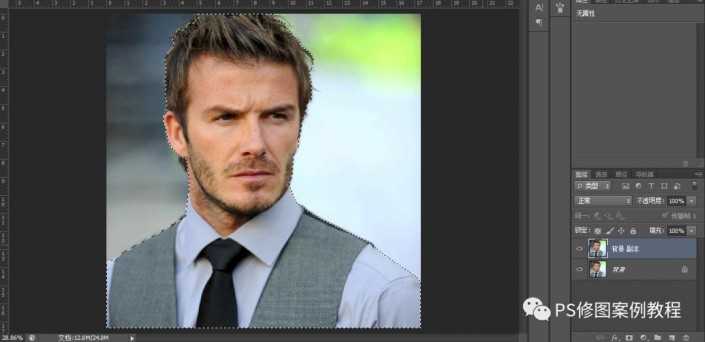
素材:

操作步骤
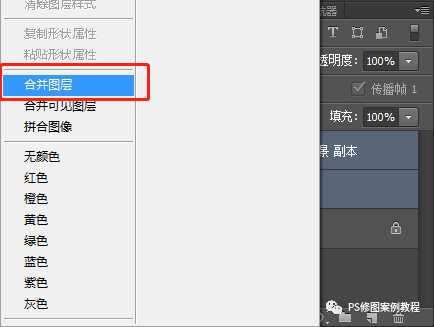
人物区域建立选区,利用的是快速选择工具,增加、减去工具,调整选区
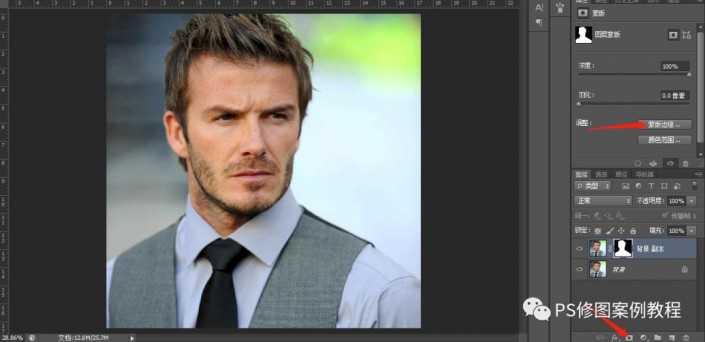
大概选择之后,点击建立图层蒙版,蒙版边缘工具调整选区
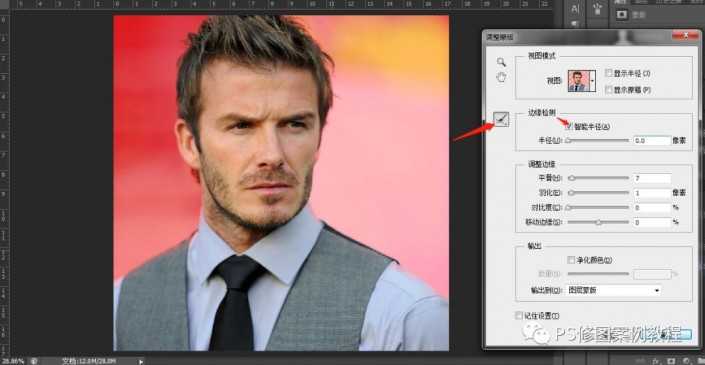
勾选边缘检测的智能半径选项,利用箭头位置的画笔工具,在人物的边缘位置涂抹,特别是发丝位置,获得更加精确的选区
在当前图层下方建立空白图层,填充白色
选中白色和上方图层,右键选择合并图层
以上步骤把头像抠出,并加上纯色背景
滤镜-模糊-高斯模糊,半径大概选择
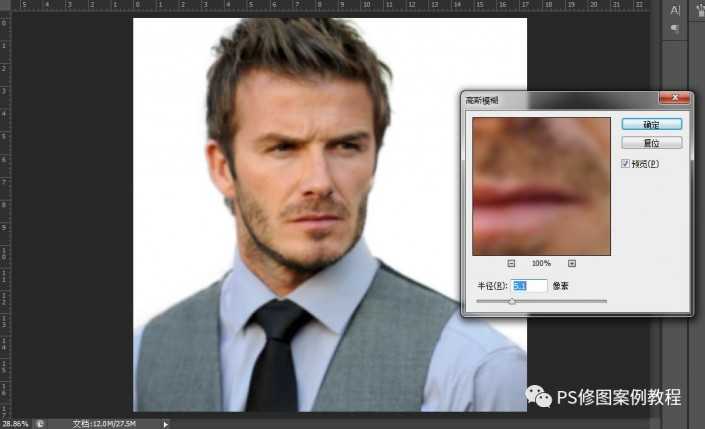
没有必要照搬教程中的数值,随意设置就好,不合适可以再调整
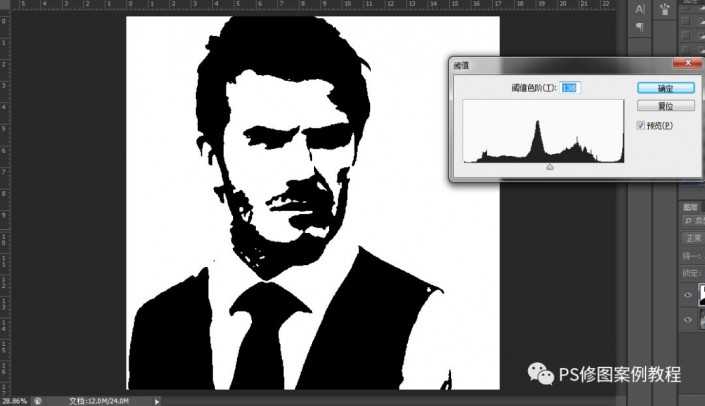
图像-调整-阈值,色阶值可以左右调整,达到更精细或力度更大的调整效果,调整到合适位置即可
上一页12 下一页 阅读全文
下一篇:教你用ps把漫画人物转化成线稿并提取教程