photoshop给狗狗照片快速修出小清新效果教程
(编辑:jimmy 日期: 2026/7/13 浏览:3 次 )
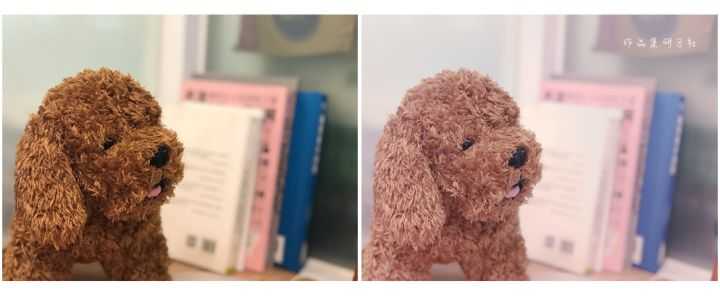
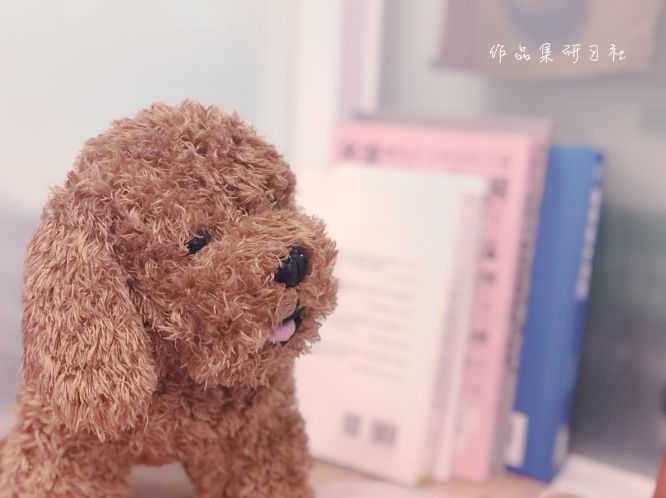
效果对比图:
主要过程:
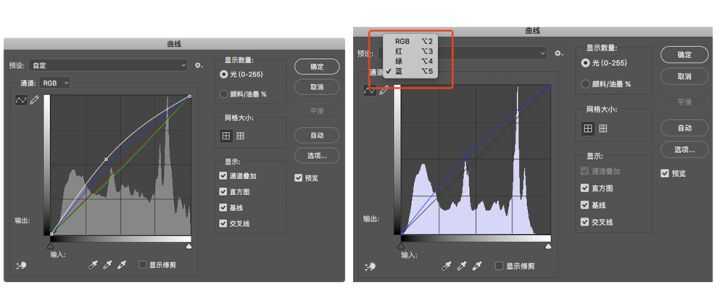
第一步 曲线数值ctrl+M
要注意,曲线不光是调整单一的。是可以调节
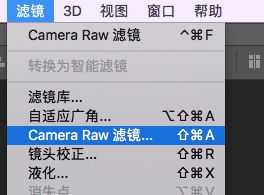
第二步 滤镜-Camera Raw
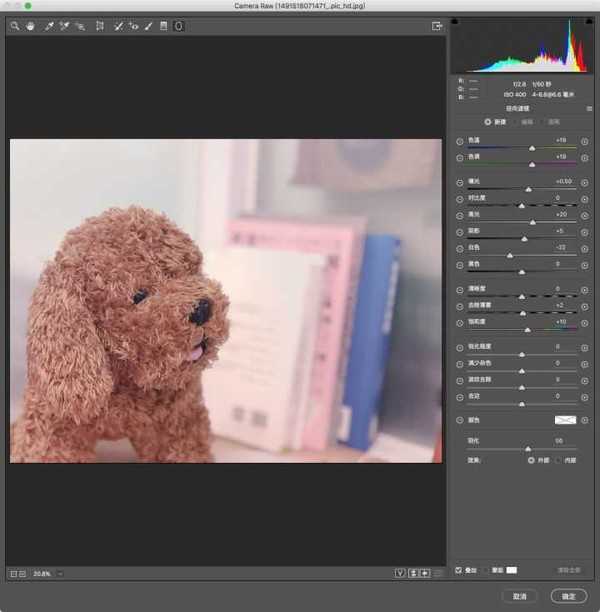
数值如下
我选择了 径向滤镜 之后在调整数据(主要需要做整个画面要调灰些,也要亮一些)
就可以啦~
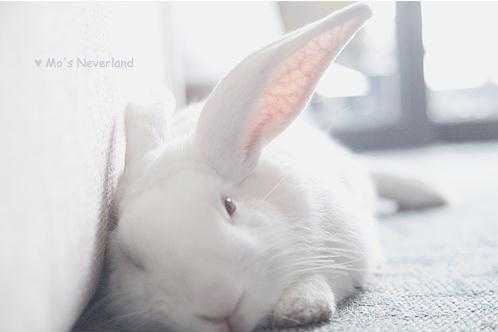
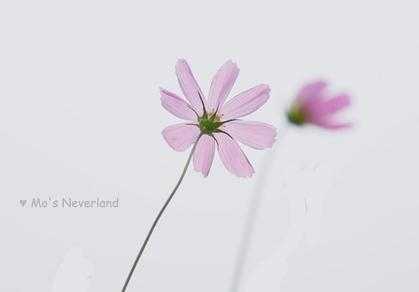
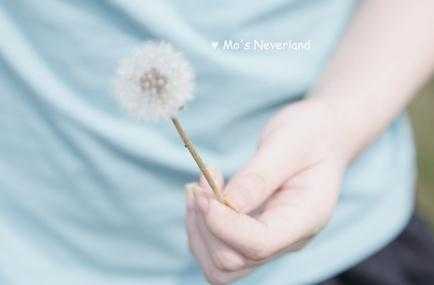
类似效果:


教程结束,以上就是关于photoshop给狗狗照片快速修出小清新效果教程的全部内容,是不是很简单呢?如果你觉得方法还不错,那就赶快亲手试试吧!
相关教程推荐:
ps怎么将普通的图片处理的很小清新?
Photoshop调出日系小清新风格的儿童写真
Photoshop怎么给外景婚纱照调出蓝色小清新艺术效果?
下一篇:ps精修品牌电冰箱图片教程