Photoshop将别墅中的婚纱照调至出唯美的霞光色
(编辑:jimmy 日期: 2026/7/6 浏览:3 次 )
素材图片天空的颜色比较淡,画面不够唯美;处理的时候先把天空部分换上喜欢的霞光素材;然后在合适的位置渲染出阳光效果;后期加强整体及人物部分光影即可。
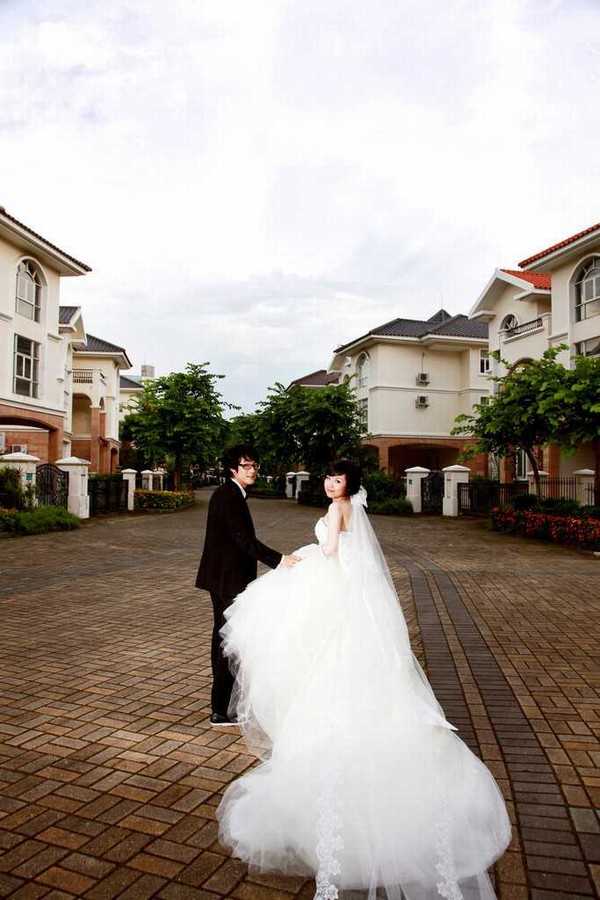
原图
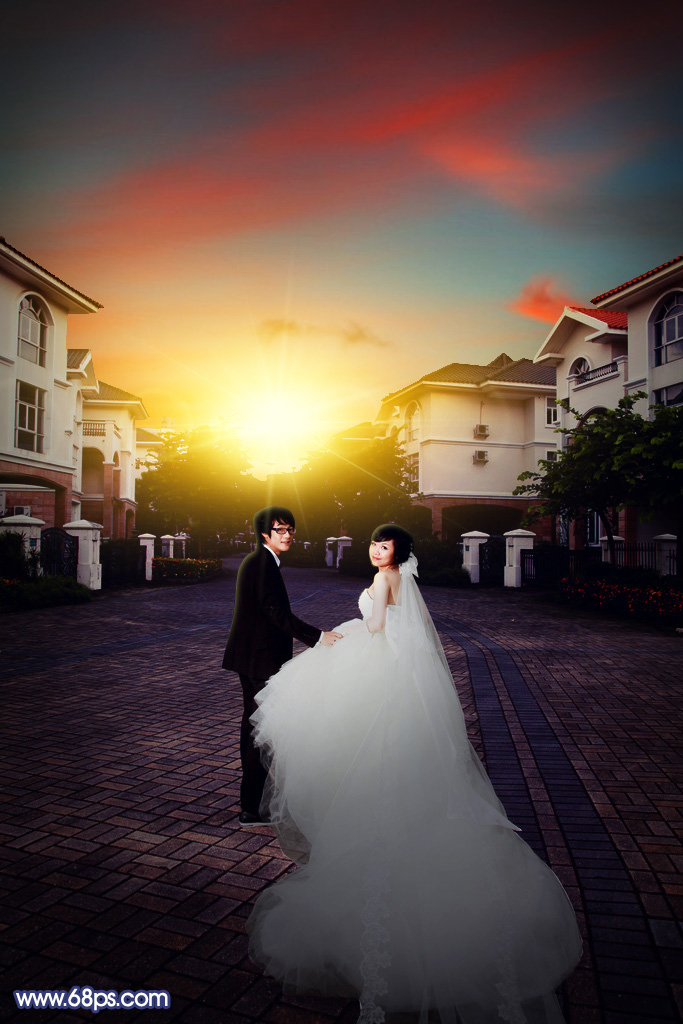
最终效果
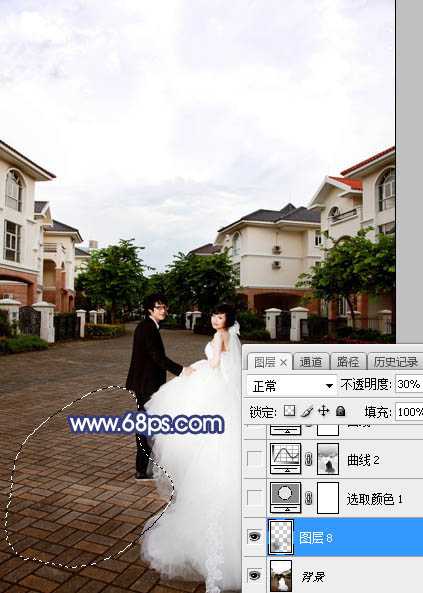
1、打开原图素材,新建一个图层,把前景色设置为暗紫色:#181018,然后用透明度为:10%的柔边画笔把地面过亮的部分涂暗一点,如下图。
<图1>
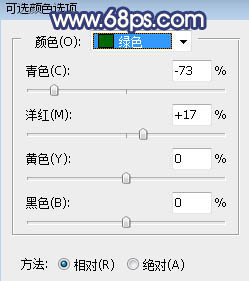
2、创建可选颜色调整图层,对绿色进行调整,参数及效果如下图。这一步把图片中的绿色转为橙黄色。
<图2>
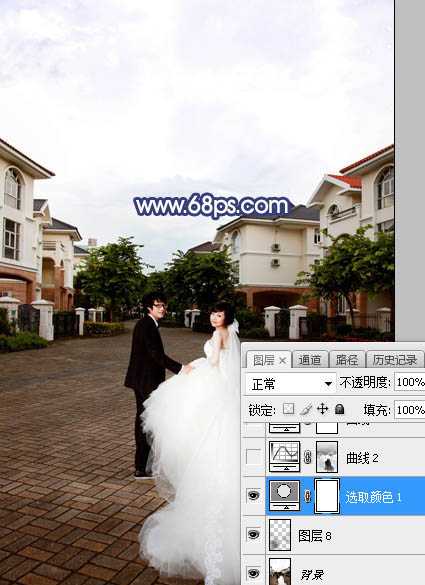
<图3>
3、按Ctrl + Alt + 2调出高光选区,按Ctrl + Shift + I 反选得到暗部选区,然后创建曲线调整图层,对RGB、红、蓝通道进行调整,参数设置如图4,效果如图5。这一步把图片暗部压暗,并增加蓝色。
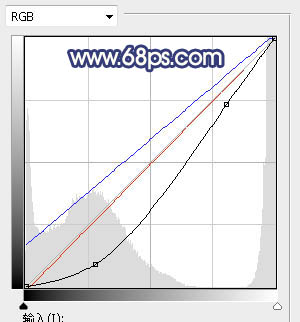
<图4>
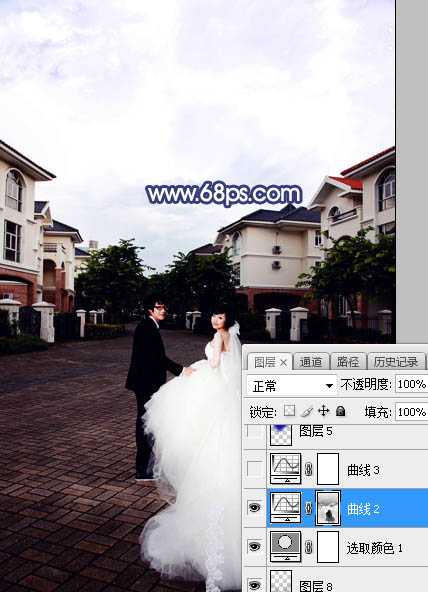
<图5>
上一页12 3 4 下一页 阅读全文
原图
最终效果
1、打开原图素材,新建一个图层,把前景色设置为暗紫色:#181018,然后用透明度为:10%的柔边画笔把地面过亮的部分涂暗一点,如下图。
<图1>
2、创建可选颜色调整图层,对绿色进行调整,参数及效果如下图。这一步把图片中的绿色转为橙黄色。
<图2>
<图3>
3、按Ctrl + Alt + 2调出高光选区,按Ctrl + Shift + I 反选得到暗部选区,然后创建曲线调整图层,对RGB、红、蓝通道进行调整,参数设置如图4,效果如图5。这一步把图片暗部压暗,并增加蓝色。
<图4>
<图5>
上一页12 3 4 下一页 阅读全文
下一篇:Photoshop调出韩式唯美的淡蓝色室内婚纱片