PS合成一只简单的机器蜜蜂
(编辑:jimmy 日期: 2026/7/10 浏览:3 次 )
效果图虽然简单,不过非常有创意。思路:截取仪表上的一些小齿轮,小部件放到蜜蜂的局部,通过一些变换组合成机械效果;后期处理细节,增加阴影等即可。
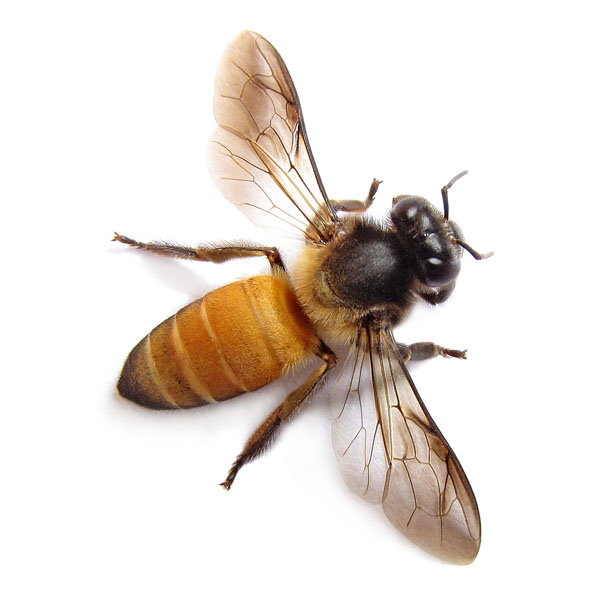
最终效果

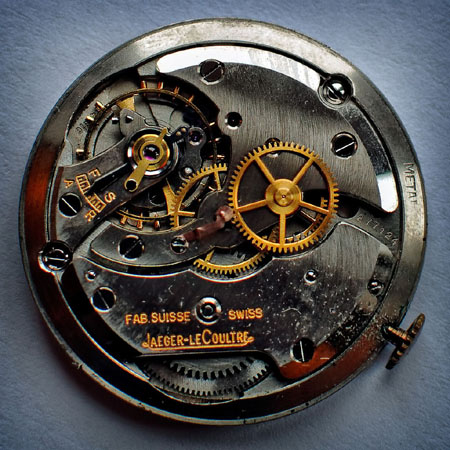
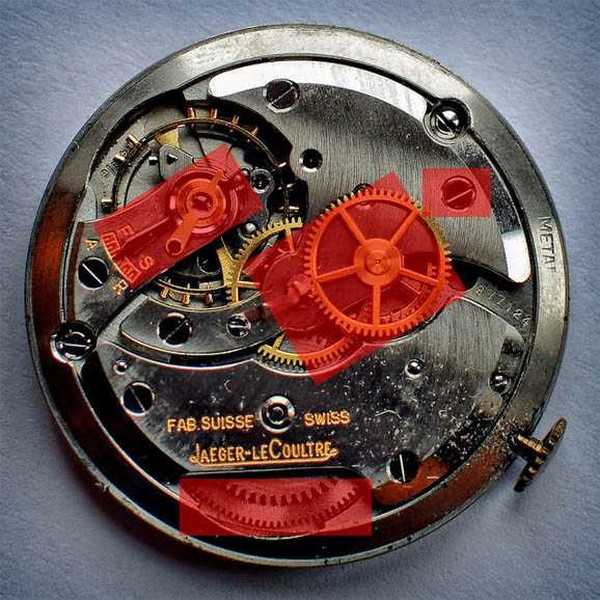
1、我想最难的部分就是选择组成蜜蜂身体部分的金属锯齿啦~我们将要选择如下图所示的红色区域哦~这里用的是快速蒙版,但你可以用自己的方法将它们抠取出来。
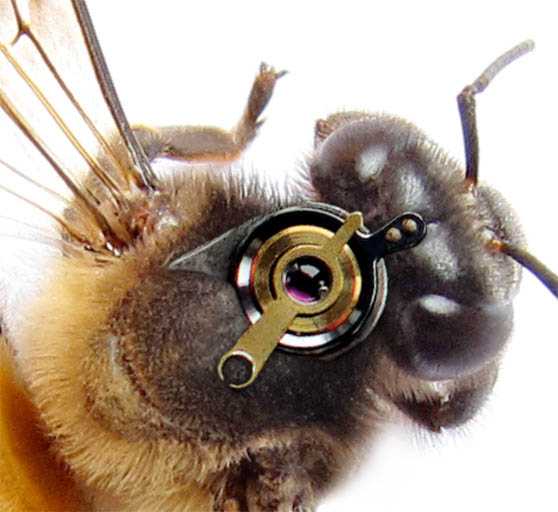
2、新建1500×1500 px,72分辨率的图层,然后将蜜蜂素材放置进去~将如下图所示的金属部分放置到蜜蜂的身上,摆放的位置一定要看起来很自然,如果不自然,我们就需要适当的调整位置啦。
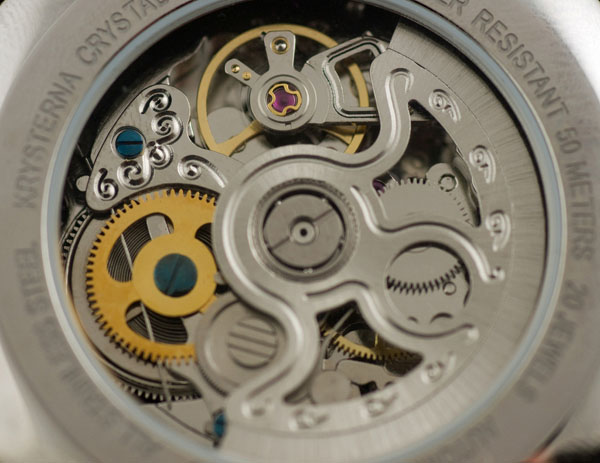
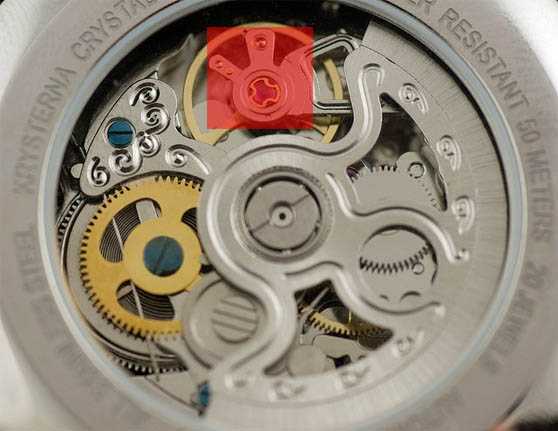
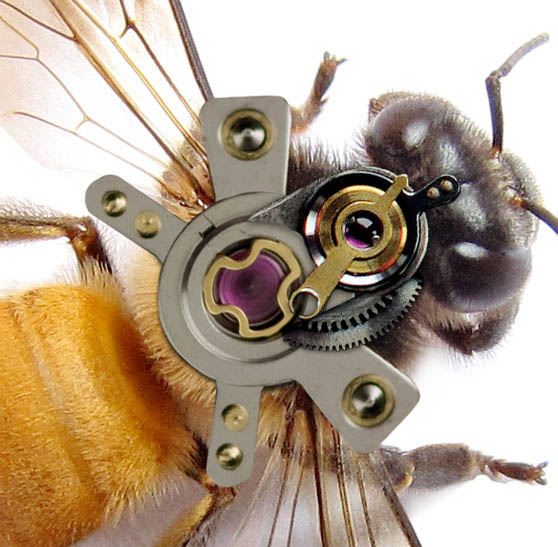
3、之后我们就继续添加其他的金属部分,旋转变形,摆放的位置如图所示哦~这部分是由两个相同的金属拼合而成的哟。
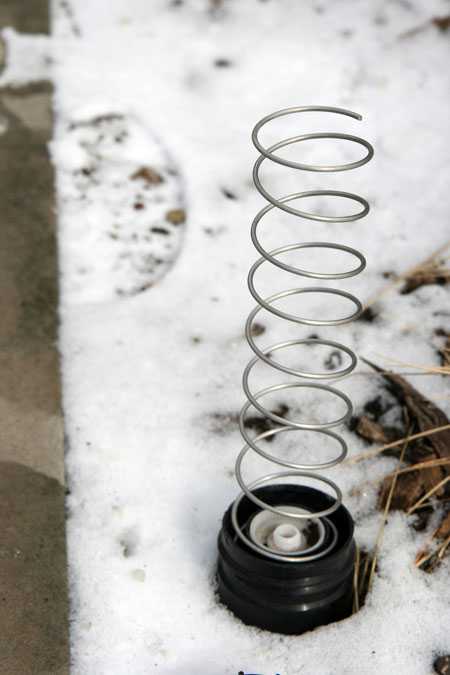
4、是不是觉得蜜蜂的翅膀那里比较空呢?那么我们就将 “coil springs”素材拖进来,然后用操纵变形工具将它变形。
上一页12 下一页 阅读全文
最终效果
1、我想最难的部分就是选择组成蜜蜂身体部分的金属锯齿啦~我们将要选择如下图所示的红色区域哦~这里用的是快速蒙版,但你可以用自己的方法将它们抠取出来。
2、新建1500×1500 px,72分辨率的图层,然后将蜜蜂素材放置进去~将如下图所示的金属部分放置到蜜蜂的身上,摆放的位置一定要看起来很自然,如果不自然,我们就需要适当的调整位置啦。
3、之后我们就继续添加其他的金属部分,旋转变形,摆放的位置如图所示哦~这部分是由两个相同的金属拼合而成的哟。
4、是不是觉得蜜蜂的翅膀那里比较空呢?那么我们就将 “coil springs”素材拖进来,然后用操纵变形工具将它变形。
上一页12 下一页 阅读全文
下一篇:Photoshop合成非常逼真创意的机械小蜜蜂教程