Photoshop合成坐在竹筏上看风景的美丽新娘
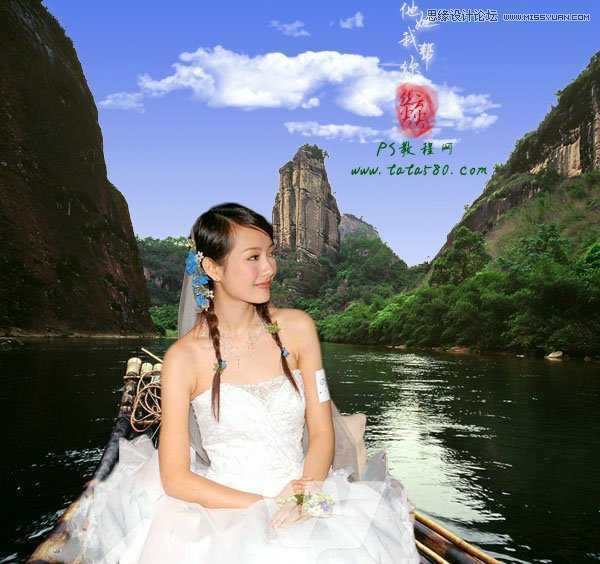
效果图
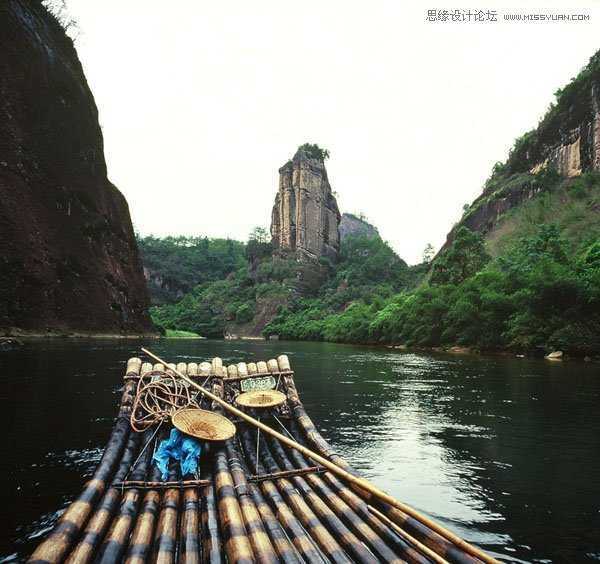
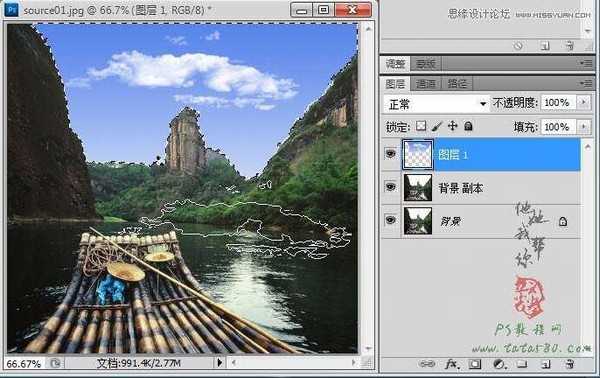
原图一
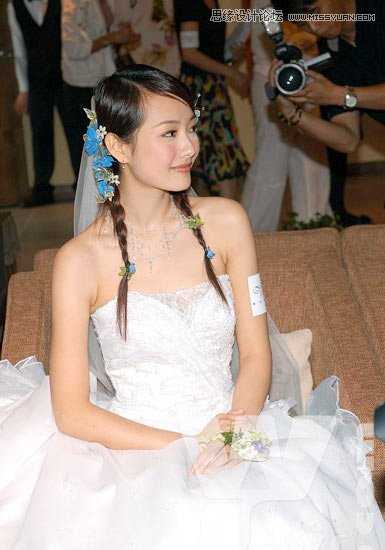
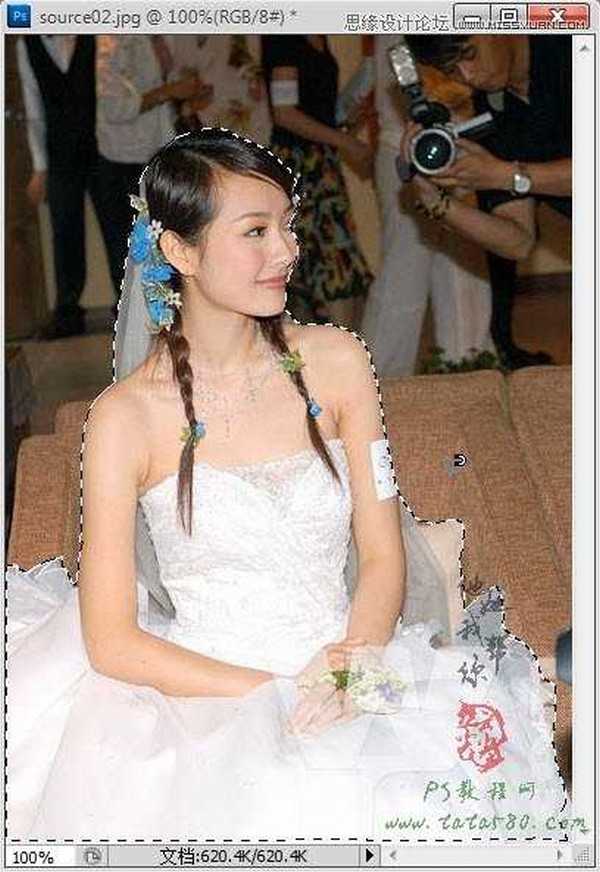
原图二
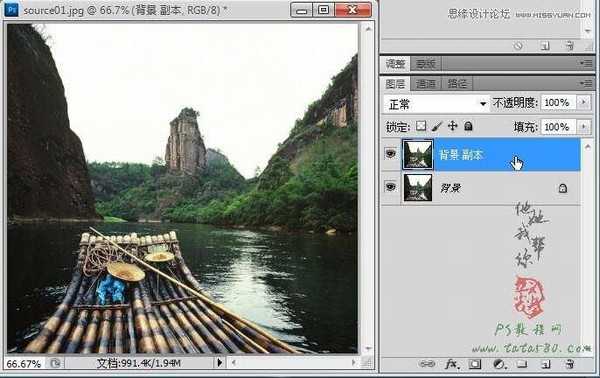
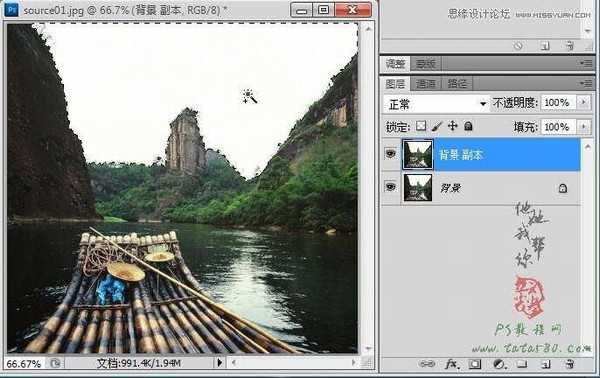
1、如果要进行外景合成,一般要先找一张漂亮的外景图,可以上百度的图片搜索,非常多,这里选用一张武夷山的竹排图作为背景,先在photoshop中打开原图一(本教程采用photoshop CS5制作,部分步骤低级版本可能不一样),在背景上单击右键选择复制图层菜单,将背景复制一个副本图层背景 副本,如下图所示:
2、单击选择魔棒工具,将容差设置为52,在白色天空处进行单击选择,可按住Shift键进行多次单击,尽量把所有白色天空部分选中,如果部分区域无法选中,可以利用快速蒙版进行细节处理,效果如下图所示:
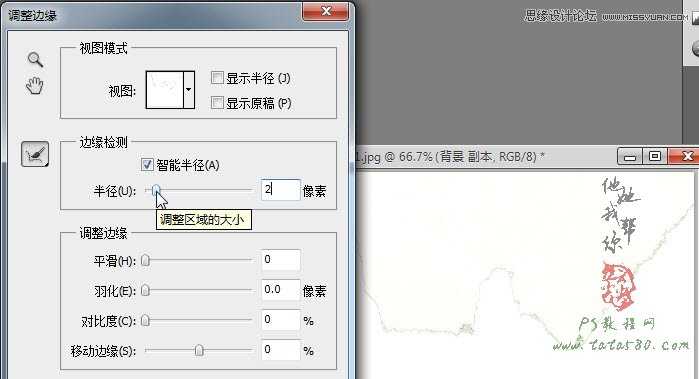
3、新建一个空白图层1,然后选择菜单选择->调整边缘,在弹出的窗口中将智能半径打勾,并设置半径为2,这样就能让边缘过渡显得自然一些,如下图所示:
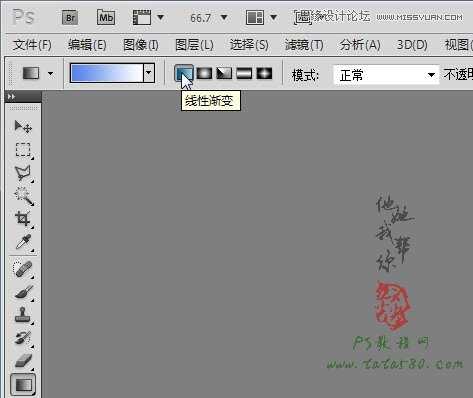
4、单击渐变工具,设置淡蓝到白色的线性渐变效果,如下图所示:
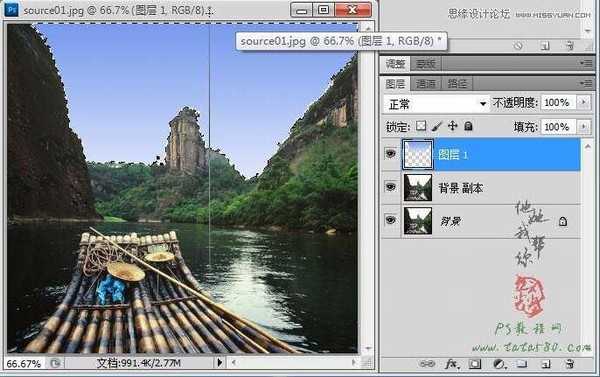
5、然后从下往上拉到生成渐变,一定要保留选区,效果如下图所示:
6、再单击选择画笔工具,选择一个白云笔刷,设置前景色为白色,然后在图层1上单击生成白云效果,如下图所示:
7、接着打开原图二,或将自己想要合成的婚纱照打开,先将背景解锁或复制一个背景副本,然后利用磁性套索或钢笔工具将人像部分选中,效果如下图所示:
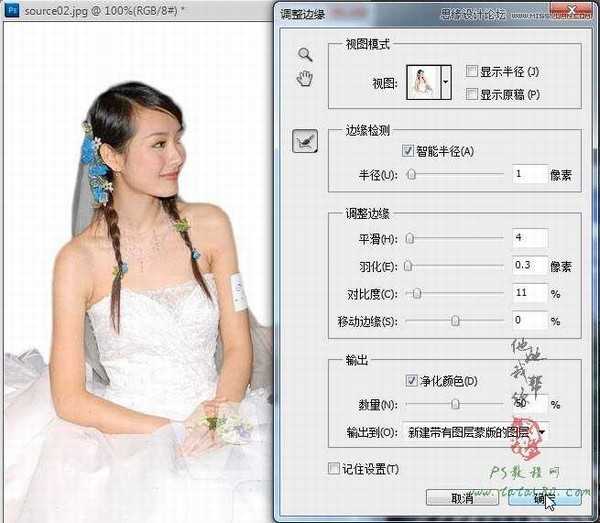
8、选择菜单选择->调整边缘,勾选智能半径,设置半径为1,其它参数如下图所示:
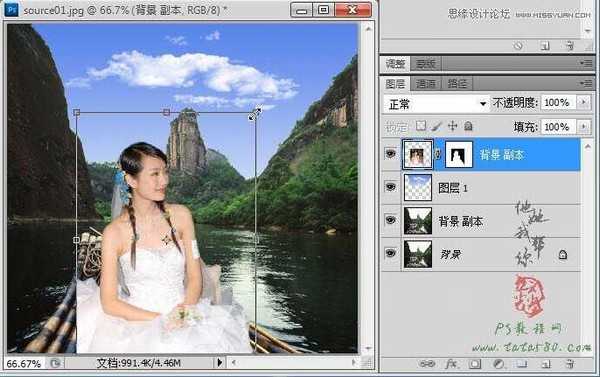
9、确定边缘调整后,会自动生成人像的图层蒙版,单击移动工具,将人像连同图层蒙版一起拖入到原图一中,利用编辑->自由变换适当调整大小及位置,效果如下图所示:
10、按住Ctrl+Shift+Alt+E进行盖印图层,生成图层2(CS5之前的版本要先新建图层2才行),如下图所示:
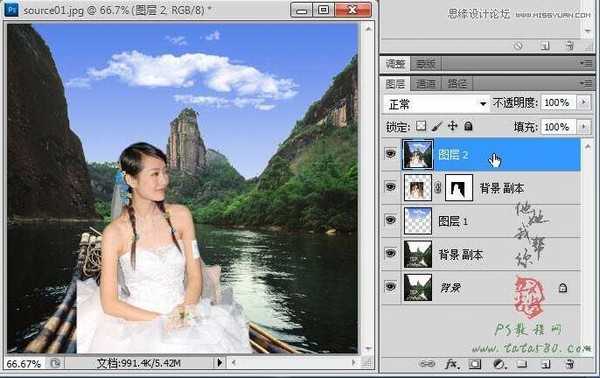
11、本实例原图二中的人像的左边婚纱有缺角,接下来进行边角处理,确保图层2处于选中状态,利用磁性套索或钢笔工具将右下角的婚纱选中,效果如下图所示:

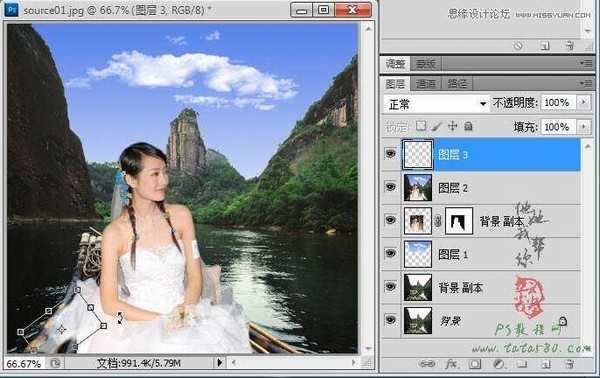
12、按Ctrl+C复制,然后再按Ctrl+V粘贴生成图层3,然后把图层3移动到左边缺角的部分,利用编辑->自由变换适当调整大小及方向,如下图所示:
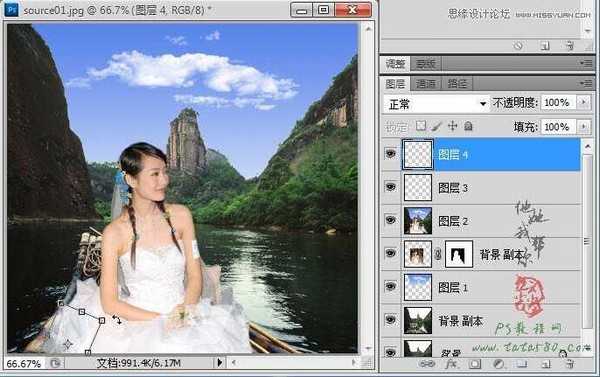
13、用同样的方法再生成一个图层4,同样移动到左边的位置,适当调整大小及方向,最终的目的就是要把缺角的婚纱补完整,效果如下图所示:
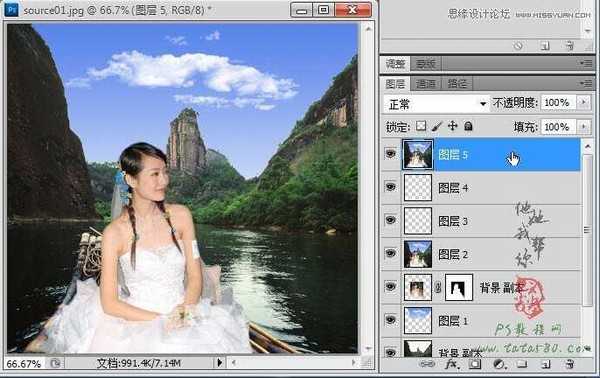
14、再按住Ctrl+Shift+Alt+E进行盖印图层,生成图层5,如下图所示:
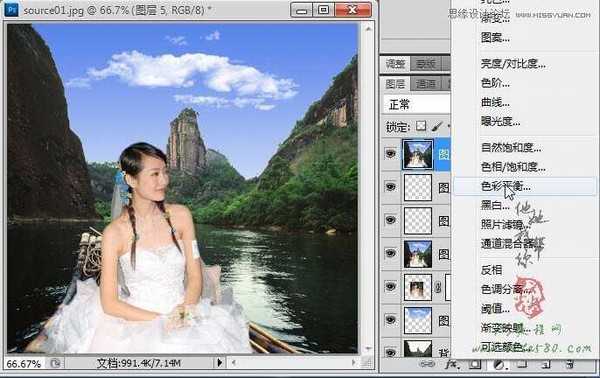
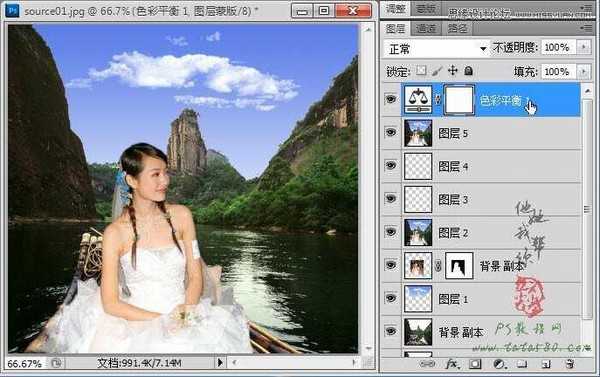
15、到此基本上就完成了婚纱外景的合成,不过一般最后还要进行整体的色彩调整,单击图层面板下方的创建新的填充或调整图层按钮,选择色彩平衡,如下图所示:
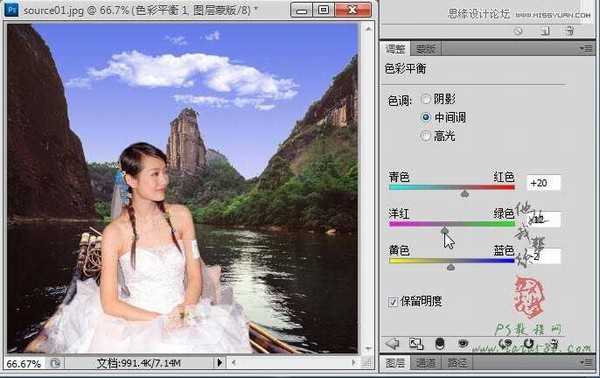
16、先进行中间调的调节,调整色彩没有定性,可以根据你自己的喜欢进行调整,本处参数设置如下图所示:
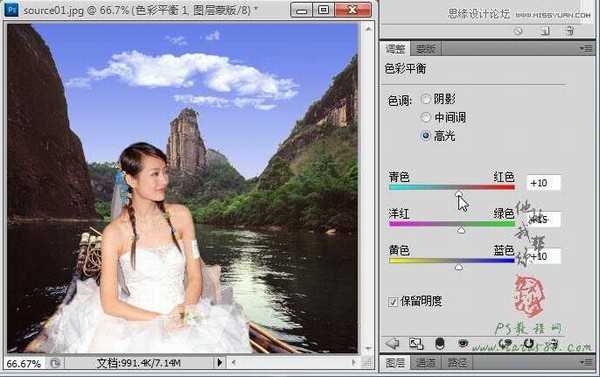
17、再单击选择高光,适当加大红色、绿色、蓝色,具体如下图所示:
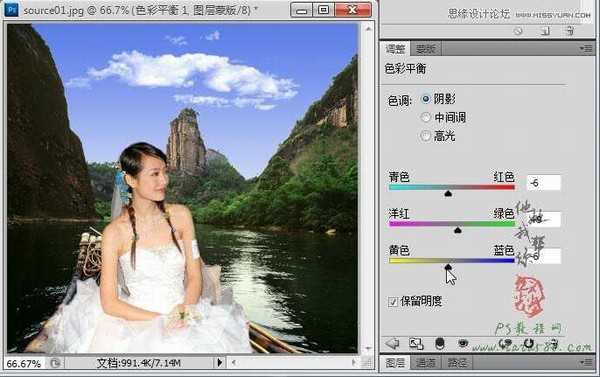
18、最后对阴影再进行一些细微调节,参数如下图所示,其实调整色彩平衡的目的是为了突出色彩的层次感,可根据自己的喜好进行不同的设置,读者可自行把握。
19、本实例最终的处理效果如下图所示,当然还可以进行一些其它的调整,如色阶、色相/饱和度、亮度/对比度等等,读者可自行根据需要扩展,这里不再详述。
下一篇:Photoshop合成在大草原上漂浮的岛屿奇幻场景