PhotoShop为美女图片打造出抽象几何时尚海报教程
(编辑:jimmy 日期: 2026/7/13 浏览:3 次 )
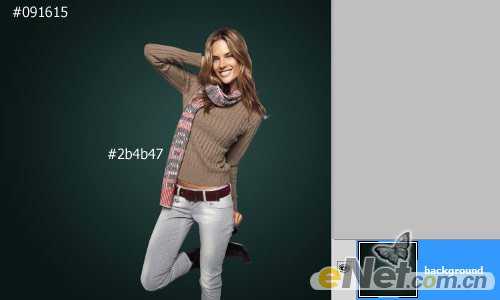
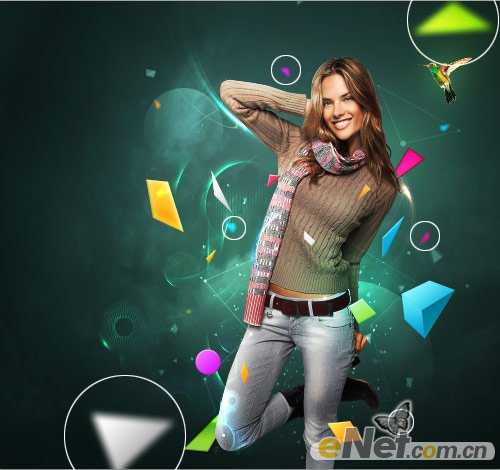
教程最终效果:

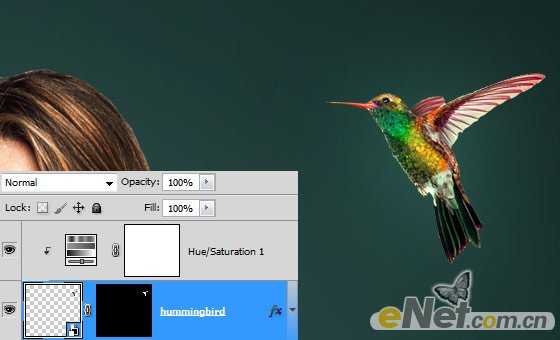
得到需要的边缘。

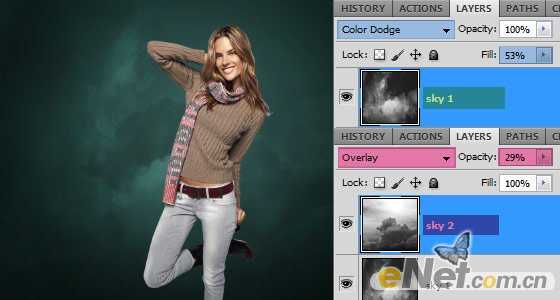
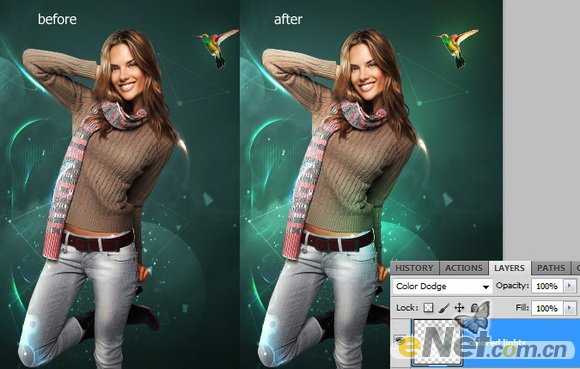
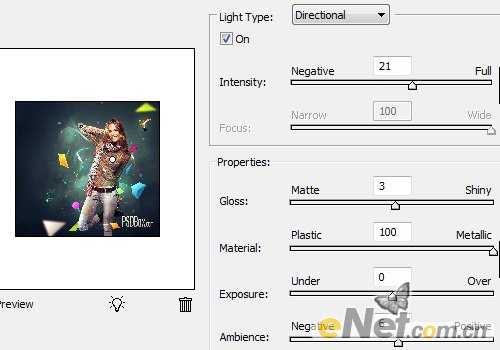
放在人物层下方,第一个层我设置混合模式为“颜色减淡”,填充设置为53%,第二个层我设置“叠加”不透明设置为29%,
你可以看看下图所示
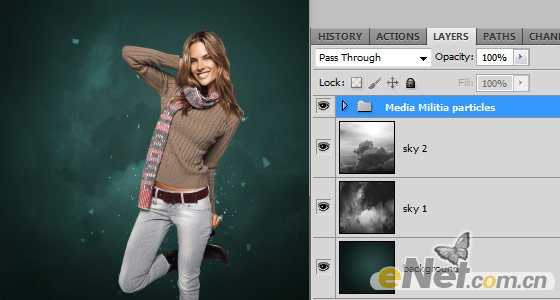
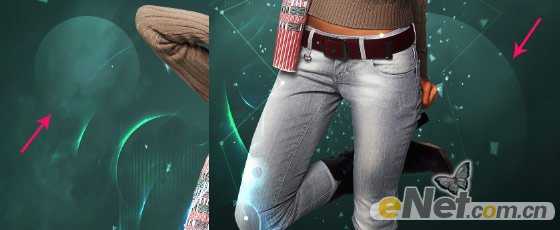
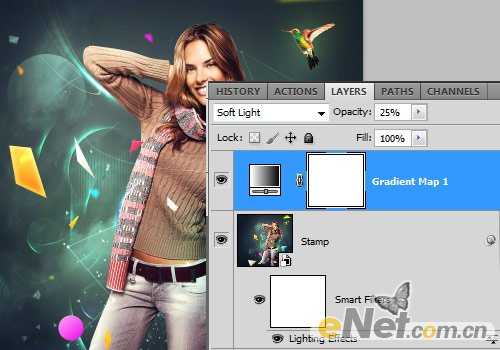
在弹出的对话框中选择使用“50% 灰色”,完成后“创建剪贴蒙版”,设置混合模式为“叠加”,并且我又复制了一次,做同样的设置

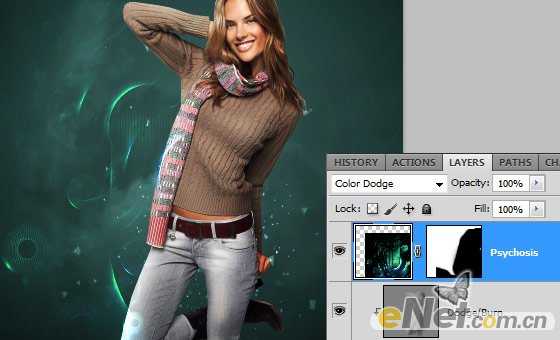
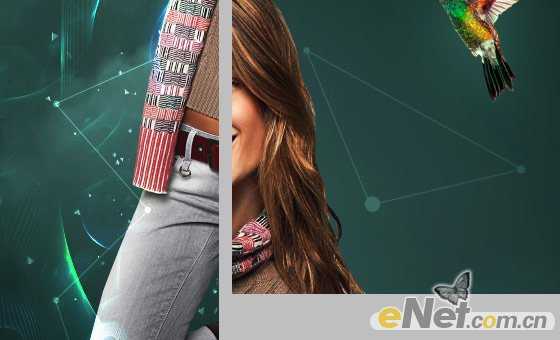

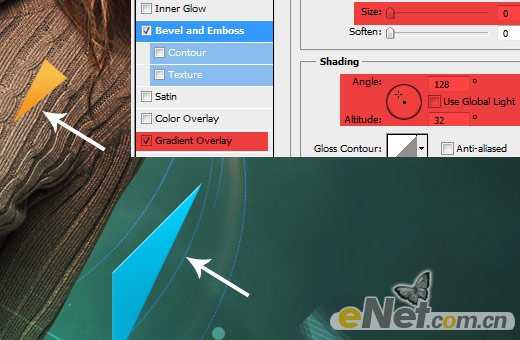
这里你可以根据自己的喜好来设置出喜欢的三角样式
得到需要的边缘。
放在人物层下方,第一个层我设置混合模式为“颜色减淡”,填充设置为53%,第二个层我设置“叠加”不透明设置为29%,
你可以看看下图所示
在弹出的对话框中选择使用“50% 灰色”,完成后“创建剪贴蒙版”,设置混合模式为“叠加”,并且我又复制了一次,做同样的设置
这里你可以根据自己的喜好来设置出喜欢的三角样式
下一篇:photoshop合成制作出门旅行的天鹅先生