photoshop合成墙帘后的奇幻世界
(编辑:jimmy 日期: 2026/5/2 浏览:3 次 )
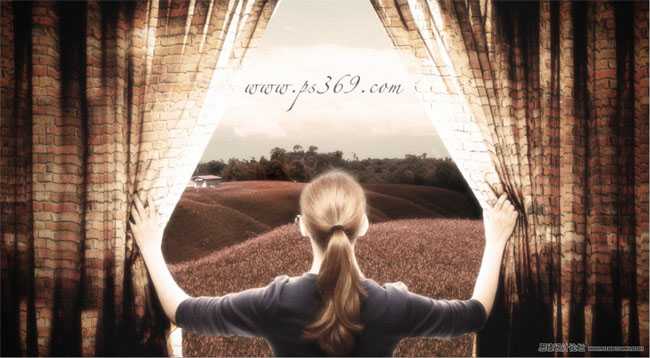
最终效果
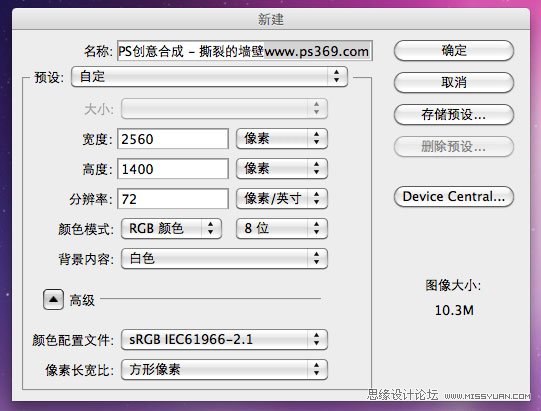
1、打开PHOTOSHOP,按CTRL+N新建一个文档。大小为1024x720像素(这是高清壁纸的尺寸)。
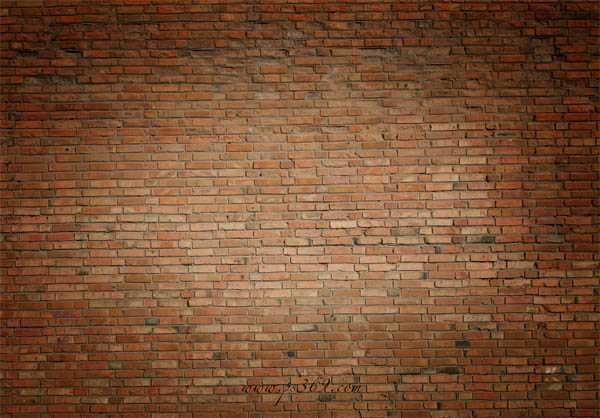
2、把墙壁的素材拖进来,然后按CTRL+T调整好大小和位置。
3、在把女孩打开窗帘的素材也拖进来,然后按CTRL+T调整好大小和位置。

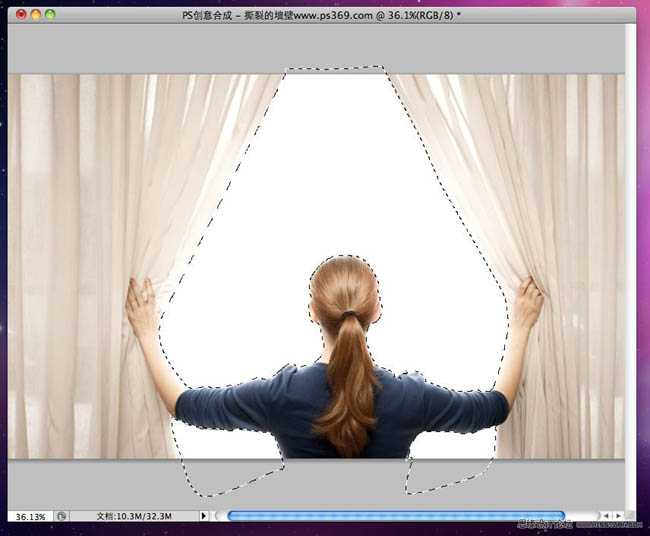
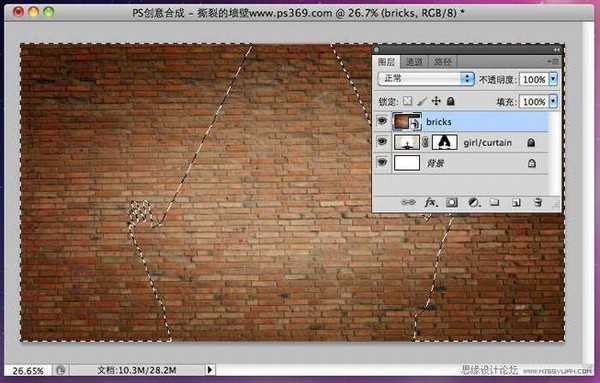
4、使用钢笔工具或套索工具选择出白色的部分,我这里用的是钢笔工具。
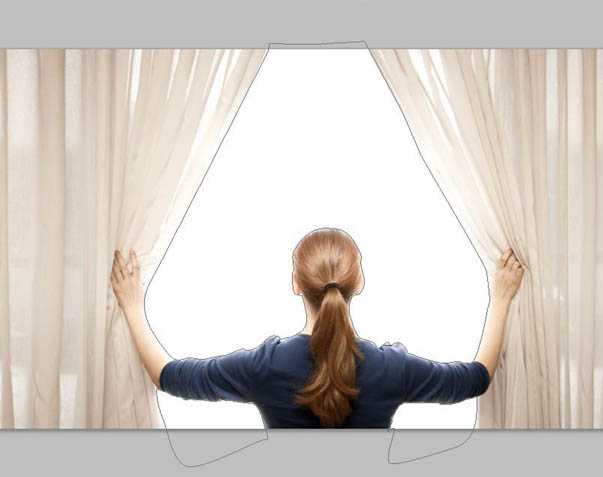
5、按CTRL+ENTER把路径转换成选区,然后羽化1~2个像素(CS5的羽化在选择/修改/羽化)。
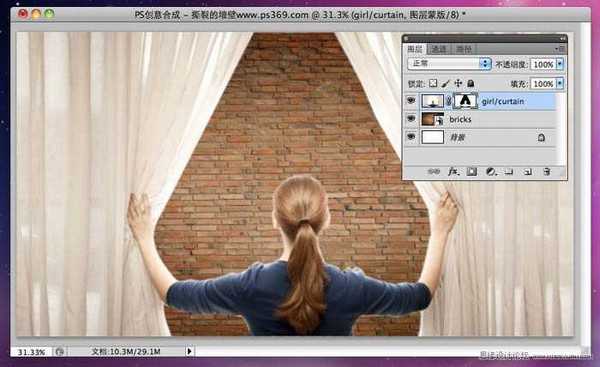
6、点击图层/图层蒙板/隐藏选区,得出效果如下。
7、在使用套索工具把女孩的手给选择进来。按ALT点击女孩图层的图层蒙板(载入选区)。
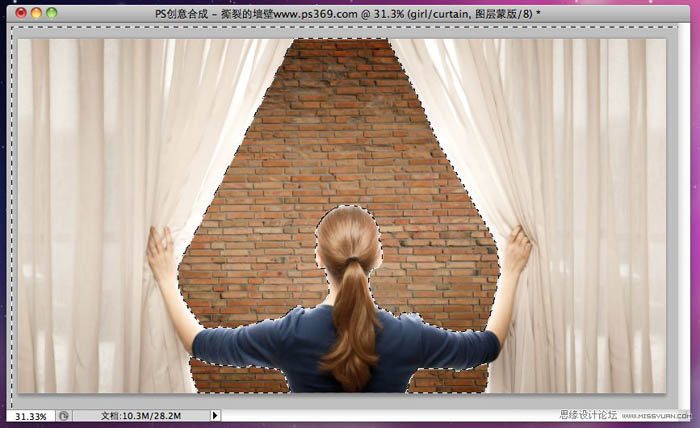
8、使用套索工具,按住ALT键(图标变成减号),把人物和手臂给选择出来。下图我使用套索工具扣出了左边部分。
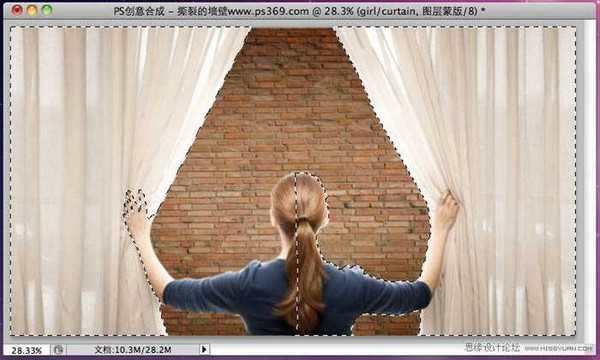
9、右边也是同意道理。

10、把墙壁图层移到女孩图层的上面,如图。
上一页12 3 下一页 阅读全文
1、打开PHOTOSHOP,按CTRL+N新建一个文档。大小为1024x720像素(这是高清壁纸的尺寸)。
2、把墙壁的素材拖进来,然后按CTRL+T调整好大小和位置。
3、在把女孩打开窗帘的素材也拖进来,然后按CTRL+T调整好大小和位置。
4、使用钢笔工具或套索工具选择出白色的部分,我这里用的是钢笔工具。
5、按CTRL+ENTER把路径转换成选区,然后羽化1~2个像素(CS5的羽化在选择/修改/羽化)。
6、点击图层/图层蒙板/隐藏选区,得出效果如下。
7、在使用套索工具把女孩的手给选择进来。按ALT点击女孩图层的图层蒙板(载入选区)。
8、使用套索工具,按住ALT键(图标变成减号),把人物和手臂给选择出来。下图我使用套索工具扣出了左边部分。
9、右边也是同意道理。
10、把墙壁图层移到女孩图层的上面,如图。
上一页12 3 下一页 阅读全文
下一篇:photoshop快速为美女换上搞笑的男士头像