photoshop抽象合成干枯沙丘上的独思女孩
(编辑:jimmy 日期: 2026/7/16 浏览:3 次 )
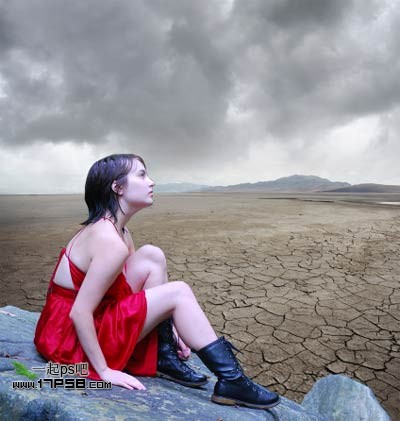
最终效果

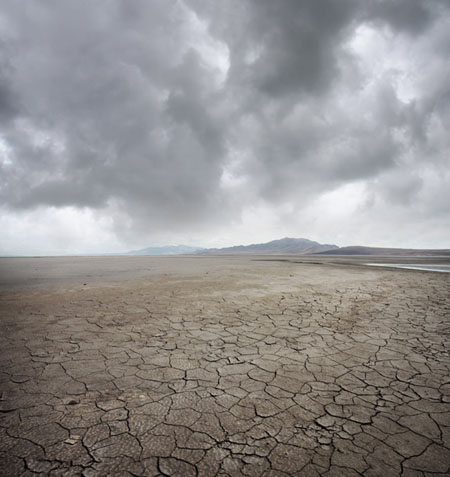
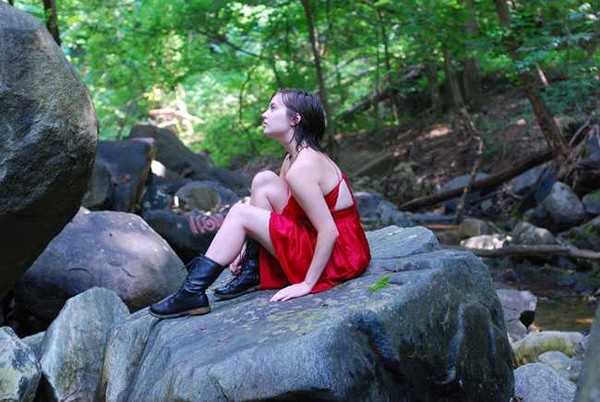
1、新建文档800x800像素,将干燥荒地图片拖入,适当缩放,然后打开美女图片,用钢笔去背,也拖入文档中。
2、导入天空图片,放于女孩底层,添加蒙版,黑白直线渐变,产生一种渐隐的效果。

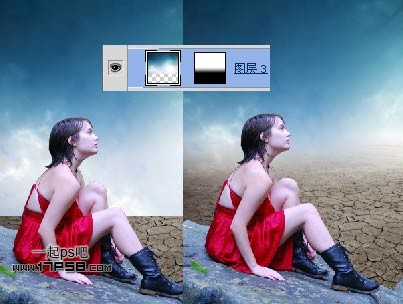
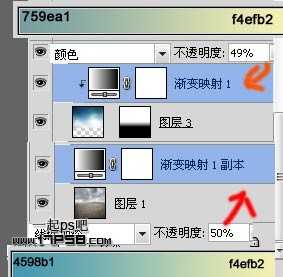
3、下面处理一下天空的颜色,选择天空层,添加渐变映射调整层,并形成剪贴蒙版,图层模式颜色,不透明度49%,选择图层1也就是干旱层,添加渐变映射调整层,图层模式线性加深,不透明度50%。
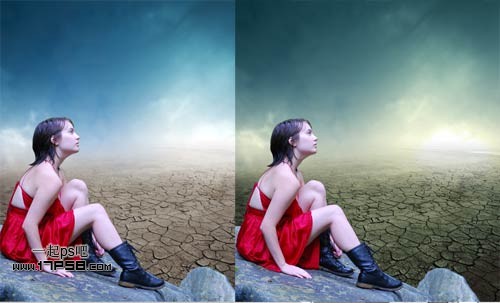
4、效果前后对比。
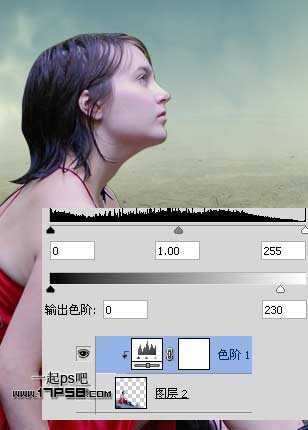
5、下面我们来润色美女,选择美女层,添加色阶调整层,并形成剪贴蒙版。
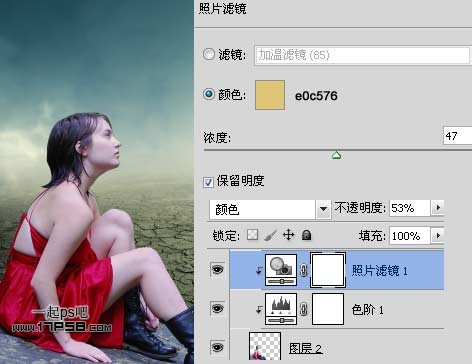
6、添加照片滤镜调整层。
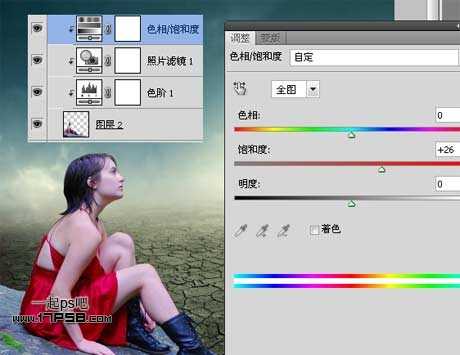
7、添加色相/饱和度调整层。
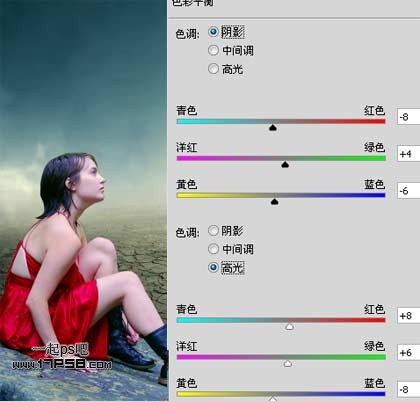
8、添加色彩平衡调整层。
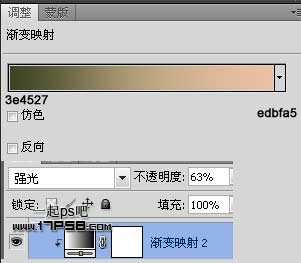
9、再添加一个渐变映射调整层,图层模式强光,不透明度63%。
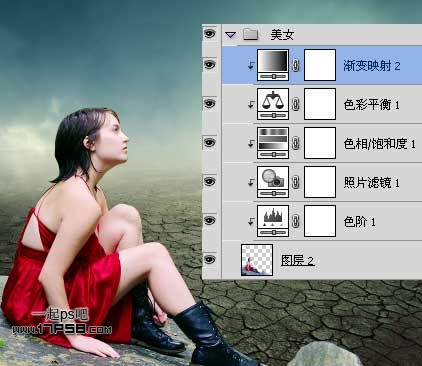
10、我们会得到类似下图所示效果,把这些层群组,起名美女。
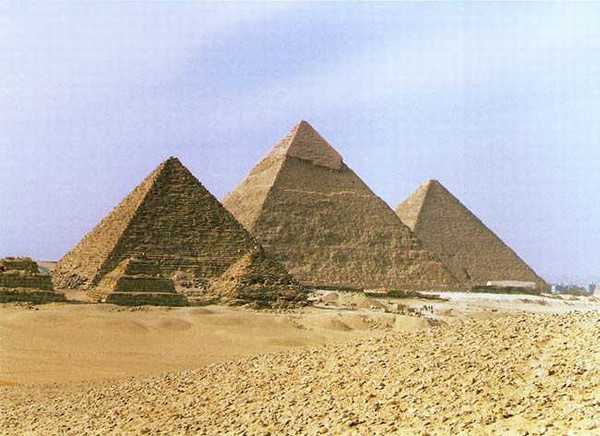
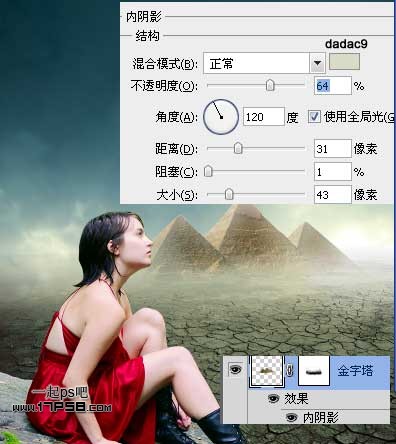
11、把金字塔图片打开,用钢笔选出主体部分,拖入文档中,适当缩小,添加蒙版,用黑色柔角笔刷涂抹,产生渐隐效果,添加图层样式,目的是让金字塔看上去远在尘嚣中。
上一页12 下一页 阅读全文
1、新建文档800x800像素,将干燥荒地图片拖入,适当缩放,然后打开美女图片,用钢笔去背,也拖入文档中。
2、导入天空图片,放于女孩底层,添加蒙版,黑白直线渐变,产生一种渐隐的效果。
3、下面处理一下天空的颜色,选择天空层,添加渐变映射调整层,并形成剪贴蒙版,图层模式颜色,不透明度49%,选择图层1也就是干旱层,添加渐变映射调整层,图层模式线性加深,不透明度50%。
4、效果前后对比。
5、下面我们来润色美女,选择美女层,添加色阶调整层,并形成剪贴蒙版。
6、添加照片滤镜调整层。
7、添加色相/饱和度调整层。
8、添加色彩平衡调整层。
9、再添加一个渐变映射调整层,图层模式强光,不透明度63%。
10、我们会得到类似下图所示效果,把这些层群组,起名美女。
11、把金字塔图片打开,用钢笔选出主体部分,拖入文档中,适当缩小,添加蒙版,用黑色柔角笔刷涂抹,产生渐隐效果,添加图层样式,目的是让金字塔看上去远在尘嚣中。
上一页12 下一页 阅读全文
下一篇:ps下简单三步合成梦幻的心形情侣图片