PS绘制炫酷效果的科比飞奔投篮的篮球海报
科蜜朋友来收教程咯!今天为大家分享一篇PS绘制炫酷效果的科比飞奔投篮的篮球海报教程,效果酷炫难挡,过程细致入微,操作界面全中文,保证新手也可以轻松学会,周末来一发吧。
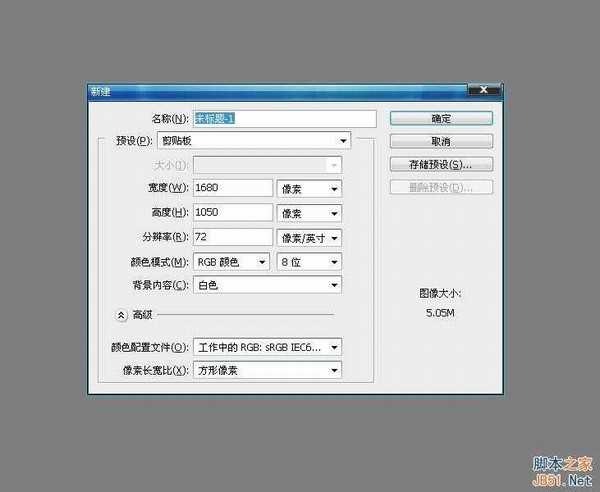
下面开始我的绘制过程,先建一个符合自己显示器大小的新画布。
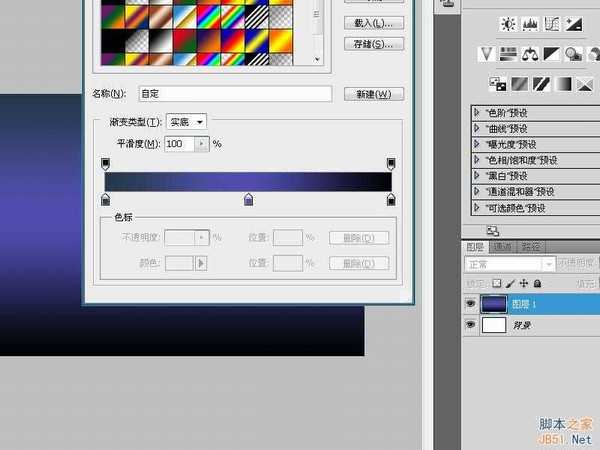
新建一层,填充渐变。
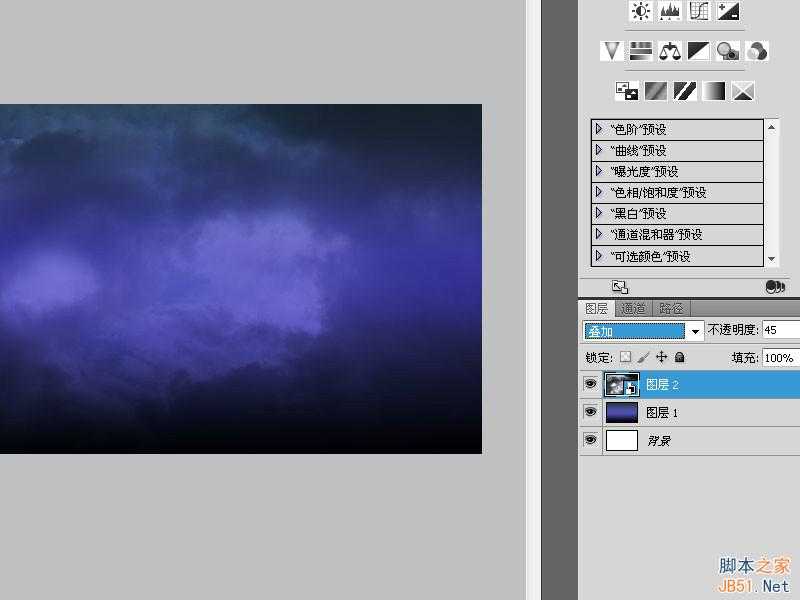
我从百度右键了一张云层的图片。
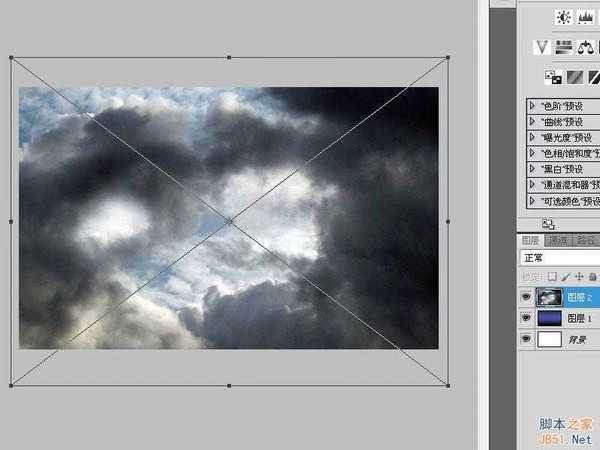
放大铺满整个画面,将透明度调至45左右,不需要太明显,把图层混合模式改为“柔光”。
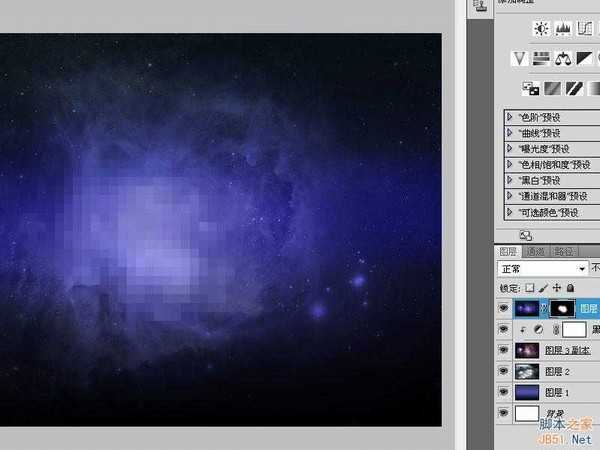
继续照一张星云的图片,从原图中我似乎隐约看到星云的元素,所以我又右键了一张星云的图片。
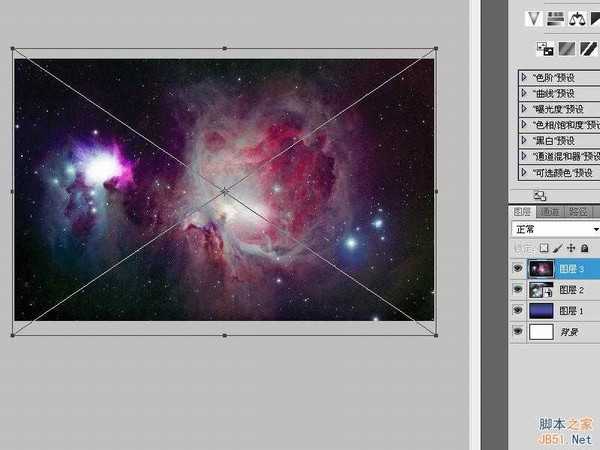
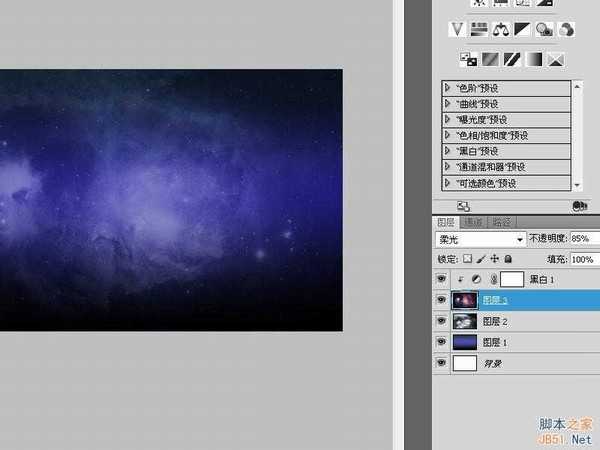
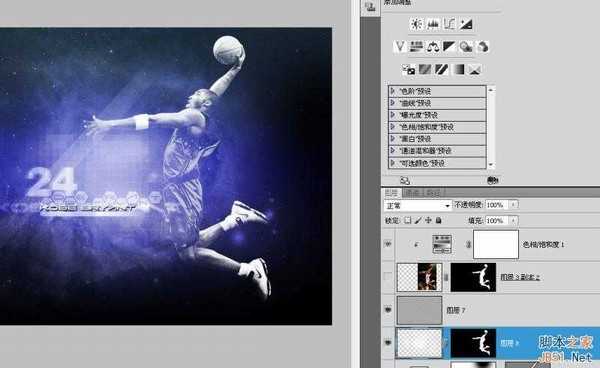
将星云的图层混合模式改为“叠加”,透明度调为85%,添加一个“黑白”调整层剪贴蒙版在星云上。
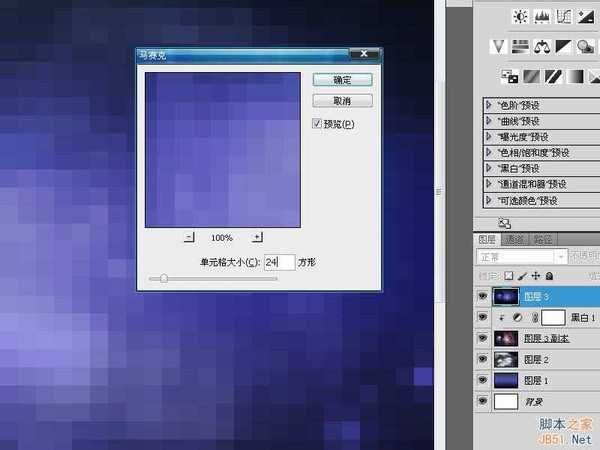
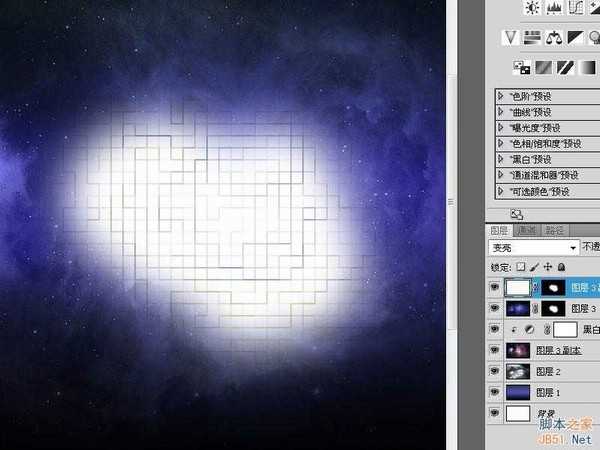
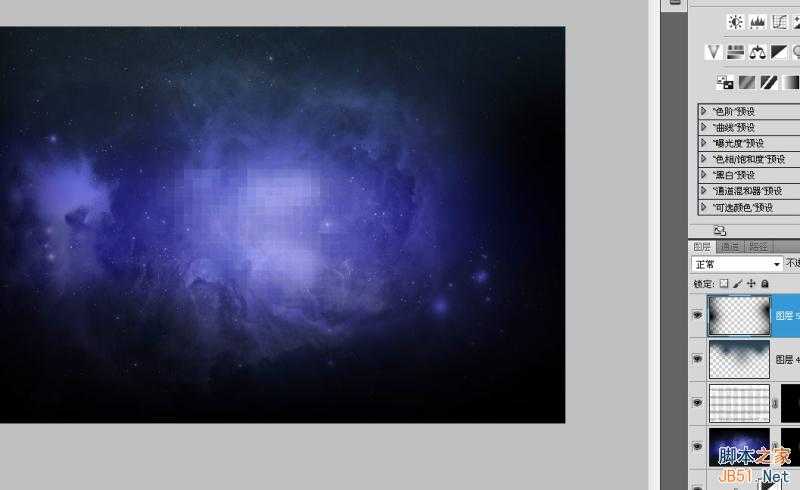
选择“黑白”调整层,SHIFT+CTRL+ALT+E盖印,执行“滤镜-像素化-马赛克”。
按住alt点击图层栏下面的“添加图层蒙版”图标添加一个隐藏全部的蒙版,用白色画笔在画布中心位置随意的涂抹几笔。将这个马赛克层的图层混合模式改为“变亮”。
把马赛克复制一层,执行“滤镜-风格化-查找边缘”。
用阈值强化一下这个边缘效果。把图层混合模式更改为“划分”,透明度调为4%左右,能隐隐约约的看到边缘就行,过于明显就太做作了。
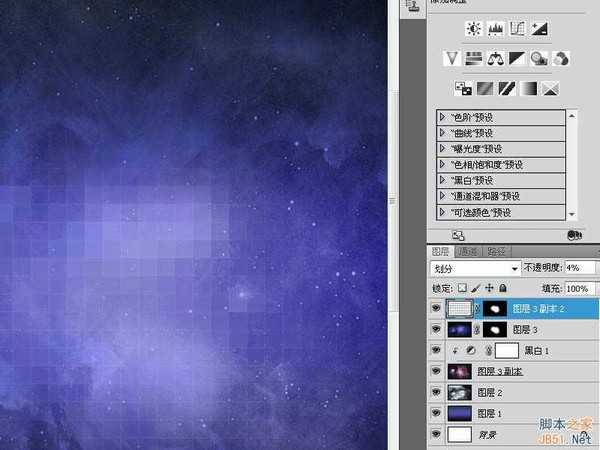
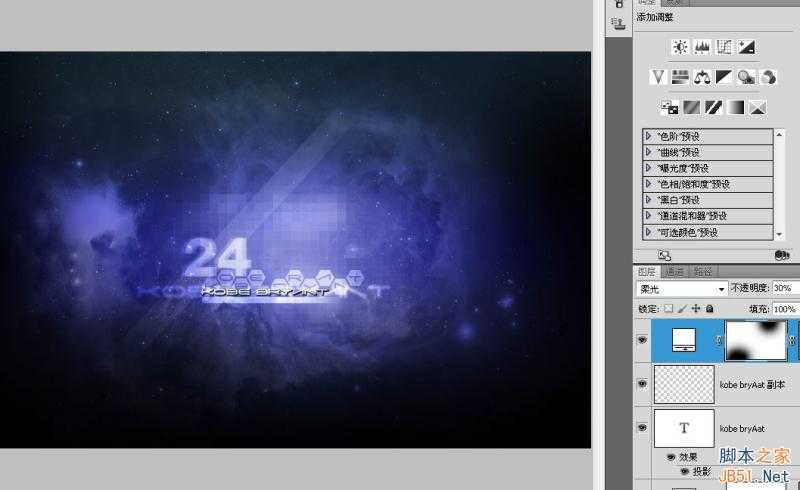
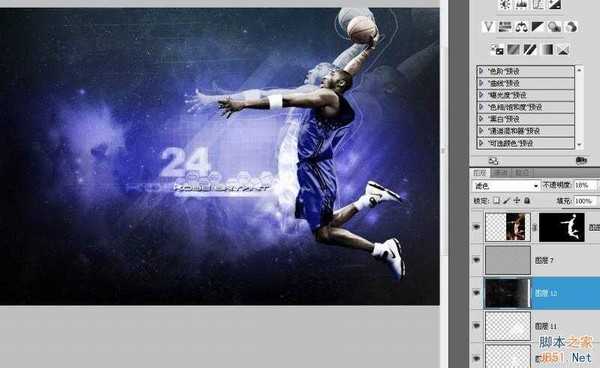
我觉得上面的颜色有点深,新建一层,用2c4257色在顶部涂抹一些,随后把这个层的图层混合模式改为“线性减淡(添加)”,透明度也调低一点。
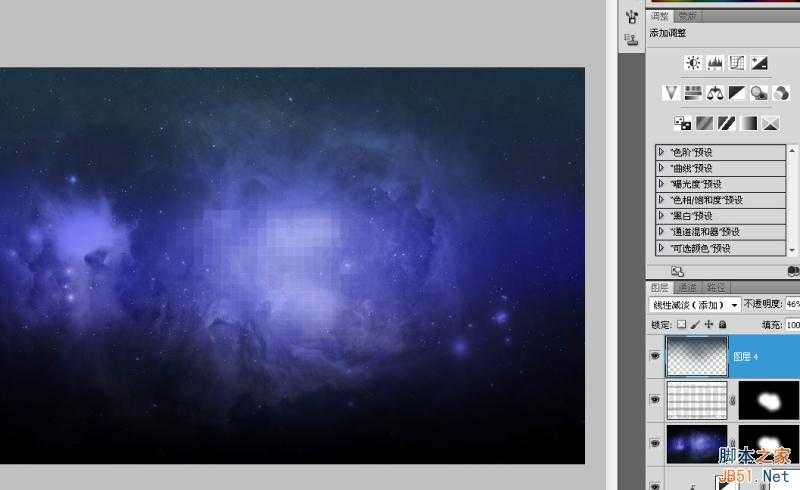
新建一层,用黑色画笔把两边过于明亮的地方遮盖掉。
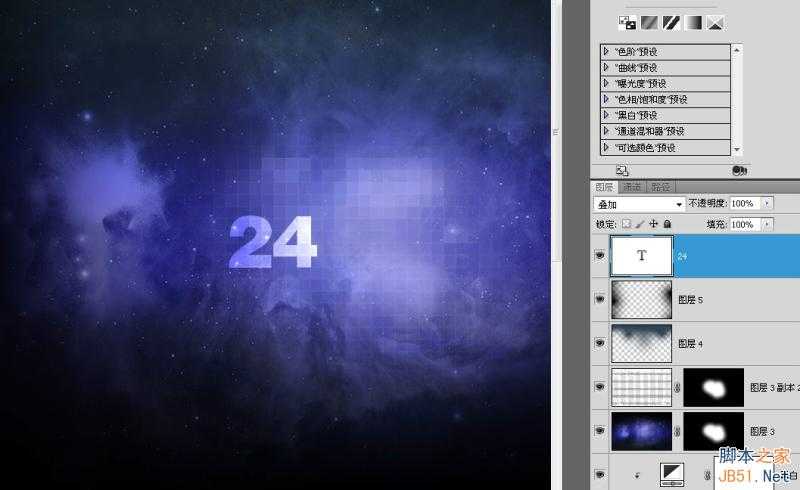
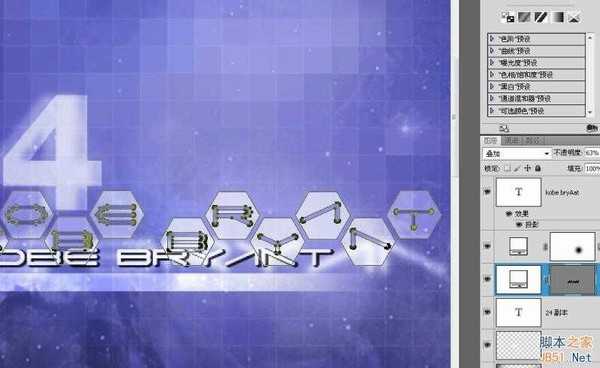
输入一个大小约160像素的24的白色文本,更改图层混合模式为“叠加”,透明度50%。
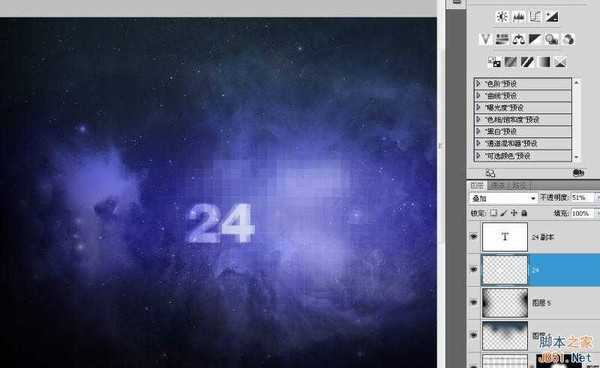
复制一层。将底下层的那个24格栅化后高斯模糊3.0,往左移动一些距离。
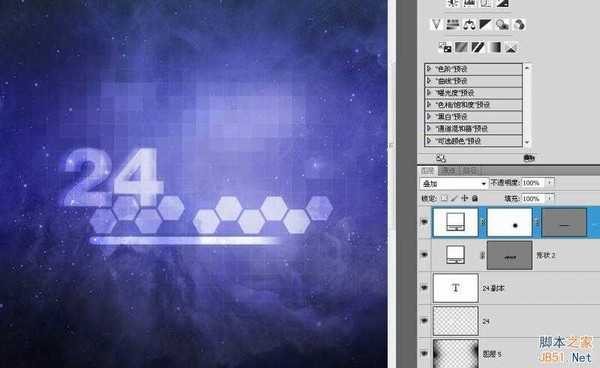
选择“多边形工具”,设为6边,按蜂窝的规律复制摆开,更改图层混合模式为叠加,透明度为63%。

选择圆角矩形工具,圆角半径尽量设得大一点,画一个两头圆滑的长条,长度大致跟“蜂窝”差不多,添加蒙版,把右边渐隐。
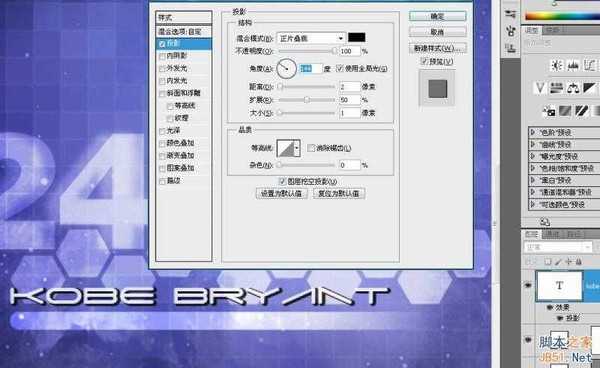
用Imitari Extended字体输入大小为22像素,白色的科比的名字,再增加一个投影。这个字体很原图有些出入,不过也大致相像。
复制一层,清除掉图层样式,CTRL+T同比例放大200%。
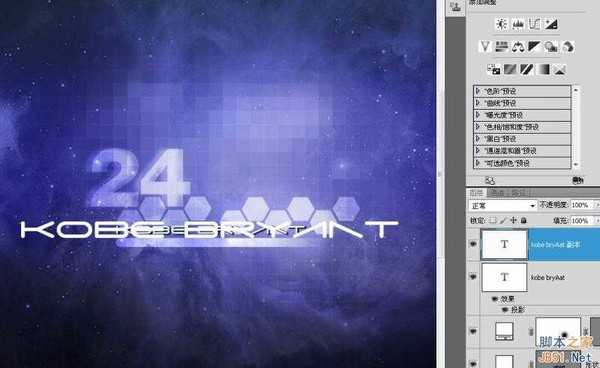
高斯模糊3.0后把图层混合模式改为叠加。
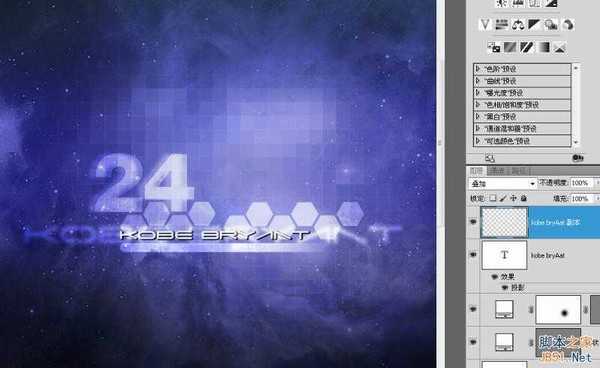
继续复制一层文本,在图层里右键“转换为形状”。
CTRL+T放大同比例117%,按A框选全部字母后CTRL+C F复制,删掉这个层,在蜂窝层里CTRL+V用“减去”的模式粘贴,调整各个字母的位置。
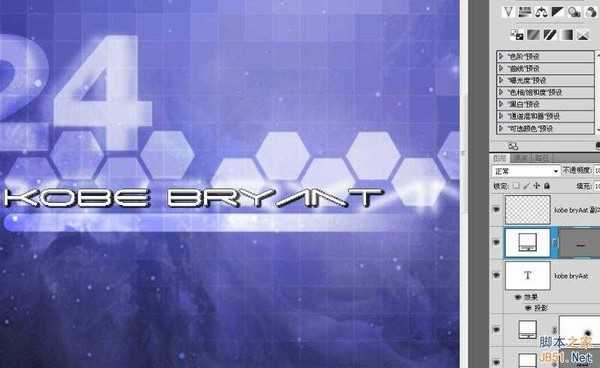
选择“矩形工具”画一个白色的长条,旋转,把它摆放在左边位置,更改图层混合模式为叠加,降低透明度。
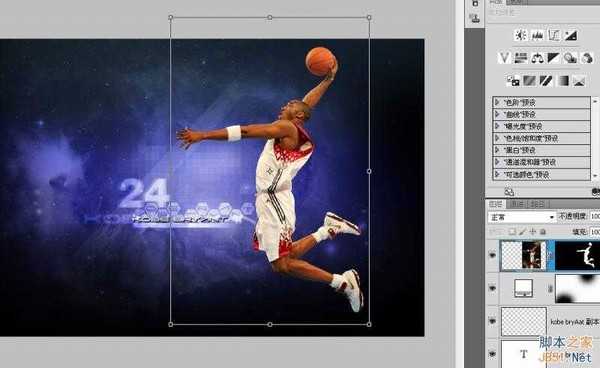
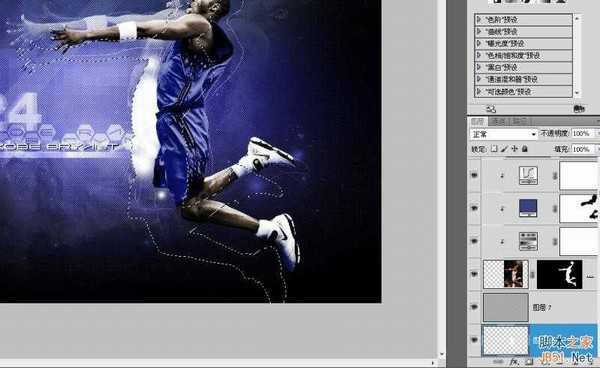
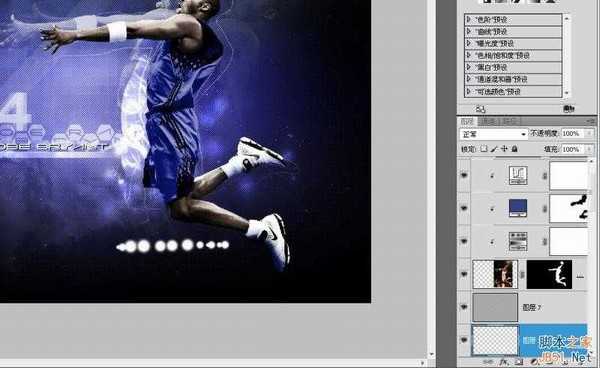
把科比拉进来,调整好大小后用钢笔抠出他的外轮廓。
减低一些饱和度。
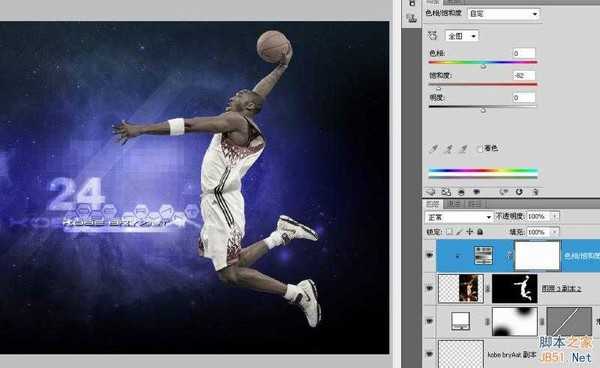
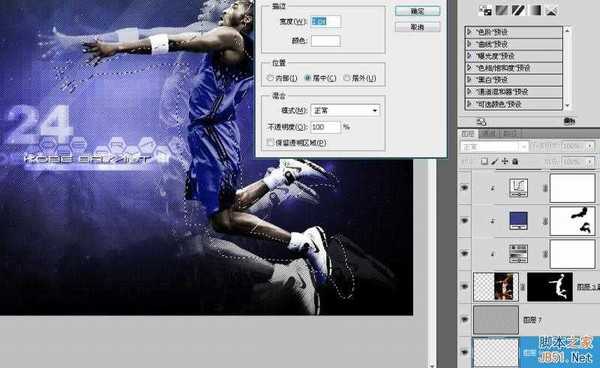
添加一个蓝色的纯色调整层把球衣的颜色更改一下,我用了正片叠底的混合模式。
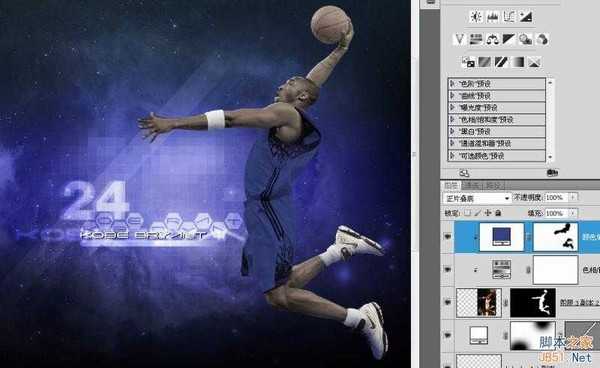
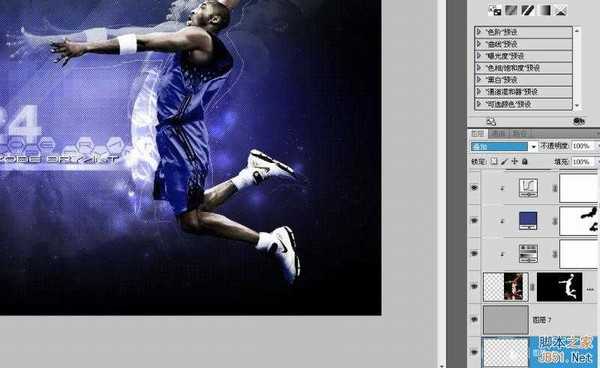
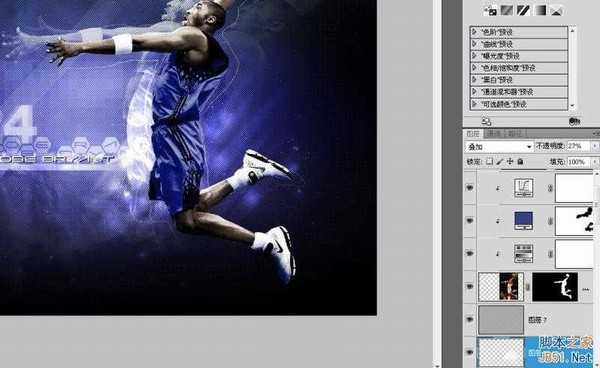
用一个曲线来增强科比的对比度,其实这里用“亮度对比度”也差不多,不过我认为用曲线调整更细腻一些。
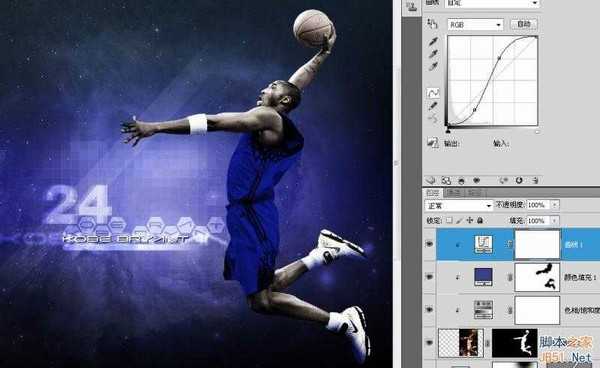
现在的球衣有点假,它没有高光的地方,所有的高光都被蓝色遮盖了,在通道里复制蓝色通道,用色阶调整一下,让高光突出一点。
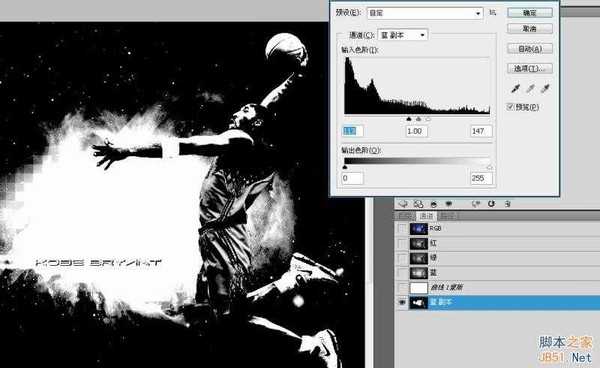
按CTRL在蓝副本上鼠标左键复制选区,回到图层,新建一个剪贴蒙版层,填充白色,适当调低透明度,再添加一个图层蒙版,选择性的降低某些地方过于明亮的高光,比如裸露的肌肤,还有球鞋等等,现在这件蓝色的球衣看上去就比刚才真是多了。

在科比下面新建一层,用油漆桶工具选择一个我起先制作好的图案填充。很简单的图案,这里不细说了。

这是填充完成的效果。

把这个填充的图层混合模式改为叠加。
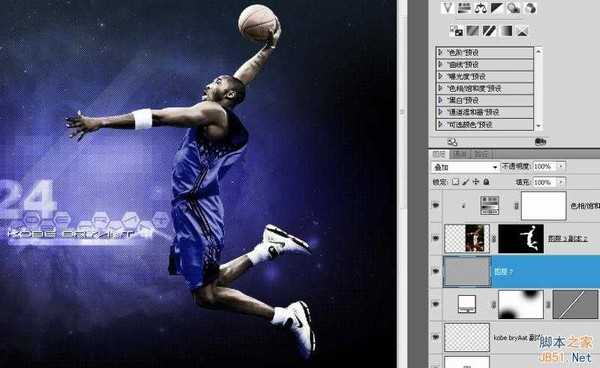
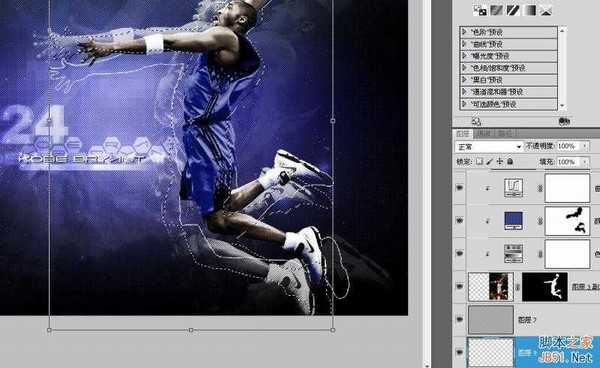
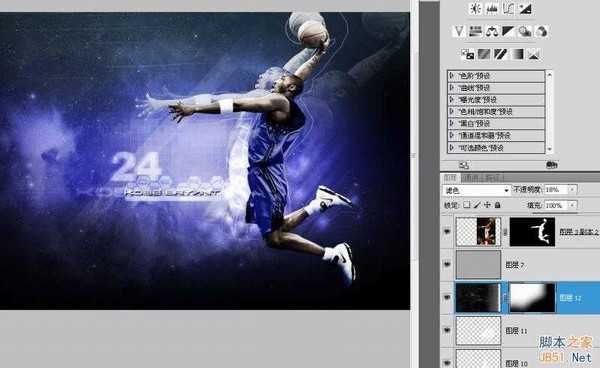
按CTRL在红色通道上左键鼠标复制选区,回到图层栏,在条纹图案填充层下新建一层,填充白色,按住ALT,在科比的蒙版上点击鼠标左键复制蒙版到这个白色填充层,这是我隐藏了科比层的效果。
把这个层飞透明度降低到70左右,放大116%,稍微旋转一些角度也不是不行。
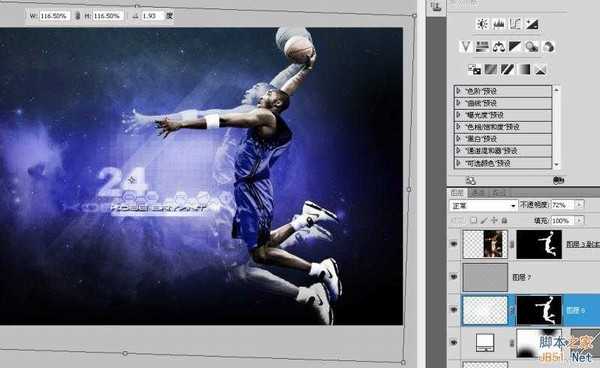
复制一层,继续放大旋转,透明度调至10左右。
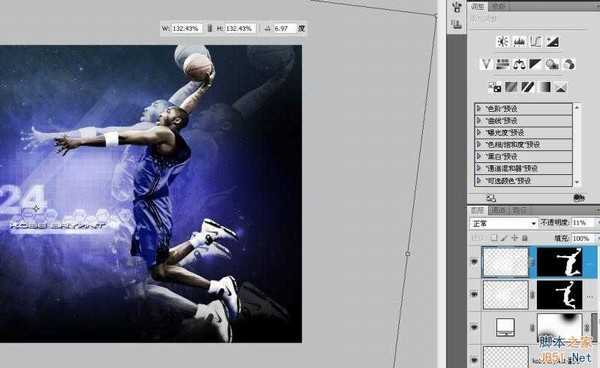
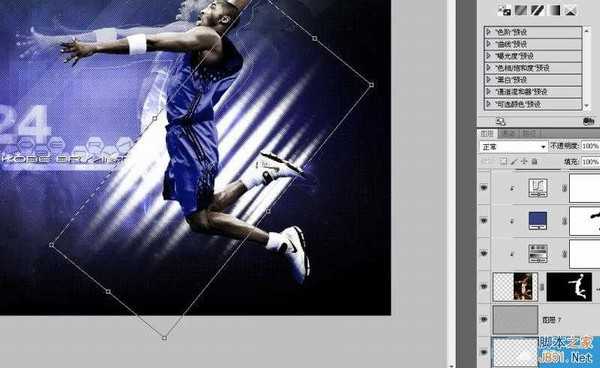
按CTRL在科比的蒙版上点击鼠标左键复制选区,在条纹填充层下新建一层,右键旋转“变换选区”,放大旋转。
右键选择描边。
不要取消选区,再次变换选区,同样放大旋转后描边。
把这个描边层的透明度减低一点,添加一个蒙版,涂抹底部。
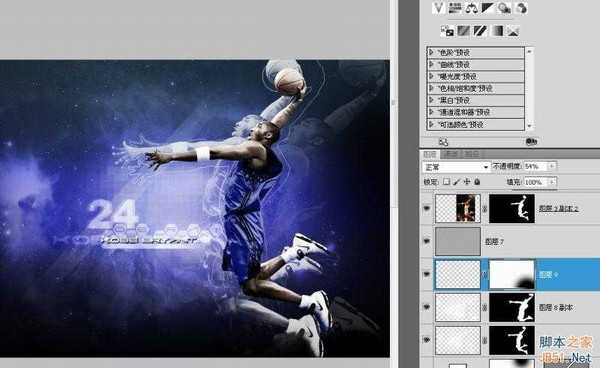
那两个虚影层的蒙版也做一些渐隐的处理。
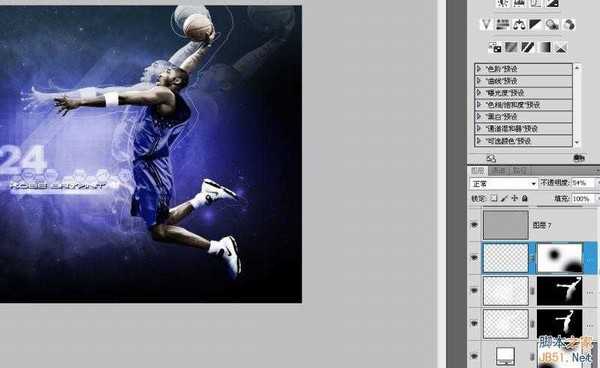
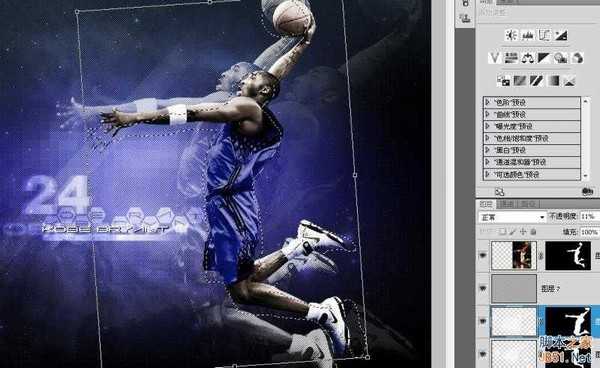
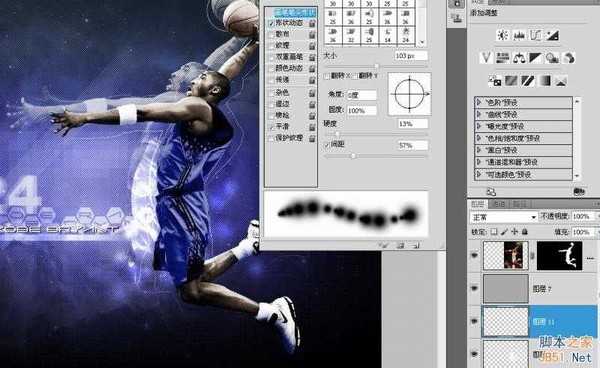
设置一个简单的画笔。

CTRL+鼠标左键在科比的面板里复制选区,调条纹填充层下新建一层,随意涂抹几下。
取消选区后继续点几下。
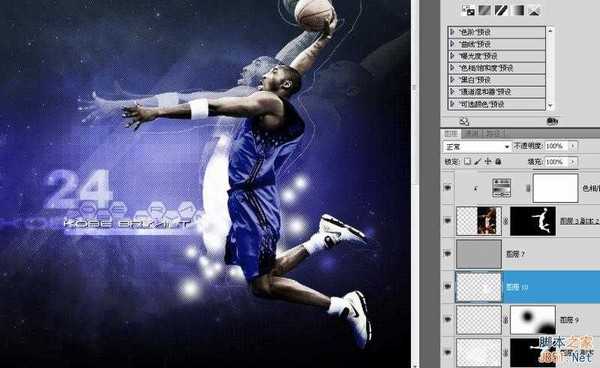
把这个层飞混合模式改为叠加。
继续设置画笔,这里我只取消了散布。
随意的画一笔。
CTRL+T调整一下大小和角度。
改变图层混合模式为叠加,同时降低透明度。
粘贴一张划痕的素材。
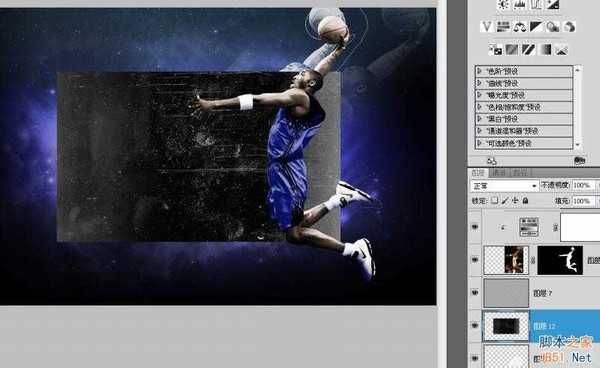
调低透明度,把图层混合模式改为滤色。
添加蒙版,把左下角做一些处理。
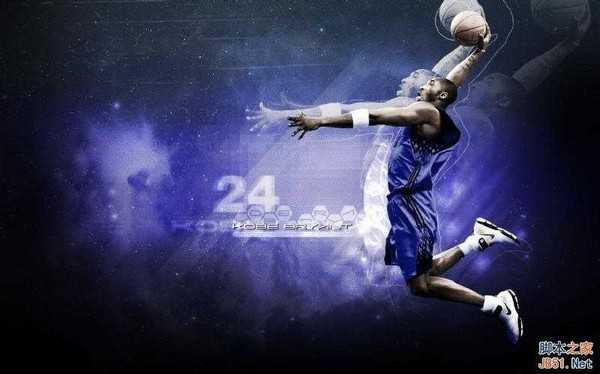
最后完成的效果。
教程结束,以上就是PS绘制炫酷效果的科比飞奔投篮的篮球海报教程,希望大家喜欢!
下一篇:PS绘制高逼格网格背景简易教程