photoshop鼠绘出变形金刚中的逼真的霸天虎
(编辑:jimmy 日期: 2026/5/2 浏览:3 次 )
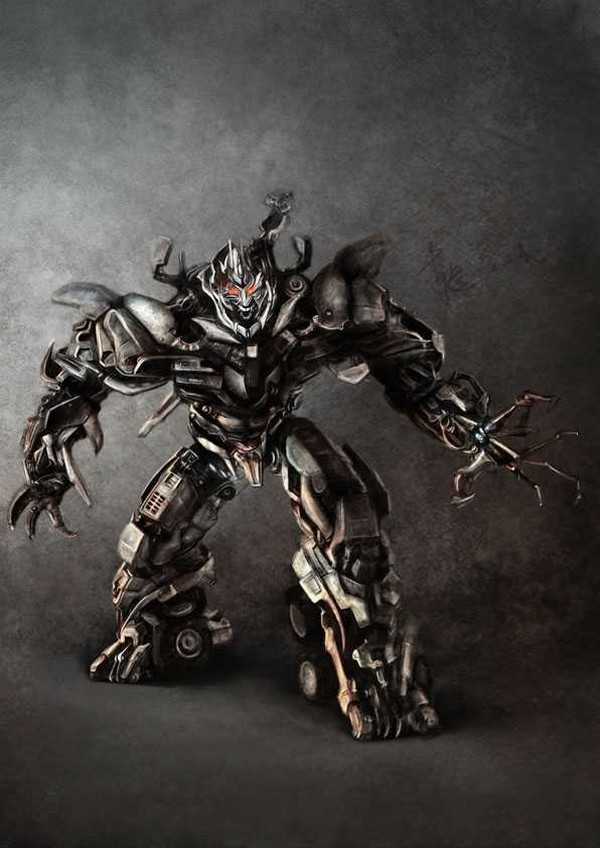
最终效果
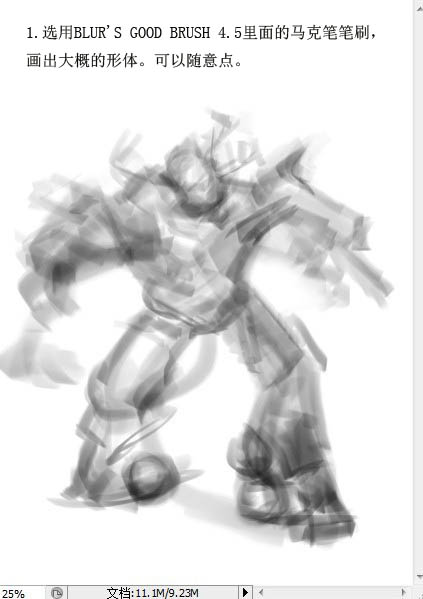
1、新建大小合适的文档,选择笔刷画出大概的体形,可以随意点。
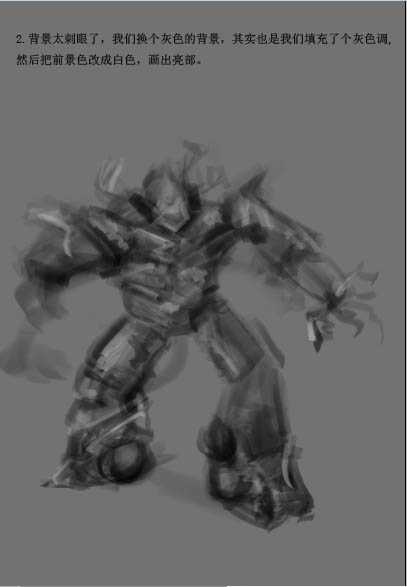
2、背景太刺眼了,我们换个灰色的背景,其实也是我们填充了个灰色调,然后把前景色改成白色,调出亮部。
3、进一步完善形体,细节不必去刻画,主要是画出大的明暗关系。

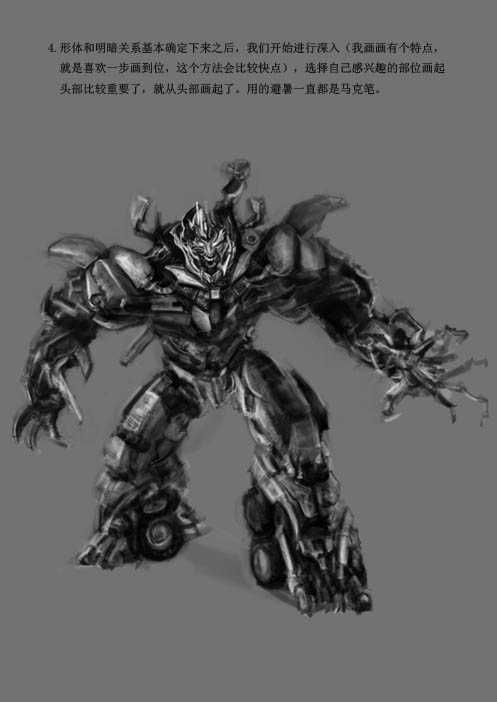
4、形体和明暗关系基本确定下来之后,我们开始进行深入贺卡,选择自己感兴趣的部位画起。头部比较重要,就从头部分画起。
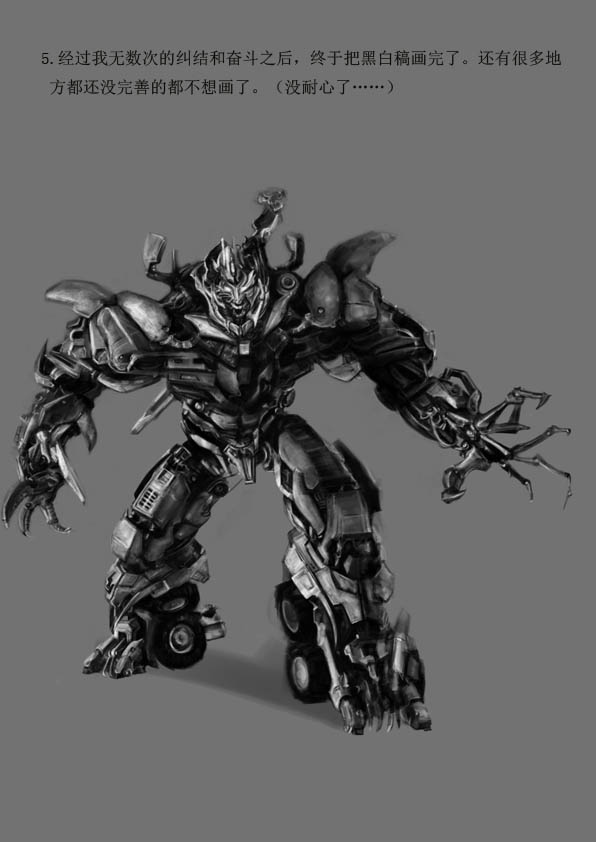
5、黑白稿基本完成的效果如下图。
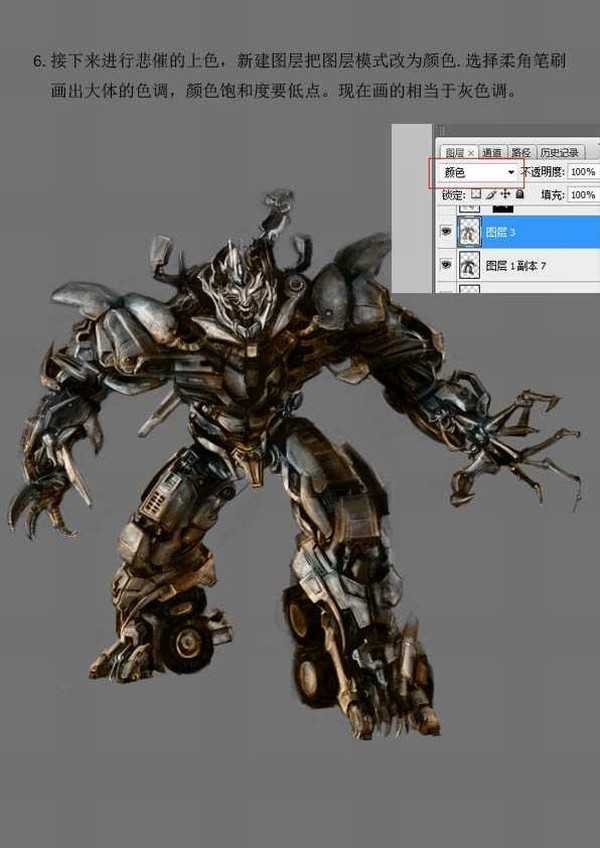
6、接下来进行上色,新建一个图层,混合模式改为“颜色”,选择柔角笔刷画出大体的色调,颜色和饱和度要低点。现在画的相当于灰色调。
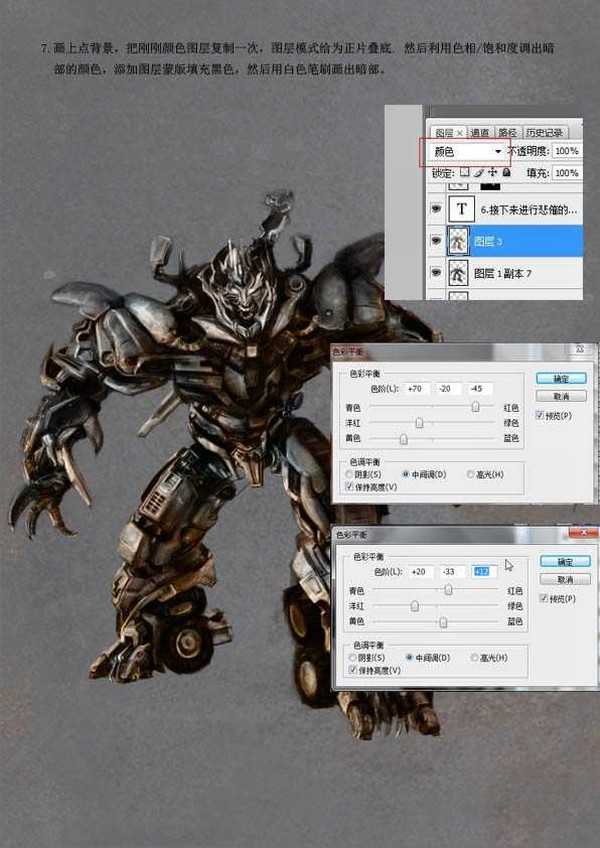
7、画上点背景,把刚刚颜色图层复制一次,图层混合模式改为“正片叠底”,然后利用色相/饱和度调出暗部的颜色,添加图层蒙版填充黑色,然后用白色画笔画出暗部。
8、再次复制颜色图层放到最上面,图层混合模式改为“颜色减淡”,和刚刚的方法一样,添加图层蒙版,画出亮部,三大调子就画完了。

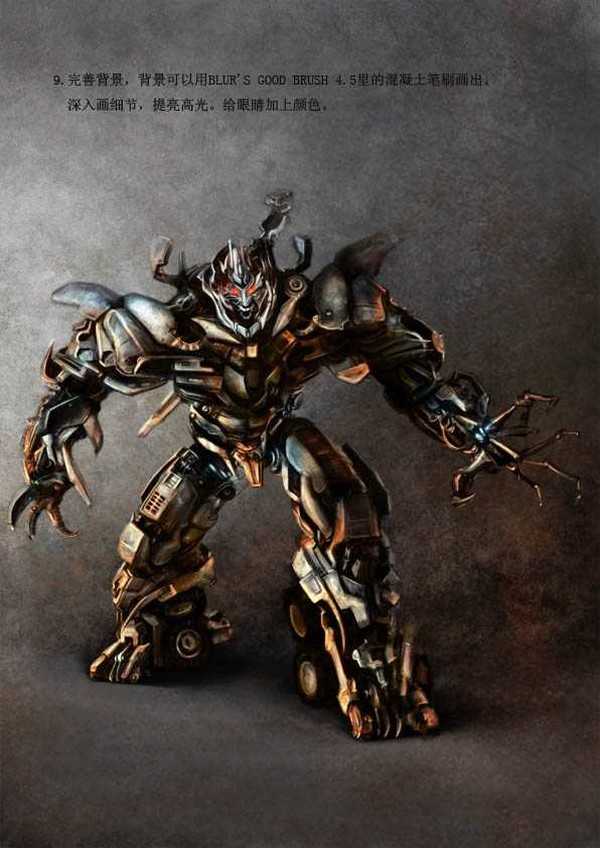
9、完善背景,背景可以用混泥土笔刷。然后深入细节,提亮高光,再给颜色加深颜色。
10、最后调整下颜色,贴上铁锈纹理,完成最终效果。
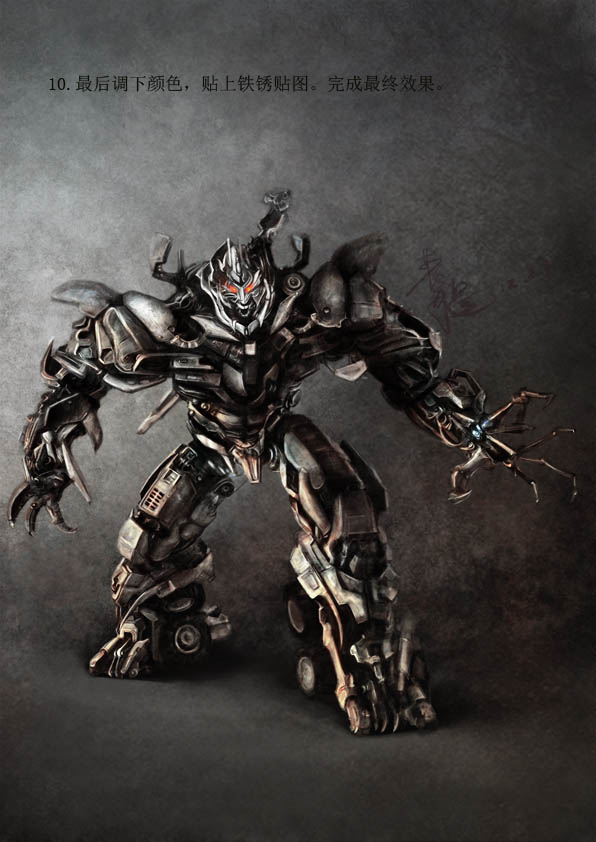
最终效果:
1、新建大小合适的文档,选择笔刷画出大概的体形,可以随意点。
2、背景太刺眼了,我们换个灰色的背景,其实也是我们填充了个灰色调,然后把前景色改成白色,调出亮部。
3、进一步完善形体,细节不必去刻画,主要是画出大的明暗关系。
4、形体和明暗关系基本确定下来之后,我们开始进行深入贺卡,选择自己感兴趣的部位画起。头部比较重要,就从头部分画起。
5、黑白稿基本完成的效果如下图。
6、接下来进行上色,新建一个图层,混合模式改为“颜色”,选择柔角笔刷画出大体的色调,颜色和饱和度要低点。现在画的相当于灰色调。
7、画上点背景,把刚刚颜色图层复制一次,图层混合模式改为“正片叠底”,然后利用色相/饱和度调出暗部的颜色,添加图层蒙版填充黑色,然后用白色画笔画出暗部。
8、再次复制颜色图层放到最上面,图层混合模式改为“颜色减淡”,和刚刚的方法一样,添加图层蒙版,画出亮部,三大调子就画完了。
9、完善背景,背景可以用混泥土笔刷。然后深入细节,提亮高光,再给颜色加深颜色。
10、最后调整下颜色,贴上铁锈纹理,完成最终效果。
最终效果:
下一篇:photoshop鼠绘出星球大战中的外太空机器人头像