photoshop鼠绘出梦幻生动的魔法师森林场景
(编辑:jimmy 日期: 2026/7/25 浏览:3 次 )
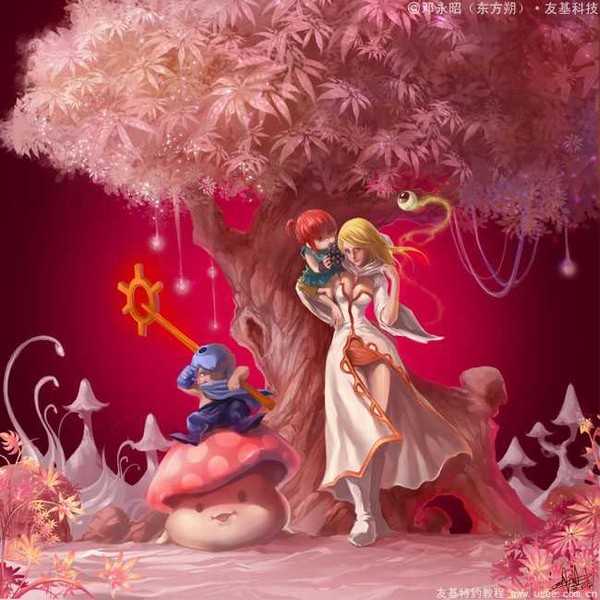
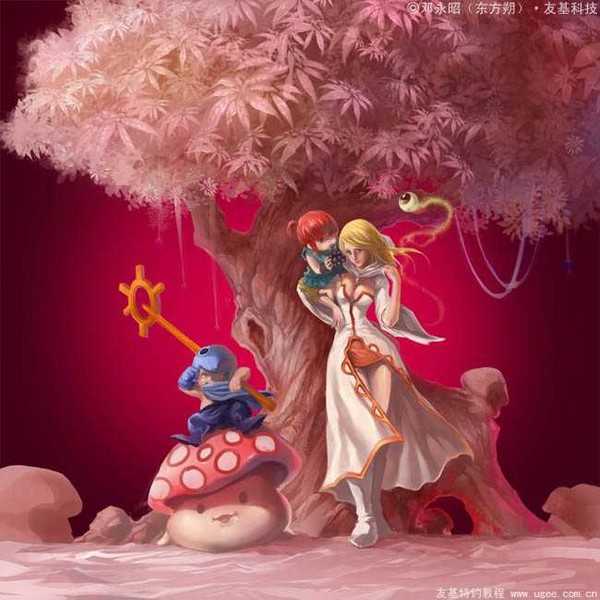
最终效果
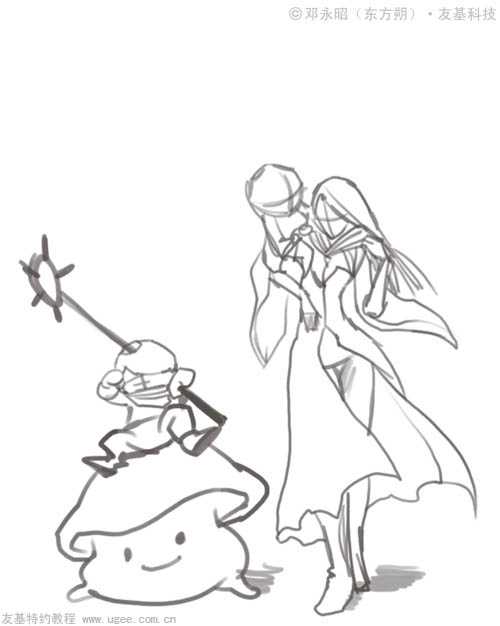
1、这次的教程我想要画一张4个人物构图的插画,首先选择尖角笔,定好四个人物的位置和动作。
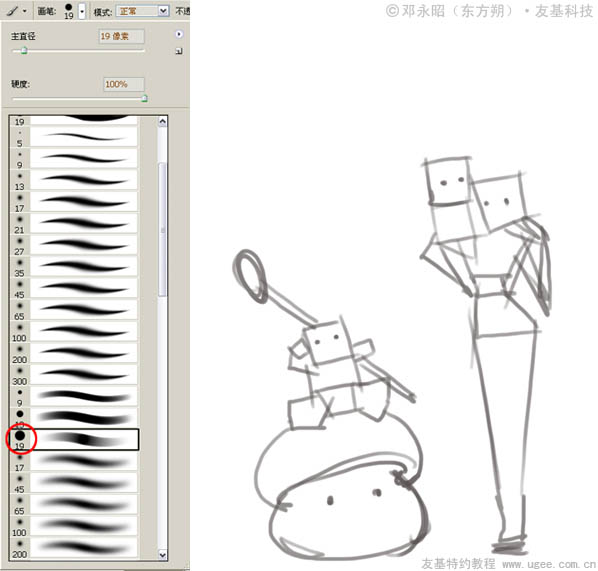
2、这次我的基本构思是一个光明系的法师MM带着她的两个小朋友一起出游时的情景,小女孩撒娇地坐在法师MM的肩上,小男孩则坐在蘑菇坐骑上开心地行走。
3、先给人物和坐骑铺个大色衬底,定一个比较概括的明暗关系。
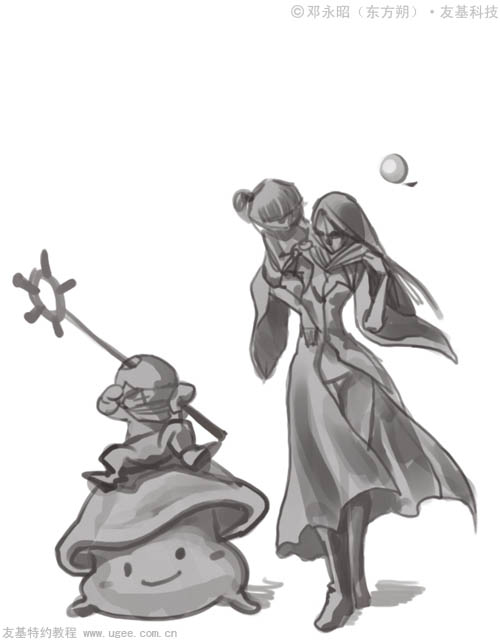
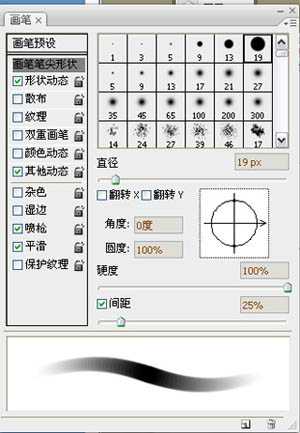
4、选择虚角笔,调好里面的参数值(具体数值可参考下图)后开始细化人物,我比较喜欢用虚角笔来处理细节部分。
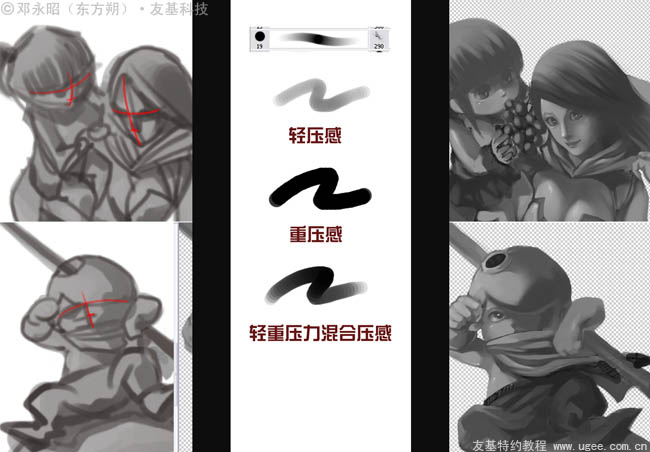
5、利用数位板的压感,用不同的下笔轻重处理出有渐变层次的质感。画完了这一步基本上就算完成了单色稿的80%,所以这里需要花的时间也会比较多,要耐心。
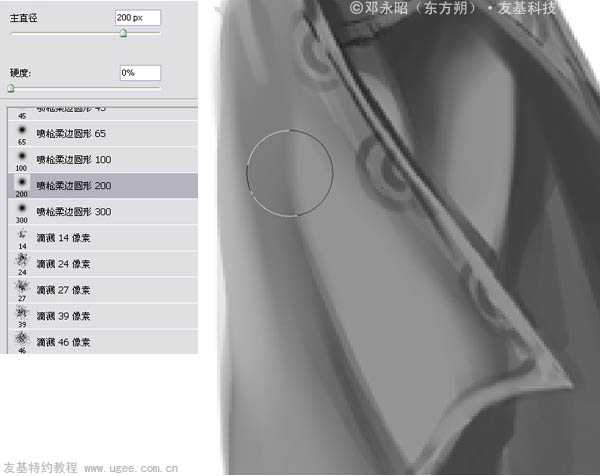
6、选择喷枪笔刷,用于处理衣服飘起时的阴影过渡。
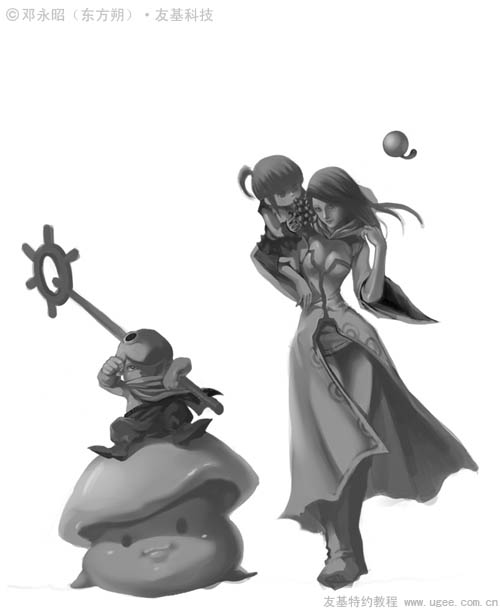
7、单色稿大概就到这个程度了,下面我们放到正常比例来看下整体效果。
8、开始绘制背景,由于原来的构图太小了,场景不好表现,所以我调整了画布的大小。
9、先给背景画一个大概的树干造型。
10、选择19号圆头笔刷,调节设置好笔刷的属性,让笔刷略带有倾斜的感觉。
11、用上述设置好的笔刷对树干进行细化处理,树干的纹理很重要,要画出那种树皮的感觉,还有树的凹凸质感。

12、显示人物图层,查看效果后,我觉得地面需要加点蘑菇之类的令大树看起来更有生机。
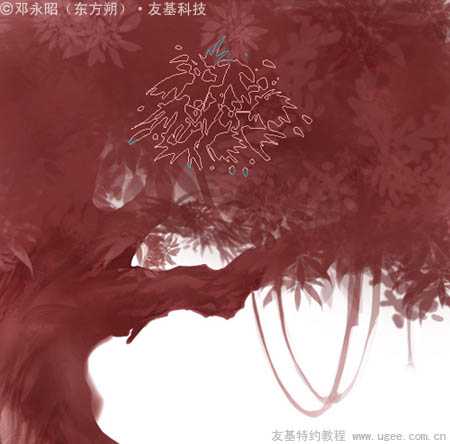
13、开始为这棵壮硕的大树添加树叶,先用笔刷画出个大概轮廓。
14、绘制树叶元素,这个元素做出来后可以通过复制、角度变换等方式制作出不同形状的树叶。
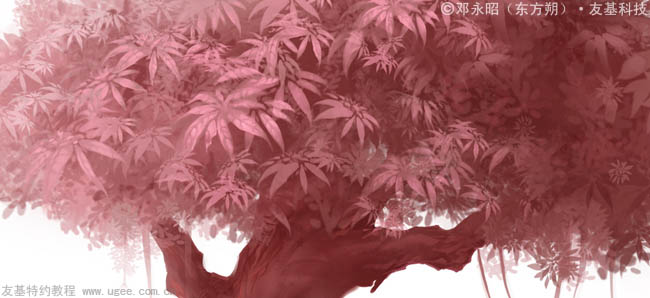
15、经过细化后的大树大概的剪影已经出来了,单色稿不用画得太细,到这个程度就行了。
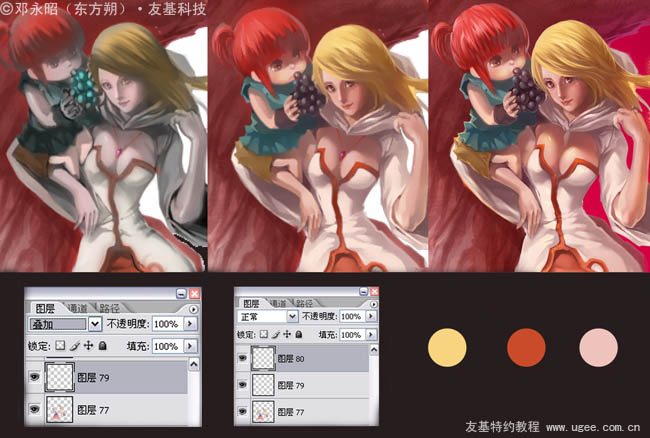
16、新建图层,图层属性设为【叠加】,开始给画面上色。先在这个图层上铺上大概的颜色看下感觉。
17、对人物进行细化。对光源、层次感、高光、明暗交界的色彩过渡等方面,通过不断地颜色叠加和混合处理出自己满意的效果。
18、选择树叶笔刷,辅助绘制后景的树叶剪影。
19、树叶的分布要错综有序,不能都画得满满的,只有虚实结合恰当看上去才会自然。
20、给树叶加点辅助色,如黄色和紫色,这样可以令背景的树叶和前景中人物的颜色有些色彩联系。

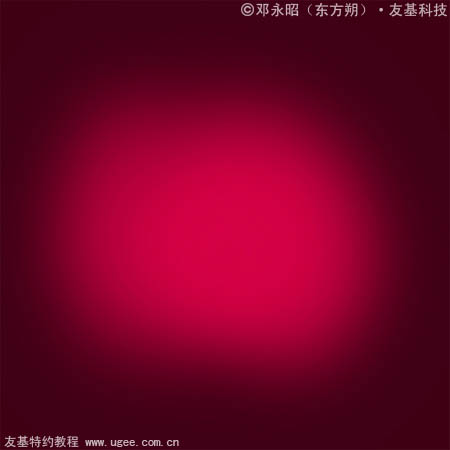
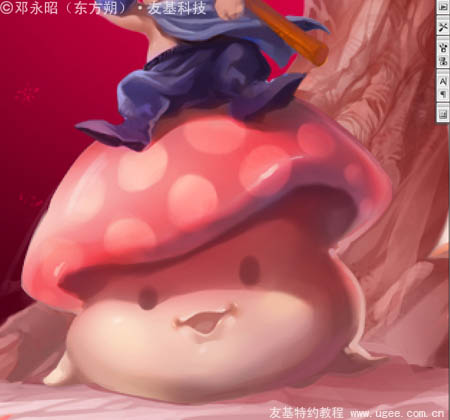
21、由于背景还是白色,所以我们需要为画面制作一个底色背景。考虑到人物和大树的色调都是以红色为主,所以我用渐变工具制作了一个酒红色的背景。
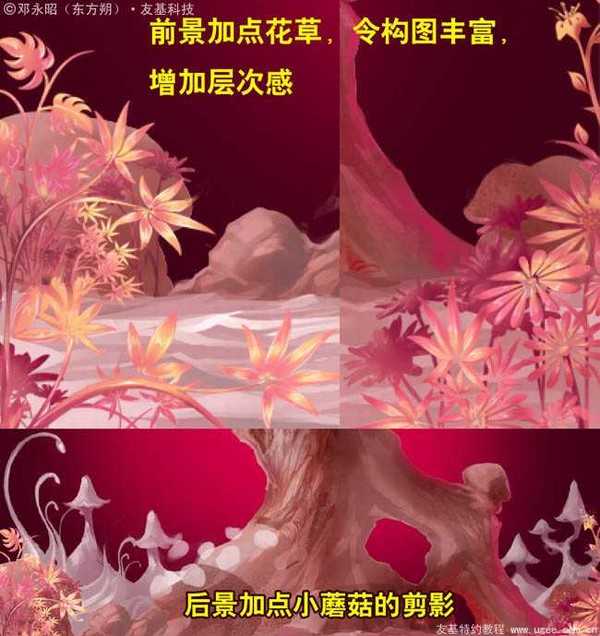
22、来看下整体效果,感觉还不错,既能突显出前景,后景也有主光源来衬托。
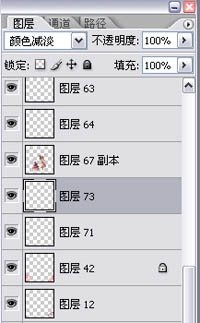
23、蘑菇坐骑的头顶纹理有点生硬,我们用叠加效果把蘑菇头上的圈圈纹理再处理下。
24、继续给前景和后景加些小元素以丰富构图,并加大作品的前后空间感。PS:这些小元素不需要画得很深入,以剪影的形式来处理就行,因为它们不是视觉的主体。
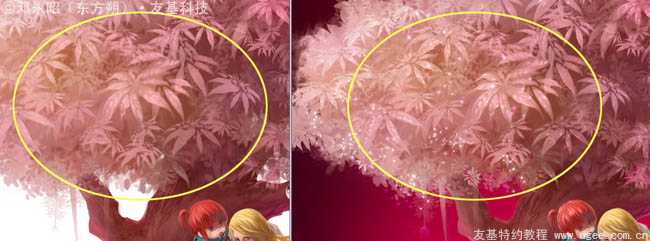
25、新建图层,图层属性设为【颜色减淡】,然后用星星笔刷为树叶加上高光。这一步能起到画龙点睛的效果,加了高光的树叶会变得更有生机,也会让大树看起来更通透有灵气,好像精灵树的感觉。
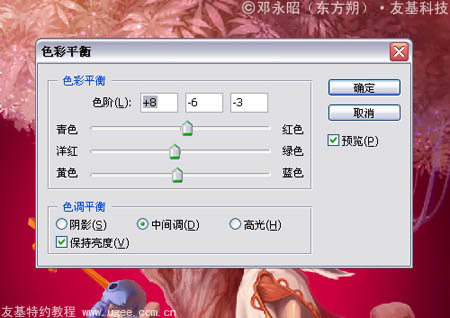
26、最后,通过色彩平衡把整幅作品的色调统一提亮下,再签上名字,一幅清新浪漫的作品就完成了。
最终效果:
1、这次的教程我想要画一张4个人物构图的插画,首先选择尖角笔,定好四个人物的位置和动作。
2、这次我的基本构思是一个光明系的法师MM带着她的两个小朋友一起出游时的情景,小女孩撒娇地坐在法师MM的肩上,小男孩则坐在蘑菇坐骑上开心地行走。
3、先给人物和坐骑铺个大色衬底,定一个比较概括的明暗关系。
4、选择虚角笔,调好里面的参数值(具体数值可参考下图)后开始细化人物,我比较喜欢用虚角笔来处理细节部分。
5、利用数位板的压感,用不同的下笔轻重处理出有渐变层次的质感。画完了这一步基本上就算完成了单色稿的80%,所以这里需要花的时间也会比较多,要耐心。
6、选择喷枪笔刷,用于处理衣服飘起时的阴影过渡。
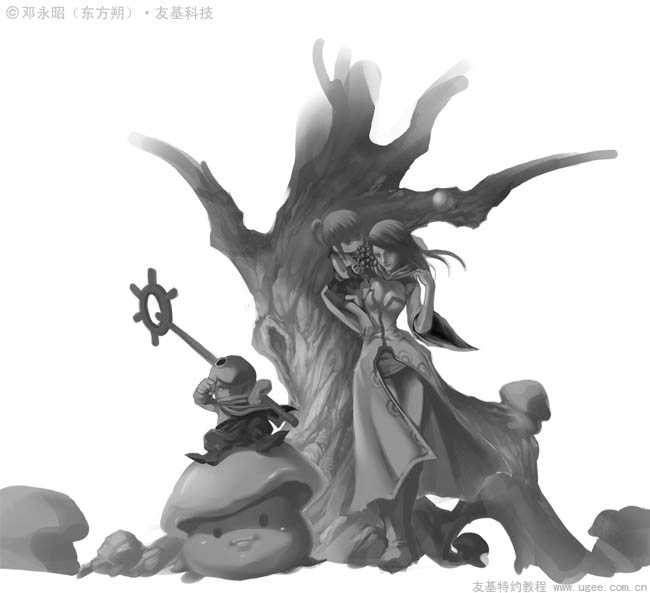
7、单色稿大概就到这个程度了,下面我们放到正常比例来看下整体效果。
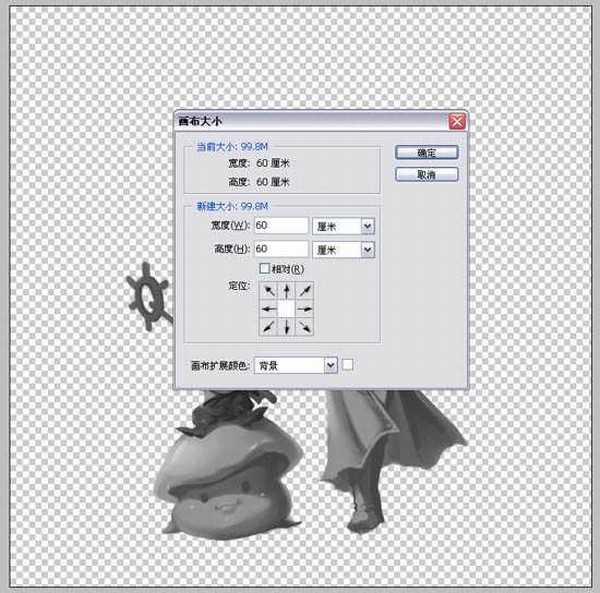
8、开始绘制背景,由于原来的构图太小了,场景不好表现,所以我调整了画布的大小。
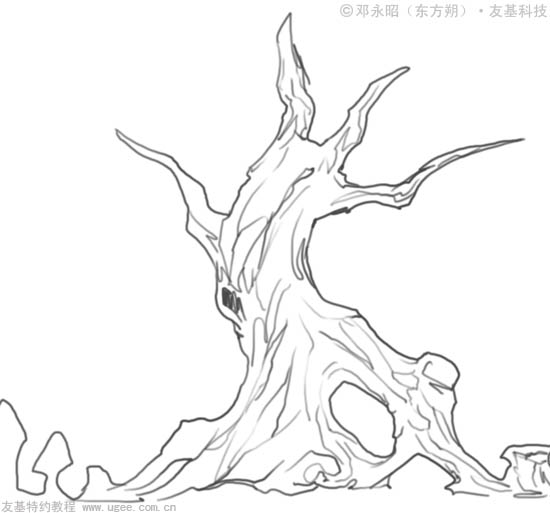
9、先给背景画一个大概的树干造型。
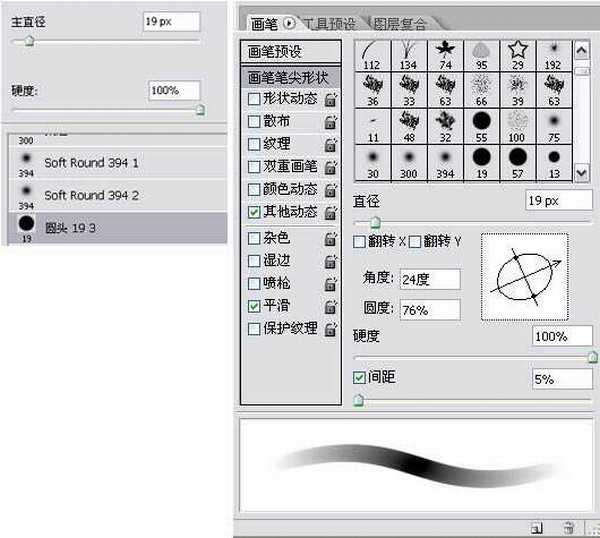
10、选择19号圆头笔刷,调节设置好笔刷的属性,让笔刷略带有倾斜的感觉。
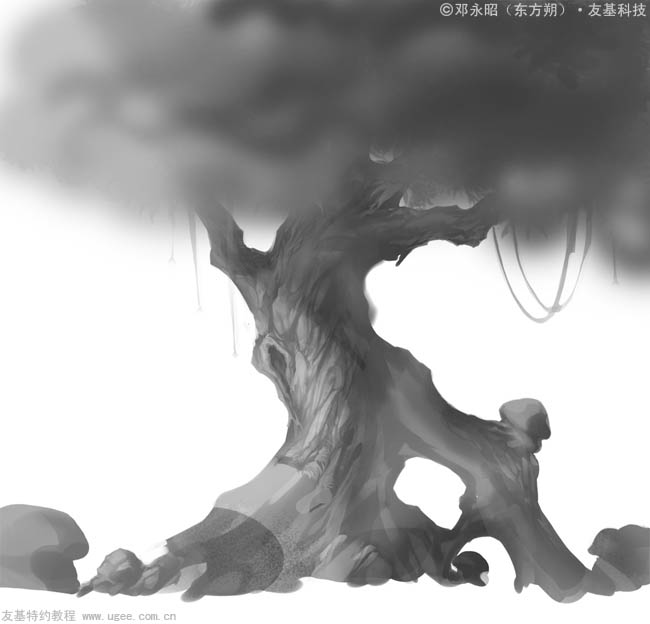
11、用上述设置好的笔刷对树干进行细化处理,树干的纹理很重要,要画出那种树皮的感觉,还有树的凹凸质感。
12、显示人物图层,查看效果后,我觉得地面需要加点蘑菇之类的令大树看起来更有生机。
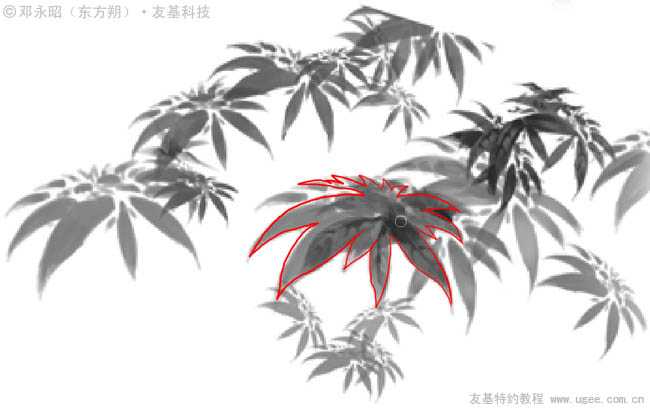
13、开始为这棵壮硕的大树添加树叶,先用笔刷画出个大概轮廓。
14、绘制树叶元素,这个元素做出来后可以通过复制、角度变换等方式制作出不同形状的树叶。
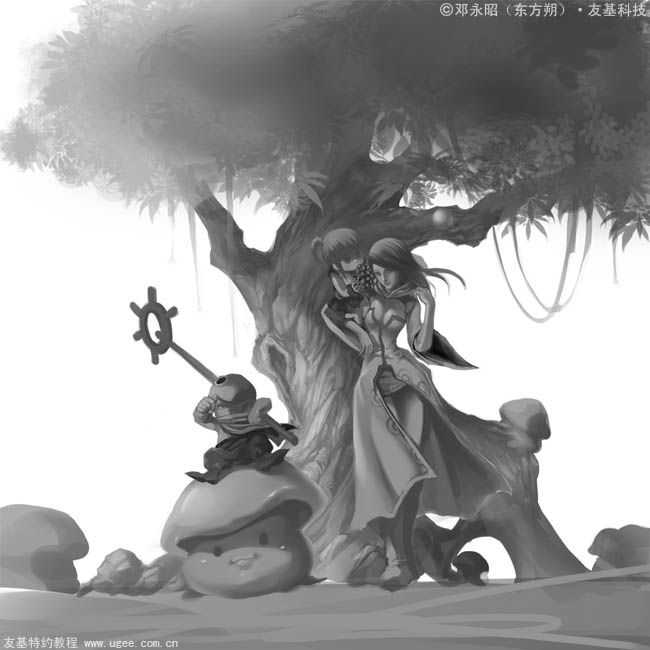
15、经过细化后的大树大概的剪影已经出来了,单色稿不用画得太细,到这个程度就行了。
16、新建图层,图层属性设为【叠加】,开始给画面上色。先在这个图层上铺上大概的颜色看下感觉。
17、对人物进行细化。对光源、层次感、高光、明暗交界的色彩过渡等方面,通过不断地颜色叠加和混合处理出自己满意的效果。
18、选择树叶笔刷,辅助绘制后景的树叶剪影。
19、树叶的分布要错综有序,不能都画得满满的,只有虚实结合恰当看上去才会自然。
20、给树叶加点辅助色,如黄色和紫色,这样可以令背景的树叶和前景中人物的颜色有些色彩联系。
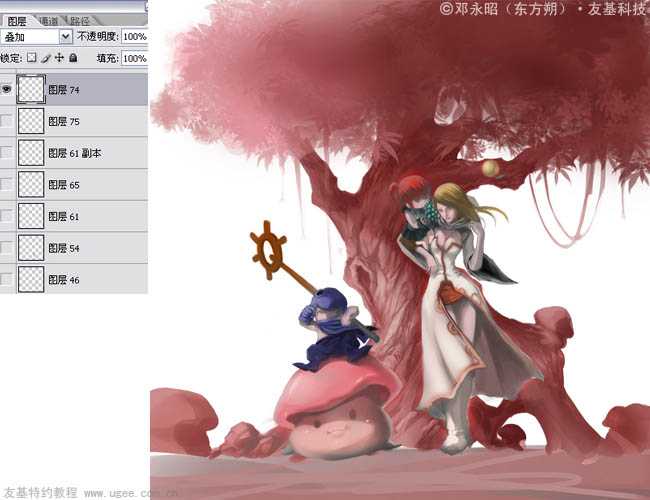
21、由于背景还是白色,所以我们需要为画面制作一个底色背景。考虑到人物和大树的色调都是以红色为主,所以我用渐变工具制作了一个酒红色的背景。
22、来看下整体效果,感觉还不错,既能突显出前景,后景也有主光源来衬托。
23、蘑菇坐骑的头顶纹理有点生硬,我们用叠加效果把蘑菇头上的圈圈纹理再处理下。
24、继续给前景和后景加些小元素以丰富构图,并加大作品的前后空间感。PS:这些小元素不需要画得很深入,以剪影的形式来处理就行,因为它们不是视觉的主体。
25、新建图层,图层属性设为【颜色减淡】,然后用星星笔刷为树叶加上高光。这一步能起到画龙点睛的效果,加了高光的树叶会变得更有生机,也会让大树看起来更通透有灵气,好像精灵树的感觉。
26、最后,通过色彩平衡把整幅作品的色调统一提亮下,再签上名字,一幅清新浪漫的作品就完成了。
最终效果:
下一篇:PhotoShop制作出美食blog网站首页的网页设计制作教程