Photoshop鼠绘出漫画般精细的黑白古典人物插画效果
(编辑:jimmy 日期: 2026/7/24 浏览:3 次 )
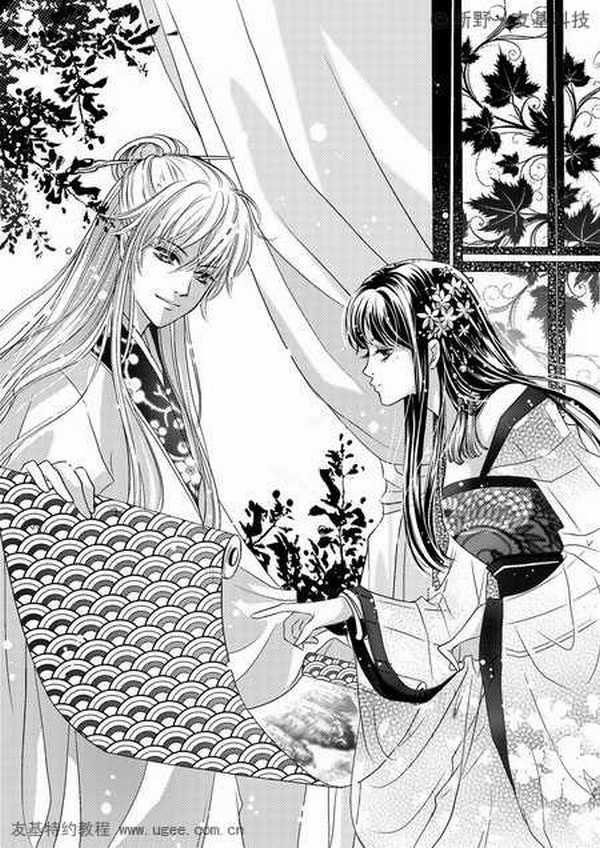
最终效果
1、在sai新建图像打草稿,A4大小,分辨率300dpi。这次画的是两人点评画作的场景,所以画的时候最好打个木偶人把握好人的动态,在这基础上画草图就不容易走型了。
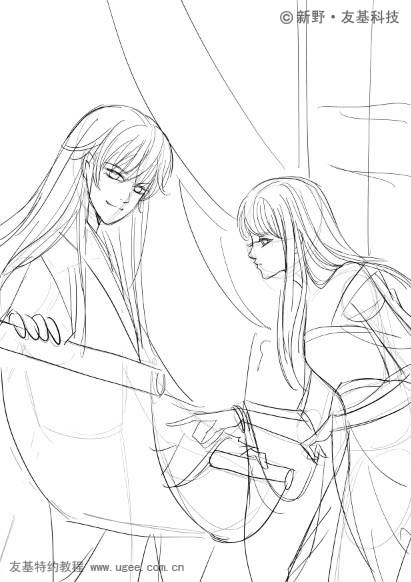
2、打好大致轮廓后,将不透明度调整到不妨碍描线,开始画草稿。
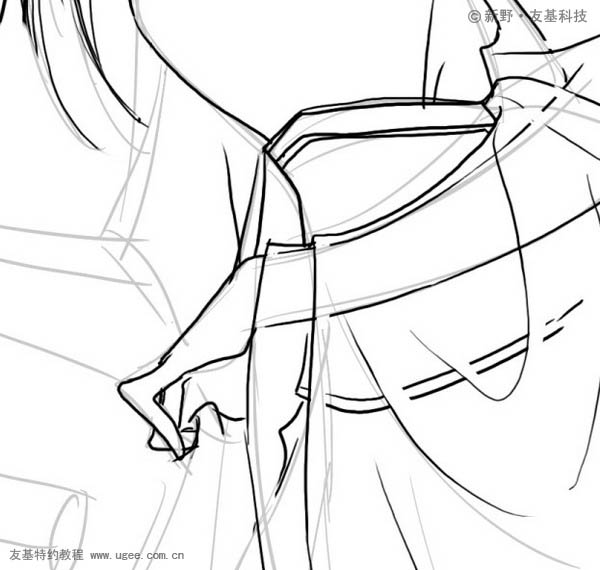
3、画的时候注意头发和衣服的走向,袖子的褶皱可以清楚地表现关节的转折和前后关系。女装用的是半透明的薄纱质感,纱料褶皱线条较为柔顺,质感轻盈,可以简单地描出手臂和腰的部分来表现纱料的透明度。
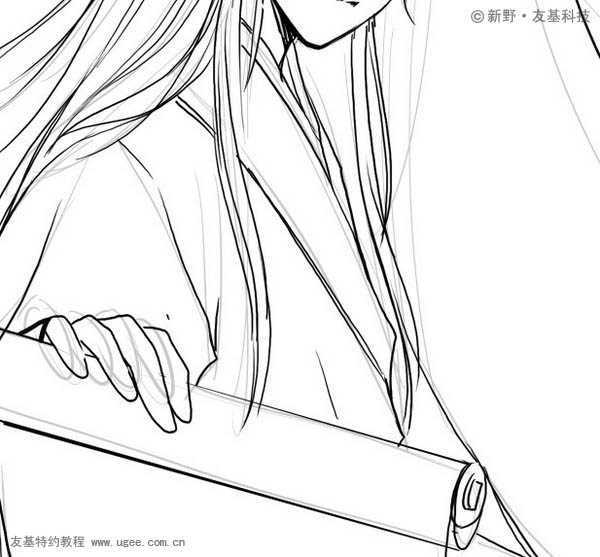
男装基本上被画轴挡住了,领口部分要露出里面衣服的领口。布衣比纱要硬,褶皱线条也比较直,这些在画的时候要特别注意。
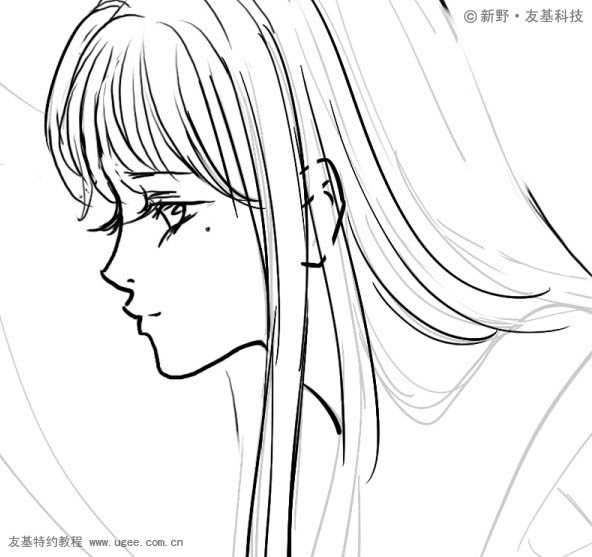
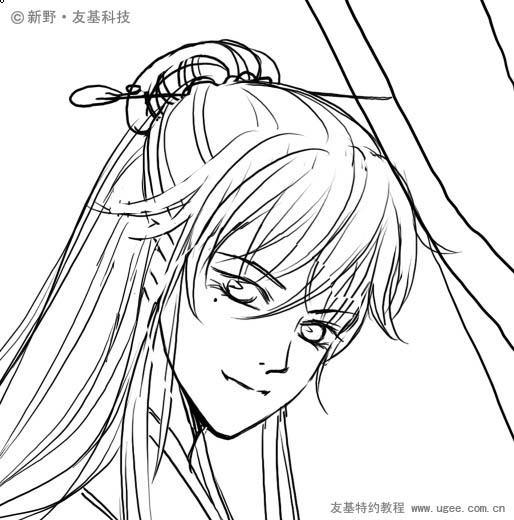
4、男的加个发髻,女的加些头饰。

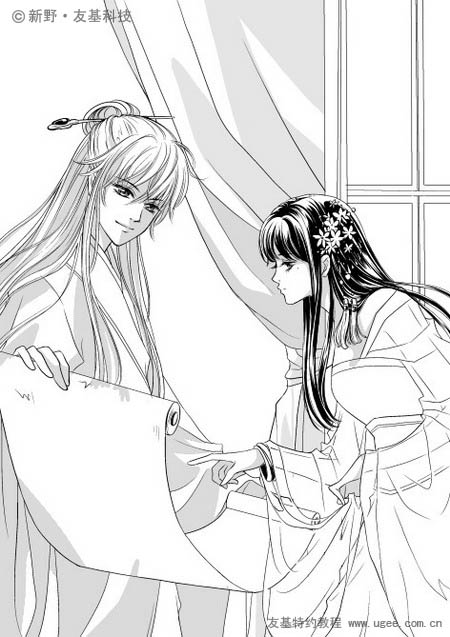
5、这样草稿就画好了,看一下整体效果。
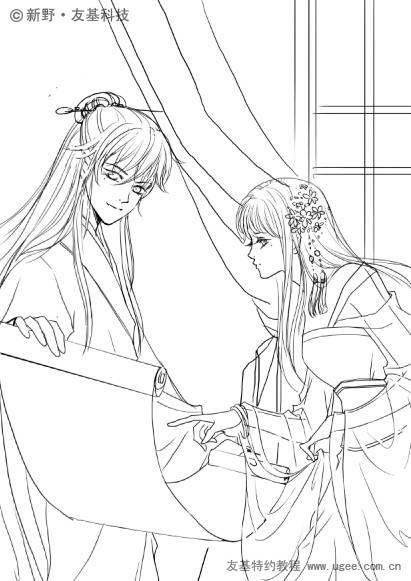
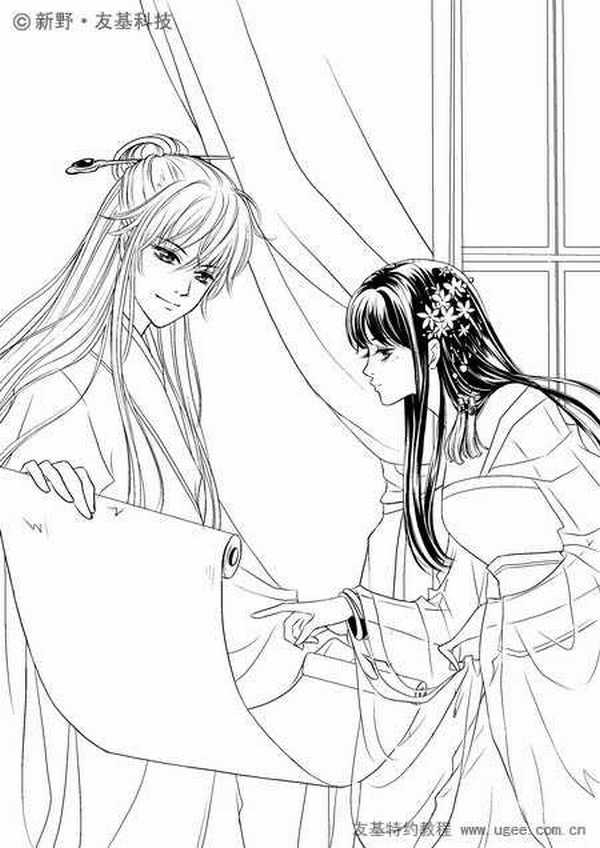
6、给编辑看过草稿没问题后就可以开始描线了。描线要结合压感笔的压感来表现线条的粗细变化,并画出眼睛和黑头发。
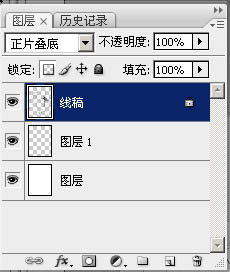
7、在ps中打开线稿,图像模式改为灰度,图层模式改为正片叠底置顶。
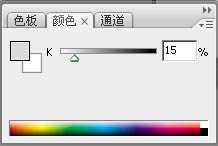
8、新建图层,用颜色调整到15%的灰度,开始涂阴影。
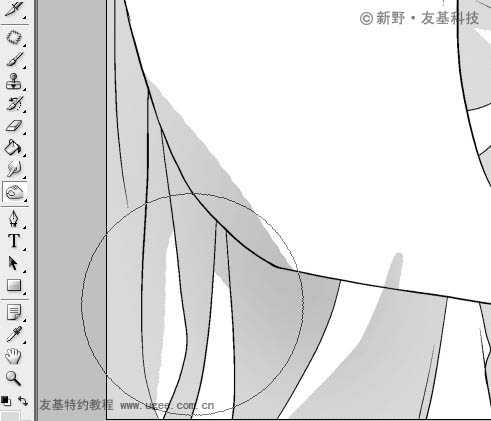
9、选择加深工具,适当地加深。
10、选择“滤镜-像素化-彩色半调”,将数值调整为如下图。(PS:最大半径可以根据自己的需要改动,半径越大网点的点就越大。)
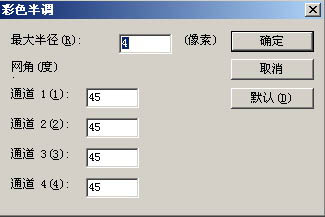
11、这样涂上阴影的部分就变成网点了(PS:这里要注意图层的透明度必须是100%的,这样网点的点才是纯黑色的。)
上一页12 下一页 阅读全文
1、在sai新建图像打草稿,A4大小,分辨率300dpi。这次画的是两人点评画作的场景,所以画的时候最好打个木偶人把握好人的动态,在这基础上画草图就不容易走型了。
2、打好大致轮廓后,将不透明度调整到不妨碍描线,开始画草稿。
3、画的时候注意头发和衣服的走向,袖子的褶皱可以清楚地表现关节的转折和前后关系。女装用的是半透明的薄纱质感,纱料褶皱线条较为柔顺,质感轻盈,可以简单地描出手臂和腰的部分来表现纱料的透明度。
男装基本上被画轴挡住了,领口部分要露出里面衣服的领口。布衣比纱要硬,褶皱线条也比较直,这些在画的时候要特别注意。
4、男的加个发髻,女的加些头饰。
5、这样草稿就画好了,看一下整体效果。
6、给编辑看过草稿没问题后就可以开始描线了。描线要结合压感笔的压感来表现线条的粗细变化,并画出眼睛和黑头发。
7、在ps中打开线稿,图像模式改为灰度,图层模式改为正片叠底置顶。
8、新建图层,用颜色调整到15%的灰度,开始涂阴影。
9、选择加深工具,适当地加深。
10、选择“滤镜-像素化-彩色半调”,将数值调整为如下图。(PS:最大半径可以根据自己的需要改动,半径越大网点的点就越大。)
11、这样涂上阴影的部分就变成网点了(PS:这里要注意图层的透明度必须是100%的,这样网点的点才是纯黑色的。)
上一页12 下一页 阅读全文
下一篇:photoshop鼠绘传说中的美丽狐仙