photoshop鼠绘精细的玩雪人的儿童插画
(编辑:jimmy 日期: 2026/7/23 浏览:3 次 )
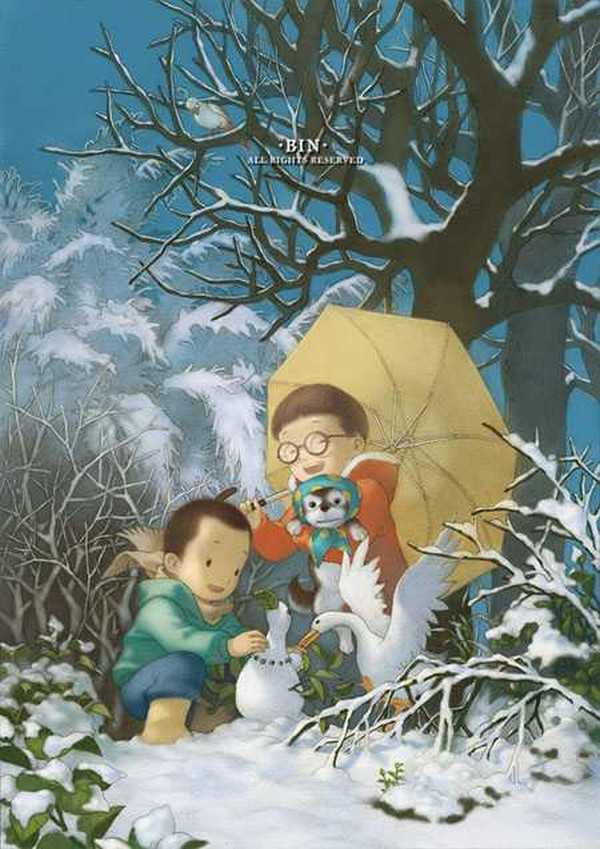
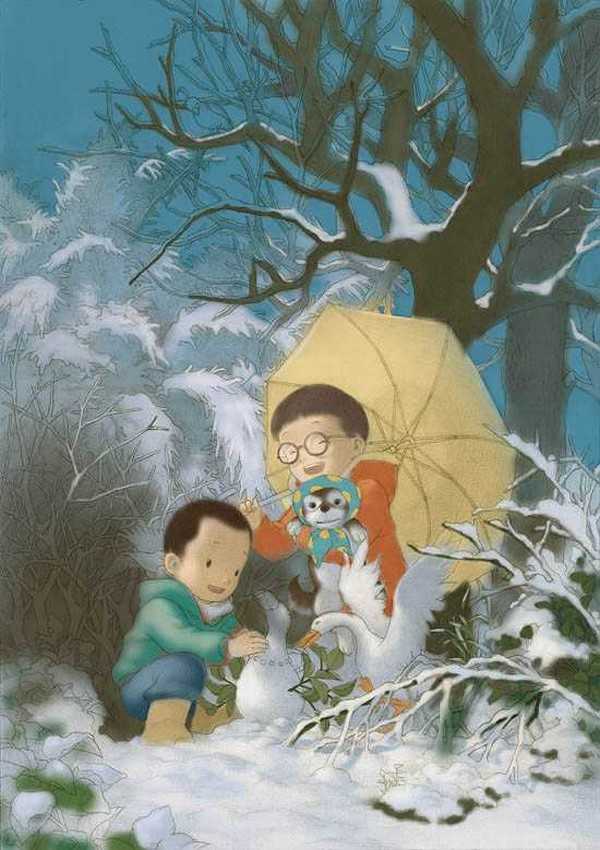
最终效果
1、画草稿吧,前期设定和脑子里的想法神马的最重要了,好比房子打地基,后面的事情就是按部就班。
2、给草稿定个黑白调子,可以跳过的一步,让思维更清晰明确些而已。
3、开始画正稿了,定个大致的位置吧。我个人习惯在比A4略大的素描纸上画,太小不容易画细节,太大不容易控制整体。
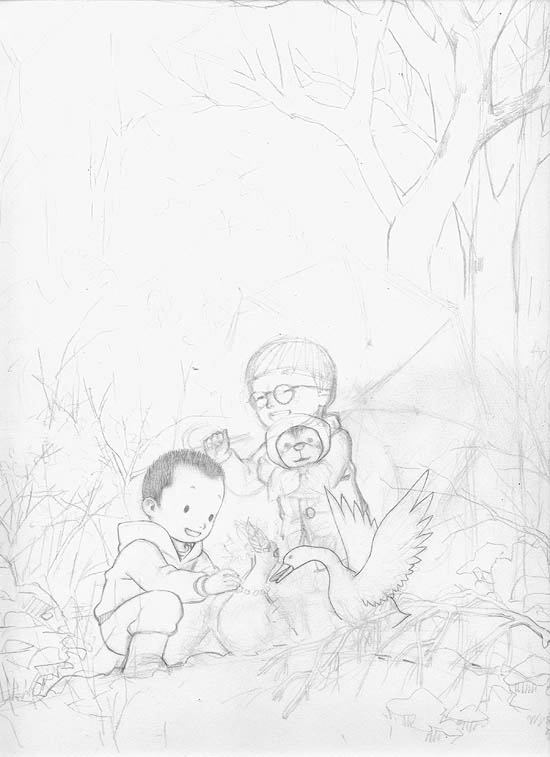
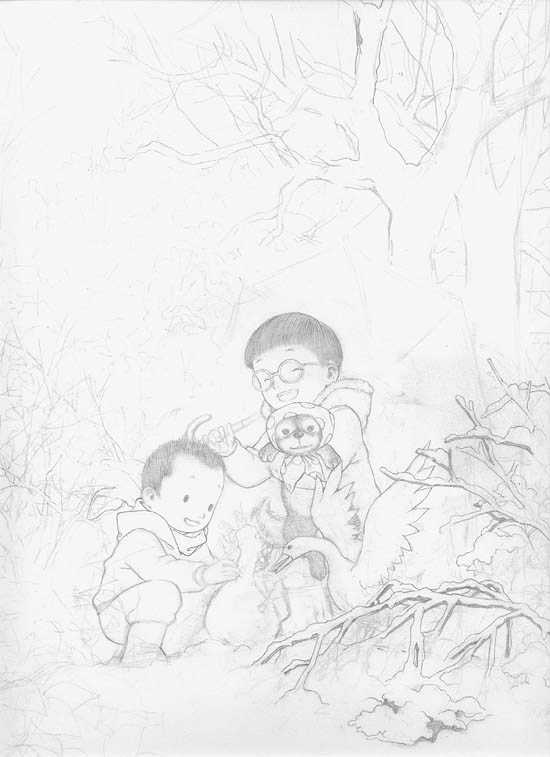
4、描出主体人物来。
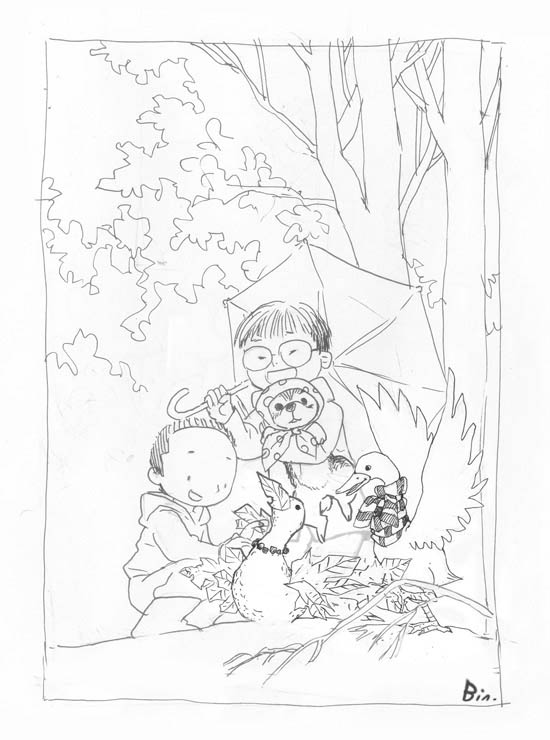
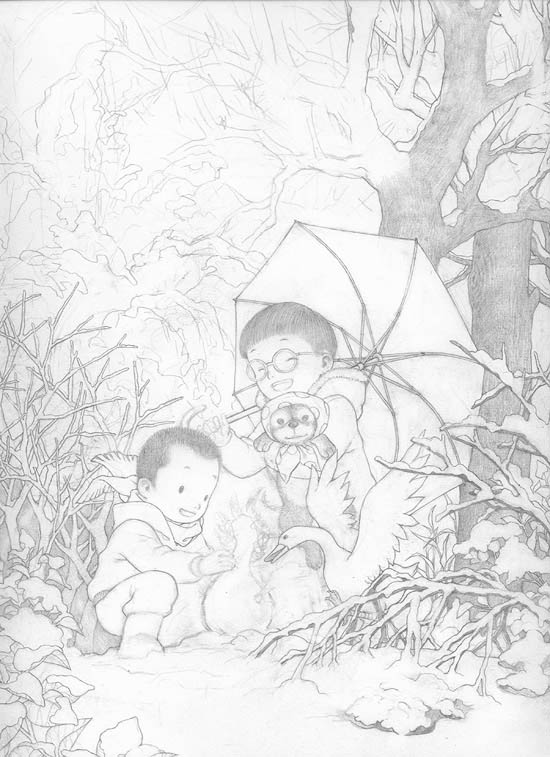
5、开始画场景……丫丫杈杈的……其实比较不好画的是伞,我还撑开伞参考了一下。
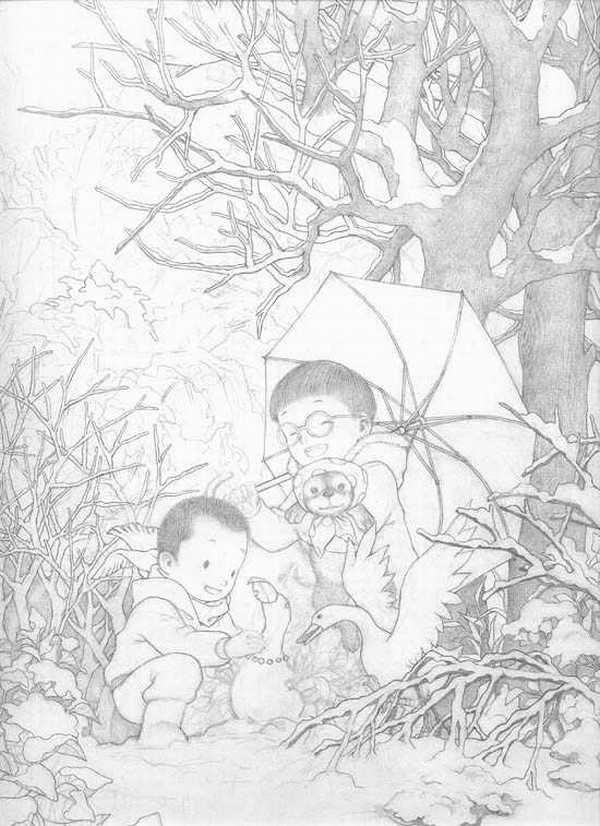
6、头顶的树画得眼晕,中途多次开了小差。
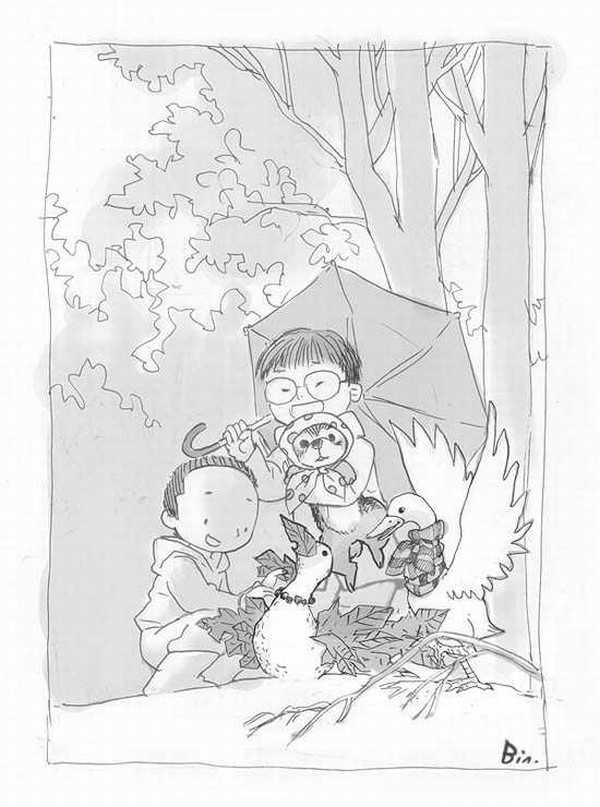
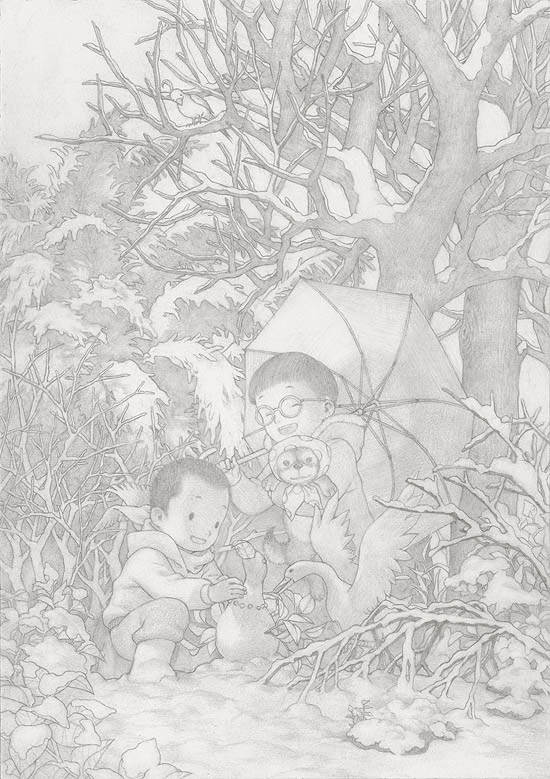
7、线稿成型后铺上大致的调子,终于,铅笔稿完成了!
8、照例把铅笔稿子扫进电脑里,开始用photoshop上色。新建一个图层正片叠底,先铺个大色感,再从整体到部分开始细化,继续漫长的过程…… (我上色只用两个图层,一层线稿一层色稿)
9、把细节都完善出来吧……其实还可以更细的,但无奈交稿时间有限,咬咬牙就这样吧,完成最终效果!

1、画草稿吧,前期设定和脑子里的想法神马的最重要了,好比房子打地基,后面的事情就是按部就班。
2、给草稿定个黑白调子,可以跳过的一步,让思维更清晰明确些而已。
3、开始画正稿了,定个大致的位置吧。我个人习惯在比A4略大的素描纸上画,太小不容易画细节,太大不容易控制整体。
4、描出主体人物来。
5、开始画场景……丫丫杈杈的……其实比较不好画的是伞,我还撑开伞参考了一下。
6、头顶的树画得眼晕,中途多次开了小差。
7、线稿成型后铺上大致的调子,终于,铅笔稿完成了!
8、照例把铅笔稿子扫进电脑里,开始用photoshop上色。新建一个图层正片叠底,先铺个大色感,再从整体到部分开始细化,继续漫长的过程…… (我上色只用两个图层,一层线稿一层色稿)
9、把细节都完善出来吧……其实还可以更细的,但无奈交稿时间有限,咬咬牙就这样吧,完成最终效果!
下一篇:photoshop鼠绘可爱的卡通小鼬鼠