photoshop 鼠绘美女头像
(编辑:jimmy 日期: 2026/7/24 浏览:3 次 )
来源:网络 作者:不详
本教程的鼠绘过程有点简单,作者只说出了大致的鼠绘过程。很多细节部分没有详细说明。大家可以根据作者的提示以及效果图去慢慢绘制。
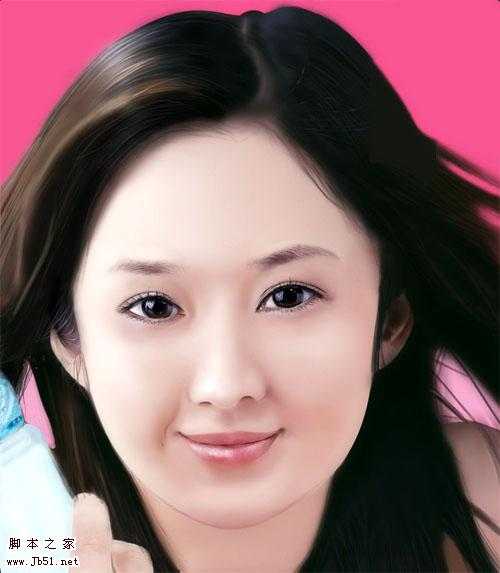
最终效果
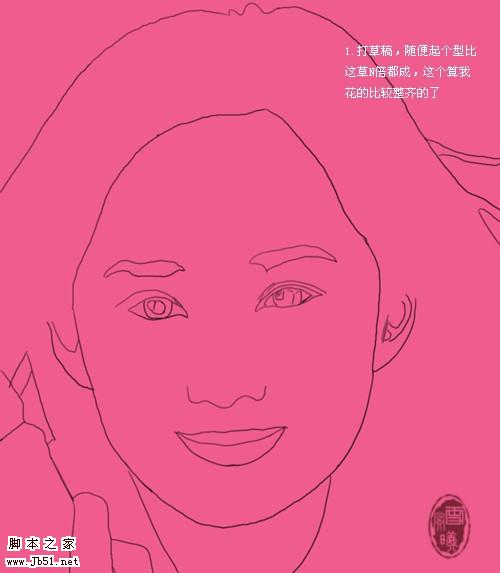
1、新建一个大小适当的文档,背景填充紫色,新建一个图层开始勾轮廓线。
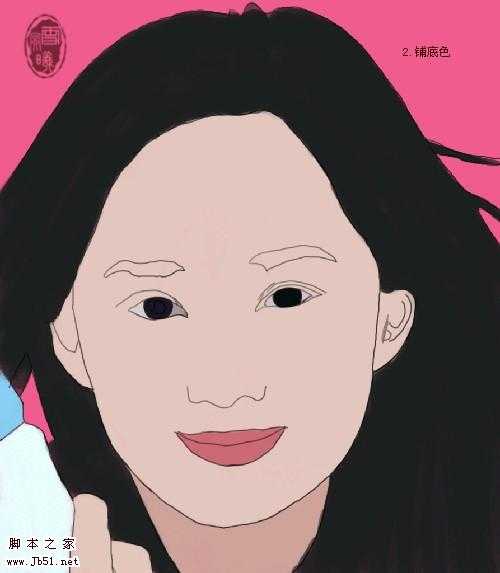
 2、开始铺底色,每一个色块都需要新建一个图层。
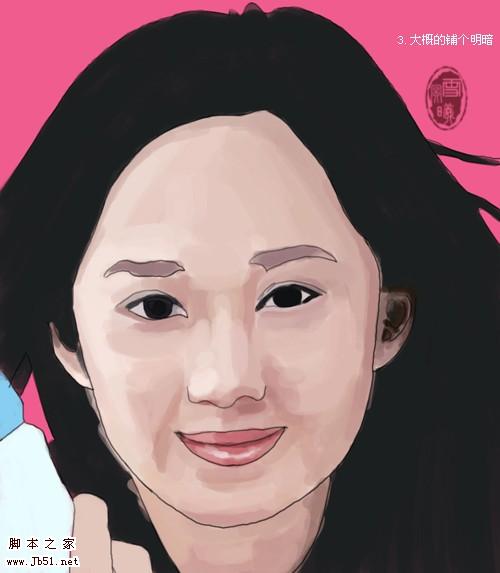
3、大概的铺个明暗。
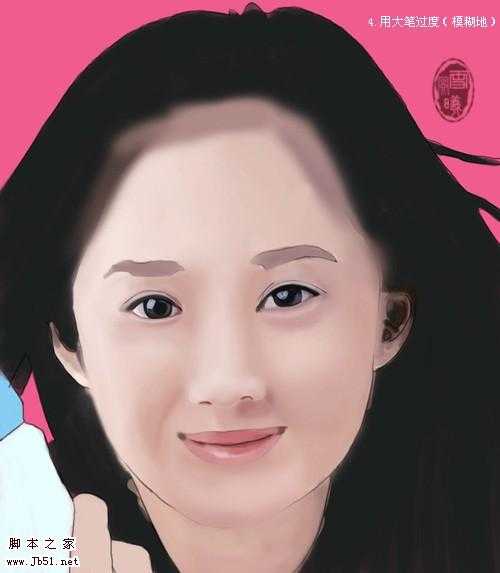
4、用大笔过度。
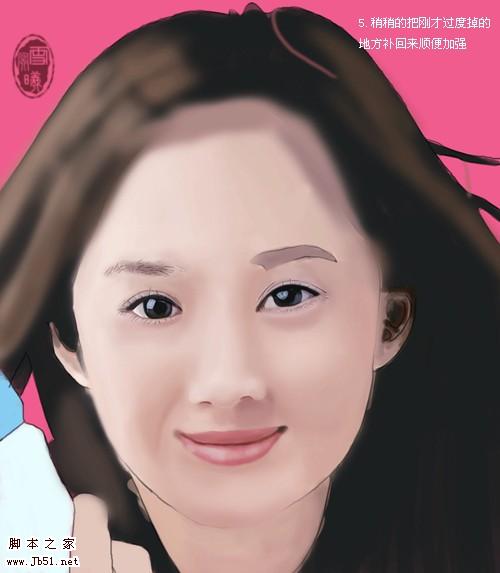
 5、稍微把刚才过度掉的地方补回来,顺便加强。
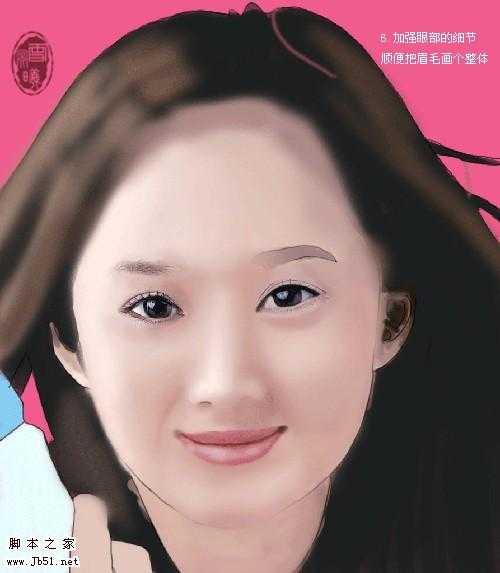
6、加强眼部的细节,顺便把眉毛画个整体。
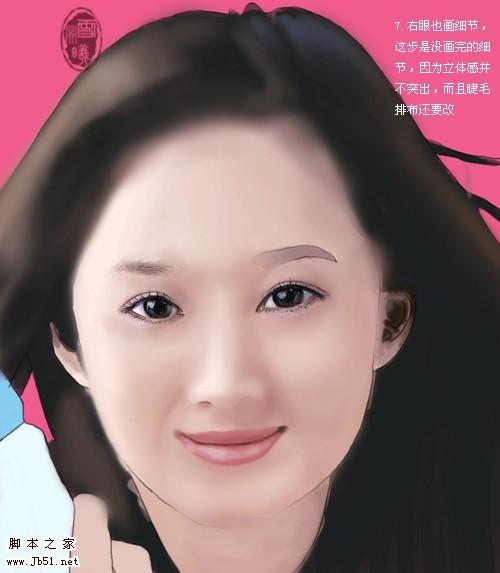
7、右眼也画细节,这步是没画完的细节,因为立体感并不突出,而且睫毛排布还要改。
 8、把刚才的缺陷补足,此时顺便把左眉画好,右眉打好型,方法一样都是先铺底色再换小笔细化。
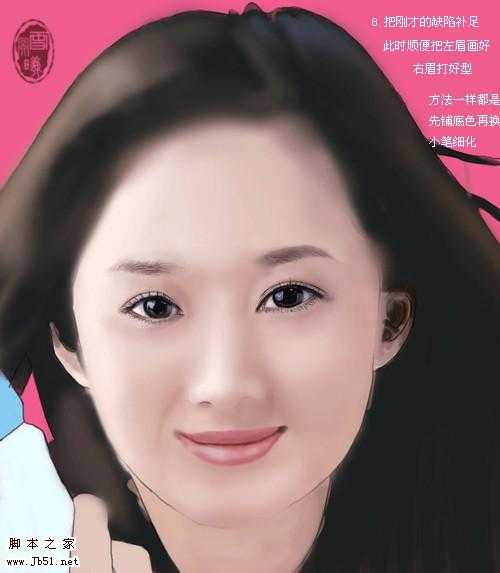
9、加强右眉。
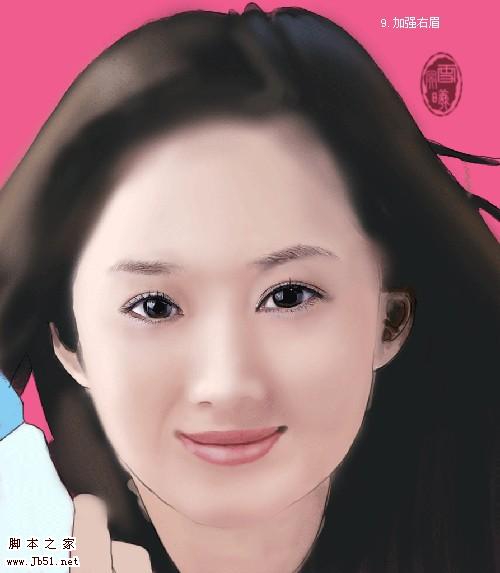
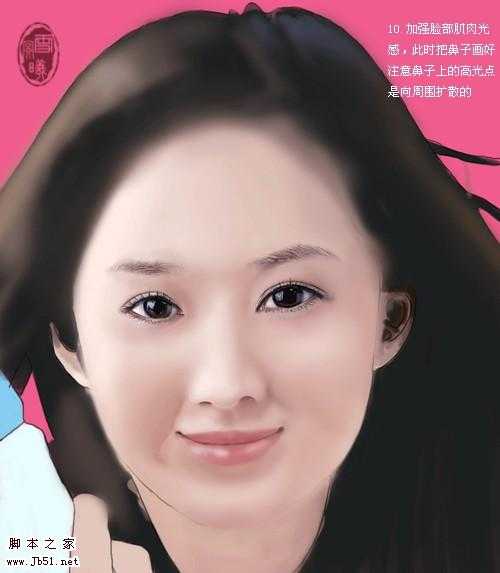
10、加强脸部肌肉光感,此时把鼻子画好,注意鼻子上的高光点是向周围扩散的。
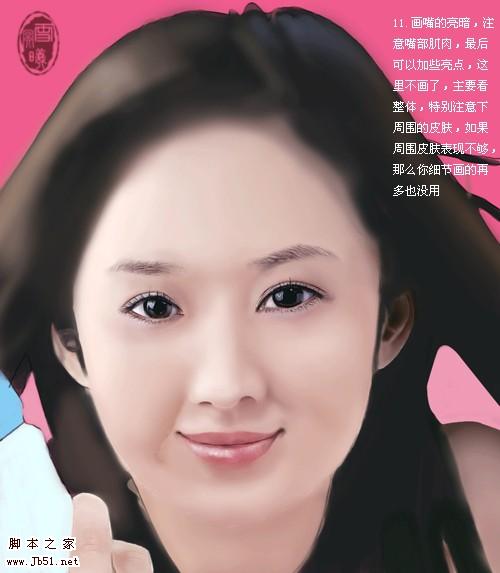
 11、画嘴的亮暗,注意嘴部肌肉,最后可以加些亮点,这里不画了,主要看整体,特别注意下周围的皮肤,如果周围皮肤变现不够,那么你细节画的再多也没用。
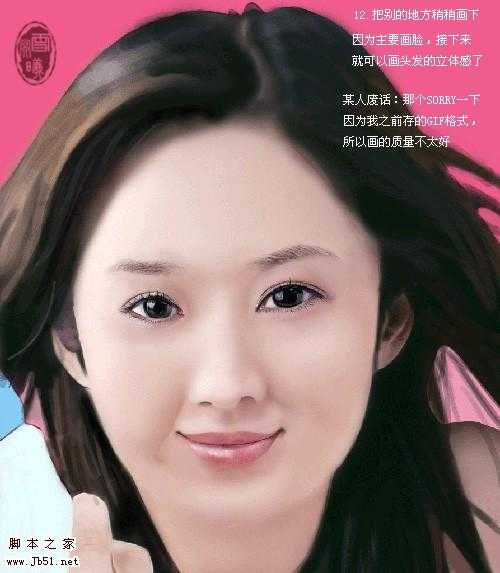
12、把别的地方稍微画下,因为主要画脸,接下来就可以画头发的立体感了。
13、把人物手里的瓶子大概画出明暗,不用很细。
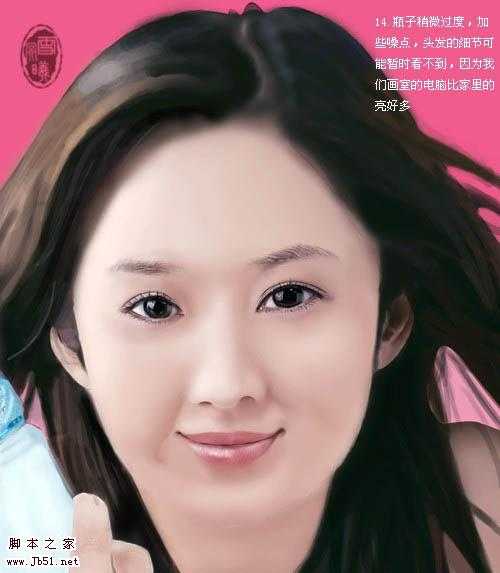
 14、瓶子稍微过度,加些噪点,头发的细节可能暂时看不到。
15、最后再象征性的画头发就可以了。

本教程的鼠绘过程有点简单,作者只说出了大致的鼠绘过程。很多细节部分没有详细说明。大家可以根据作者的提示以及效果图去慢慢绘制。
最终效果
1、新建一个大小适当的文档,背景填充紫色,新建一个图层开始勾轮廓线。
2、开始铺底色,每一个色块都需要新建一个图层。 3、大概的铺个明暗。
4、用大笔过度。
5、稍微把刚才过度掉的地方补回来,顺便加强。 6、加强眼部的细节,顺便把眉毛画个整体。
7、右眼也画细节,这步是没画完的细节,因为立体感并不突出,而且睫毛排布还要改。
8、把刚才的缺陷补足,此时顺便把左眉画好,右眉打好型,方法一样都是先铺底色再换小笔细化。 9、加强右眉。
10、加强脸部肌肉光感,此时把鼻子画好,注意鼻子上的高光点是向周围扩散的。
11、画嘴的亮暗,注意嘴部肌肉,最后可以加些亮点,这里不画了,主要看整体,特别注意下周围的皮肤,如果周围皮肤变现不够,那么你细节画的再多也没用。 12、把别的地方稍微画下,因为主要画脸,接下来就可以画头发的立体感了。
13、把人物手里的瓶子大概画出明暗,不用很细。
14、瓶子稍微过度,加些噪点,头发的细节可能暂时看不到。 15、最后再象征性的画头发就可以了。
下一篇:photoshop 鼠绘个性美女头像