Photoshop合成制作烈焰中燃烧的火玫瑰效果
(编辑:jimmy 日期: 2026/7/8 浏览:3 次 )
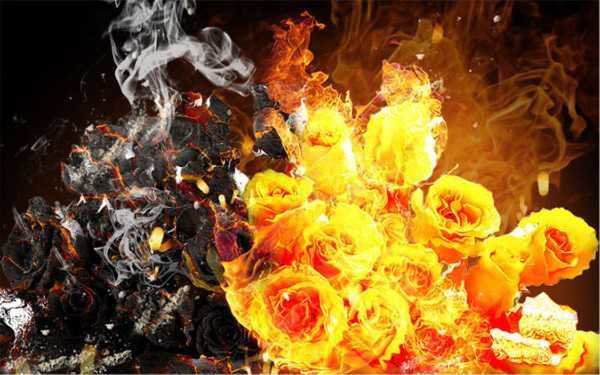
火焰玫瑰跟火焰字等的制作方法类似,过程:把主体抠出来,并把颜色调成橙黄色,高光部分需要单独加强;然后用火焰及烟雾素材叠加到玫瑰上面增加火焰效果;局部燃烧完成的部分还需要简单细化处理。
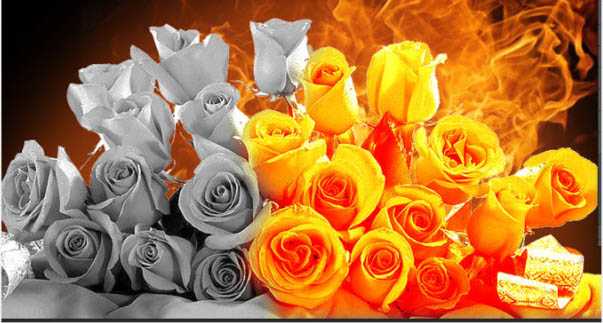
最终效果
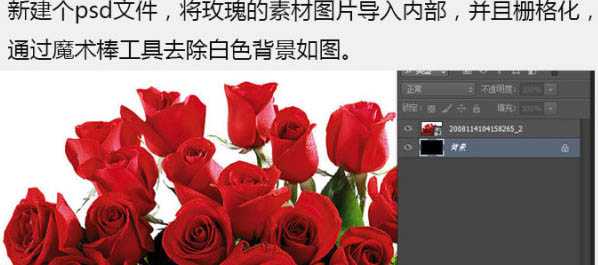
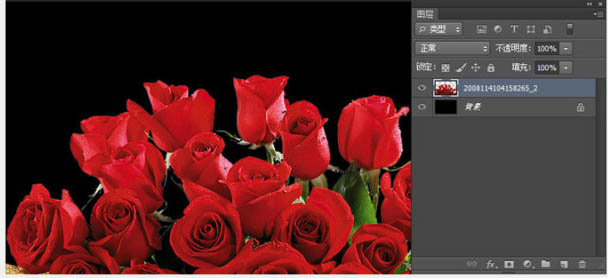
1、新建个PSD文件,将玫瑰的素材图片导入内部,并且栅格化,通过魔术棒工具去除白色背景如图。

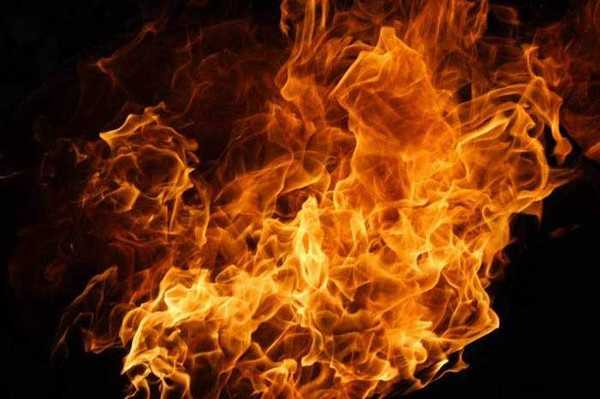
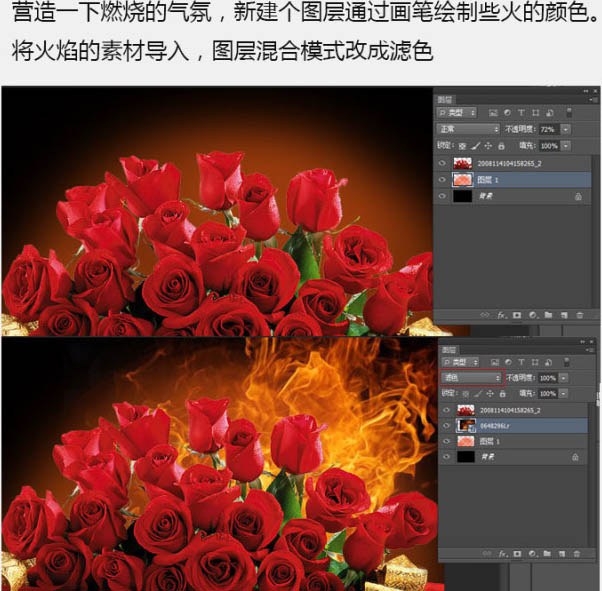
2、营造一下燃烧的气氛,新建个图层通过画笔绘制些火的颜色,将火焰的素材导入,图层混合模式改成滤色。
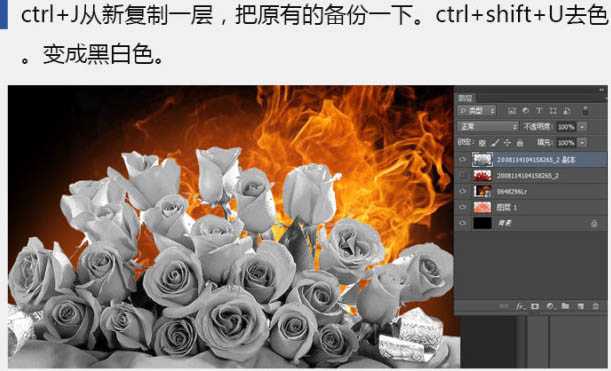
3、Ctrl + J 重新复制一层,把原有的备份一下。Ctrl + Shift + U 去色,变成黑白色。
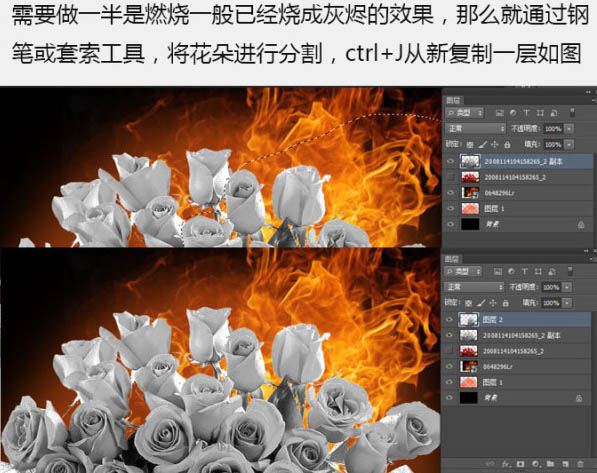
4、需要做一半是燃烧一半已经烧成灰烬的效果,那么就通过钢笔或套索工具,将花朵进行分割,Ctrl + J 重新复制一层如图。
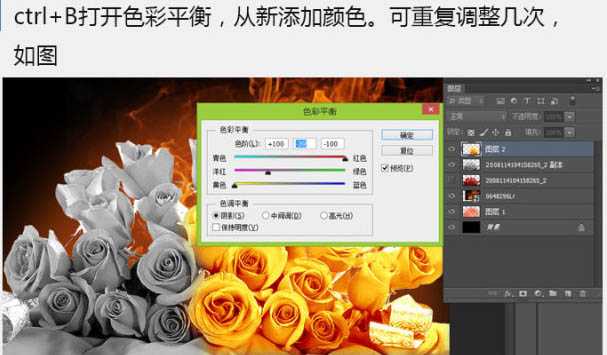
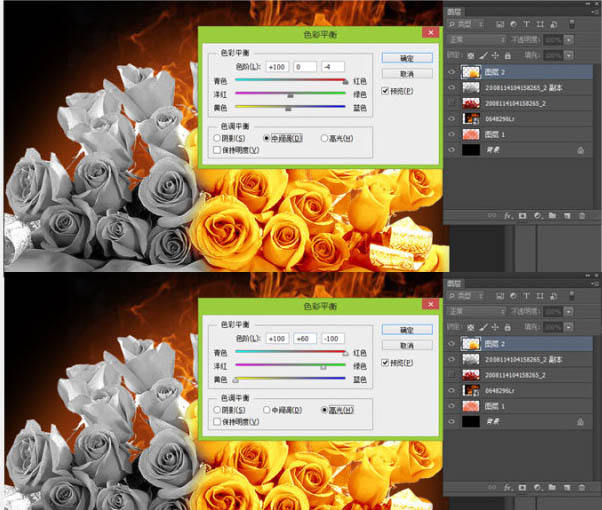
5、Ctrl + B 打开色彩平衡,重新添加颜色。可重复调整几次,如下图。
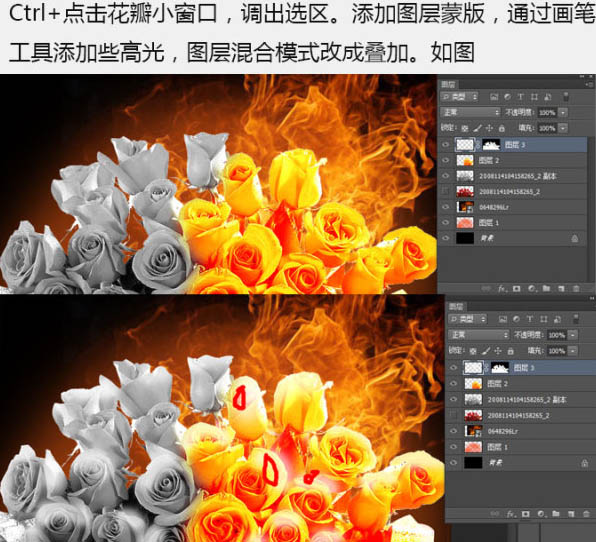
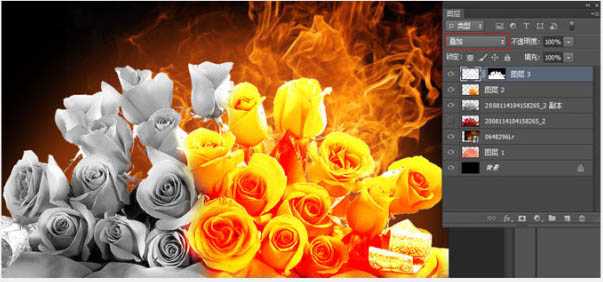
6、Ctrl + 点击花瓣小窗口,跳出选区,添加图层蒙版,通过画笔工具添加些高光,图层混合模式改成叠加。如图。
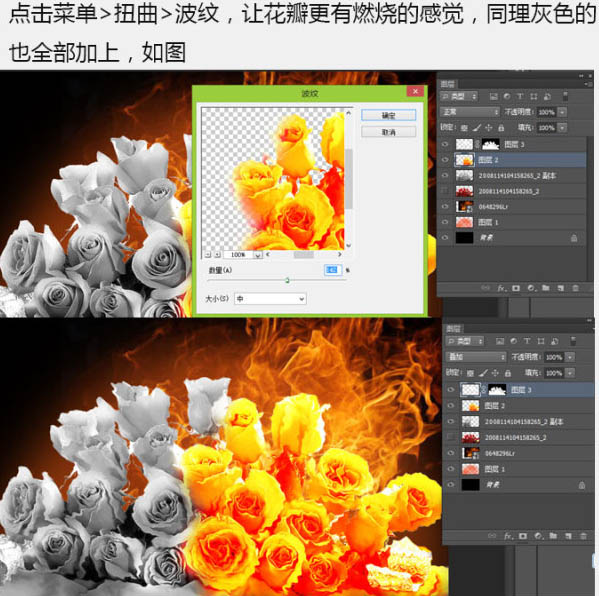
7、点击菜单 > 扭曲 > 波纹,让花瓣更有燃烧的感觉,同理灰色的也全部加上,如图。
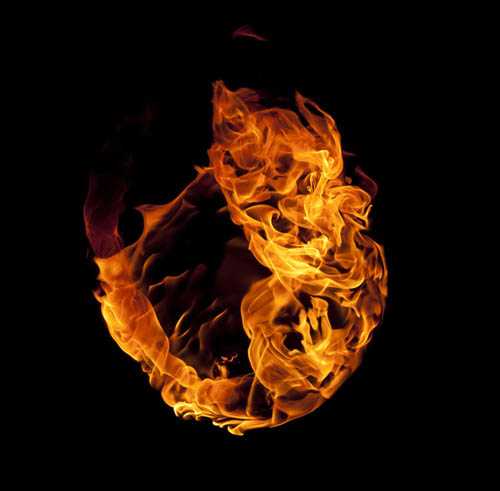
8、导入火焰素材,图层混合模式改为“滤色”,再导入不同的火焰素材,复制些进行摆放,如图。
上一页12 下一页 阅读全文
最终效果
1、新建个PSD文件,将玫瑰的素材图片导入内部,并且栅格化,通过魔术棒工具去除白色背景如图。
2、营造一下燃烧的气氛,新建个图层通过画笔绘制些火的颜色,将火焰的素材导入,图层混合模式改成滤色。
3、Ctrl + J 重新复制一层,把原有的备份一下。Ctrl + Shift + U 去色,变成黑白色。
4、需要做一半是燃烧一半已经烧成灰烬的效果,那么就通过钢笔或套索工具,将花朵进行分割,Ctrl + J 重新复制一层如图。
5、Ctrl + B 打开色彩平衡,重新添加颜色。可重复调整几次,如下图。
6、Ctrl + 点击花瓣小窗口,跳出选区,添加图层蒙版,通过画笔工具添加些高光,图层混合模式改成叠加。如图。
7、点击菜单 > 扭曲 > 波纹,让花瓣更有燃烧的感觉,同理灰色的也全部加上,如图。
8、导入火焰素材,图层混合模式改为“滤色”,再导入不同的火焰素材,复制些进行摆放,如图。
上一页12 下一页 阅读全文
下一篇:PS合成超酷黑暗刺客壁纸