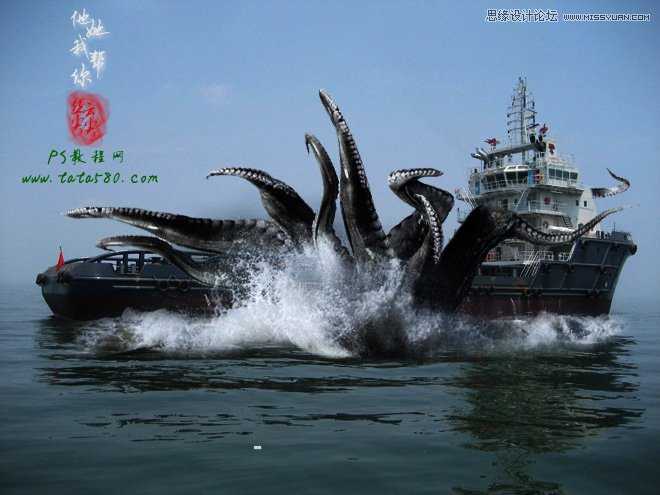
Photoshop合成史前大章鱼袭击轮船效果
(编辑:jimmy 日期: 2026/7/20 浏览:3 次 )
很多的电影海报其实都是通过后期合成制作,当然内容一般都是从电影中截取,不过有时我们也可以利用一些简单的图片来合成具有相当视觉冲击的效果图,今天通过一个PS视觉特技教程“史前大章鱼”来讲述一下制作过程,图像合成重在逼真,所以对细节处理要求较高,有兴趣的朋友可以一试。
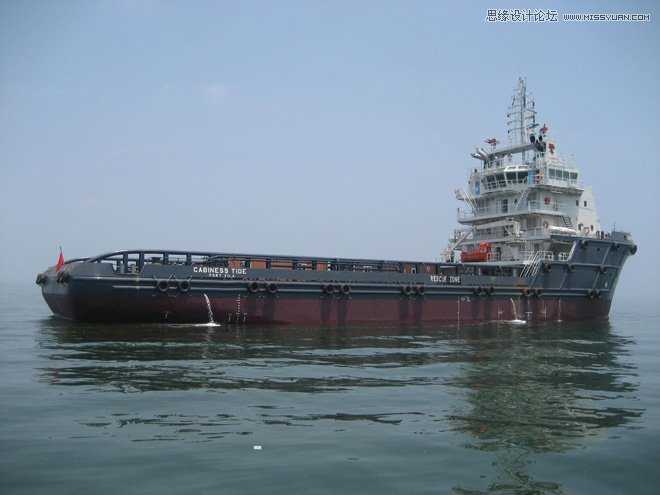
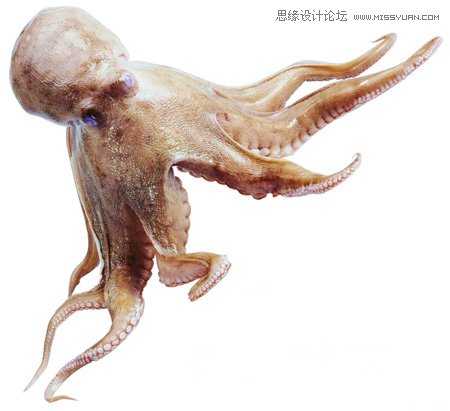
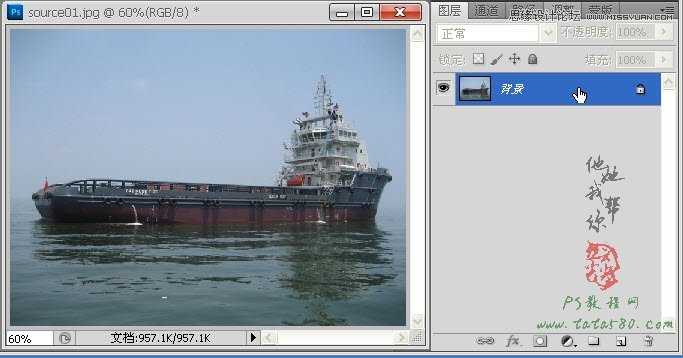
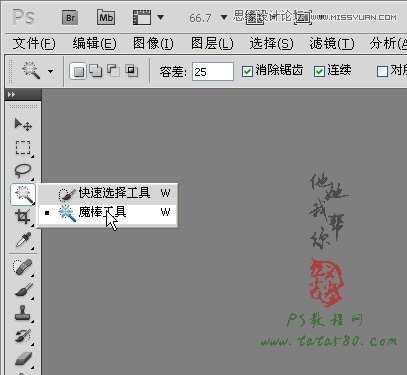
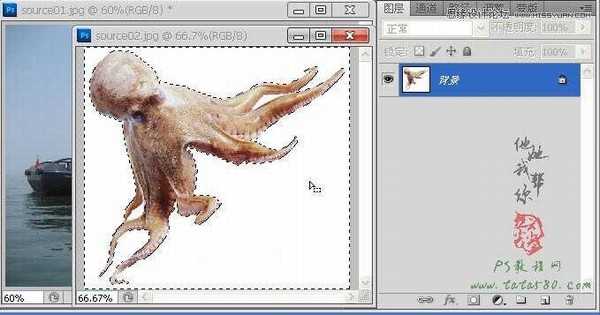
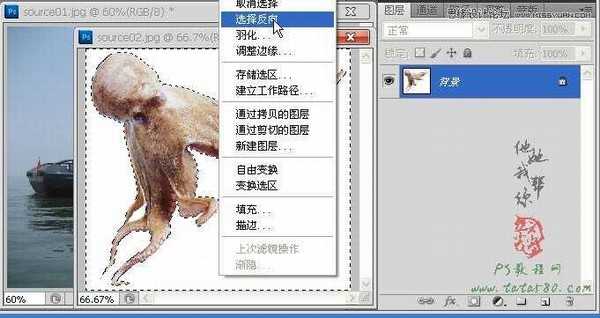
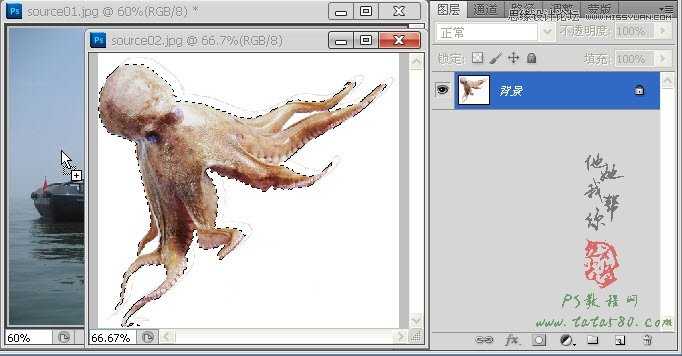
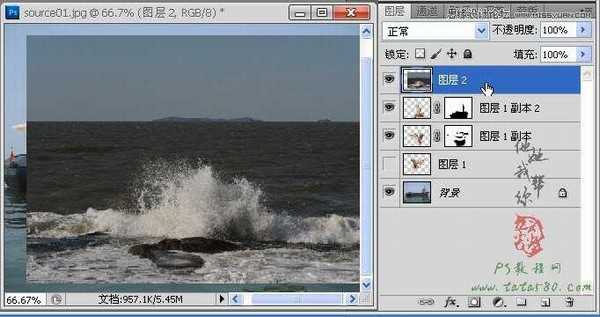
1、在photoshop cs5中打开原图一(本教程利用photoshop CS5制作,其它版本通用),如下图所示: 2、通过文件-打开再打开原图二,如下图所示: 3、单击选择常用工具栏中的魔棒工具,将容差设置为25,如下图所示: 4、
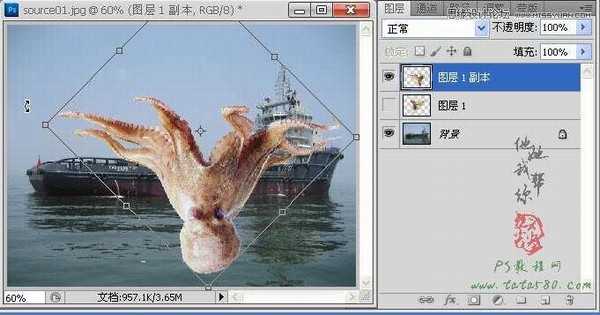
1、在photoshop cs5中打开原图一(本教程利用photoshop CS5制作,其它版本通用),如下图所示:


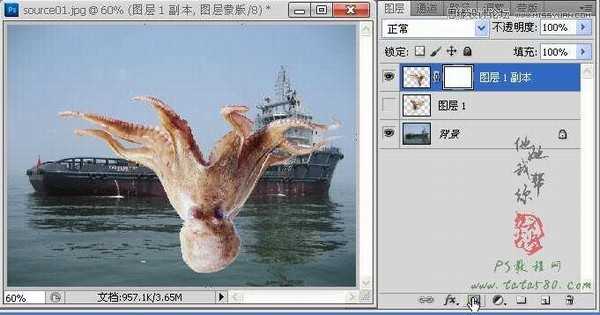
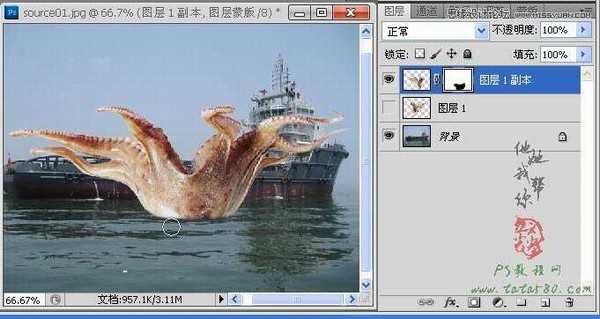
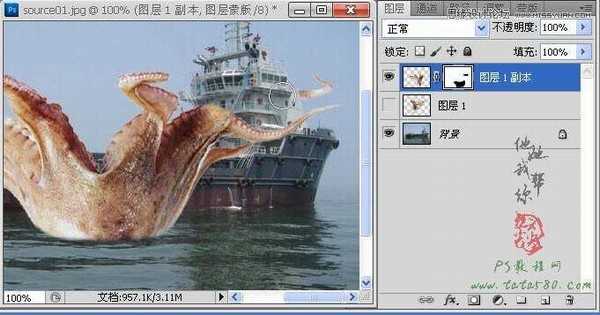
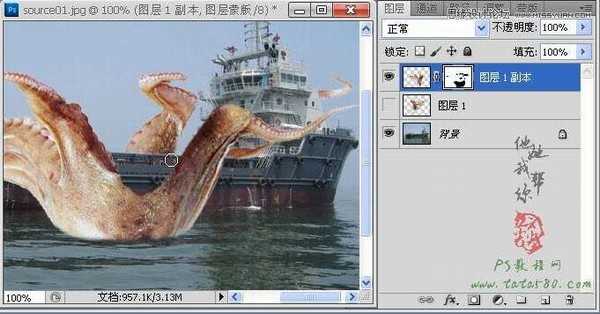
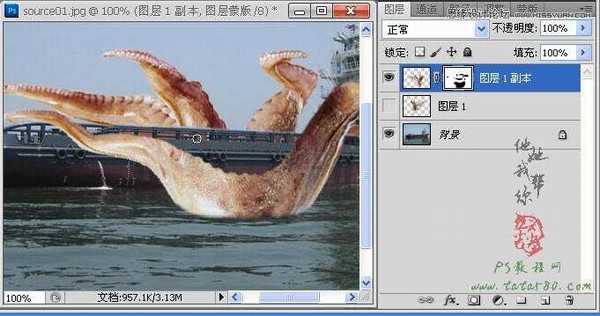
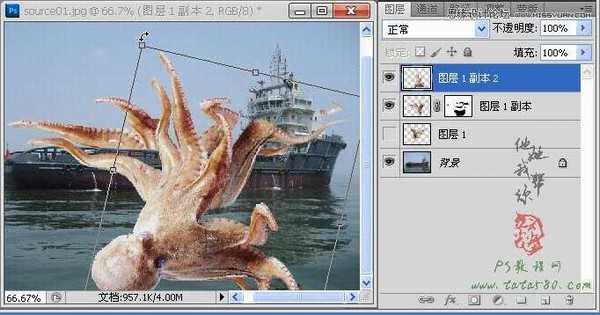
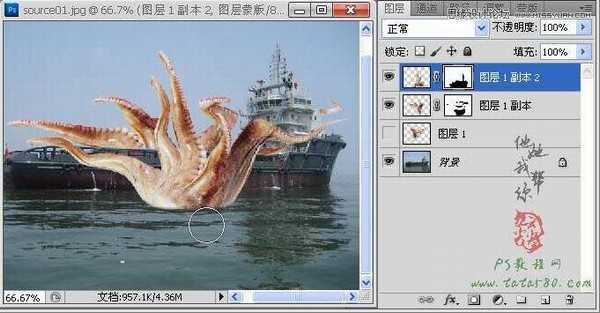
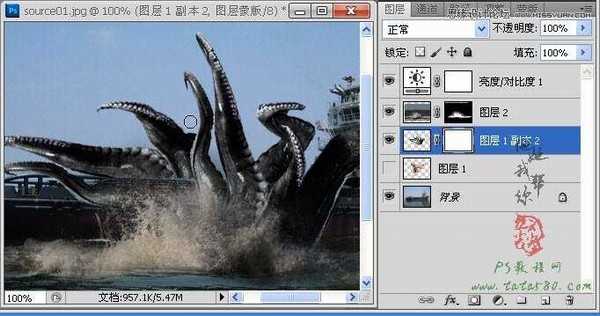
9、单击图层面板下方的“添加图层蒙版”按钮,给“图层1 副本”添加图层蒙版,如下图所示:
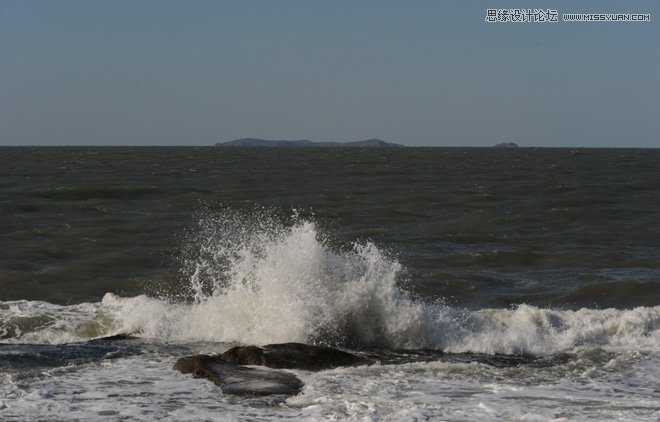
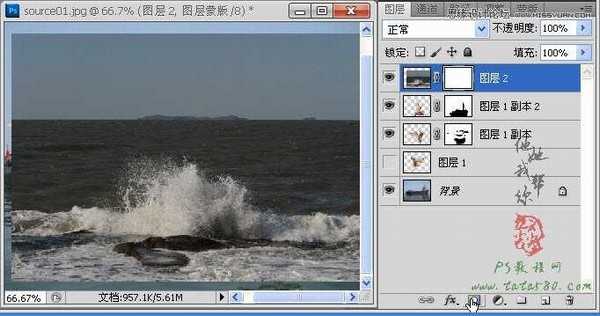
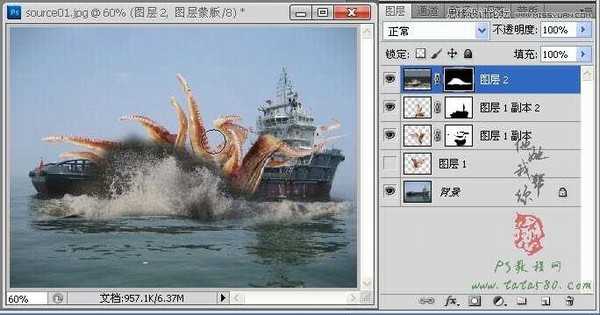
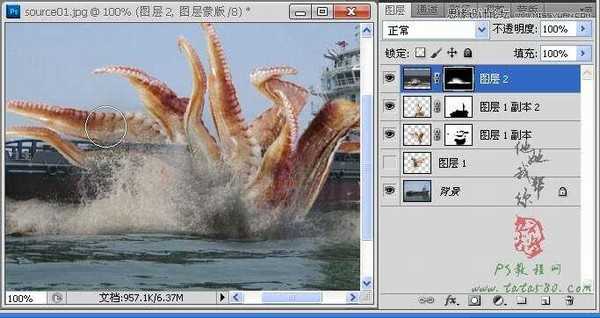
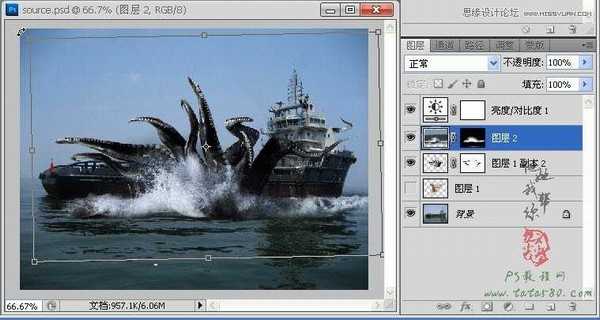
17、给图层2添加图层蒙版,如下图所示: 18、利用黑色的画笔工具在图层2的图层蒙版上进行擦除操作,将除浪花外的其它区域擦除掉,效果如下图所示: 19、对于浪花的边缘部分要小心处理,不能直接用画笔擦除,应该把
17、给图层2添加图层蒙版,如下图所示:
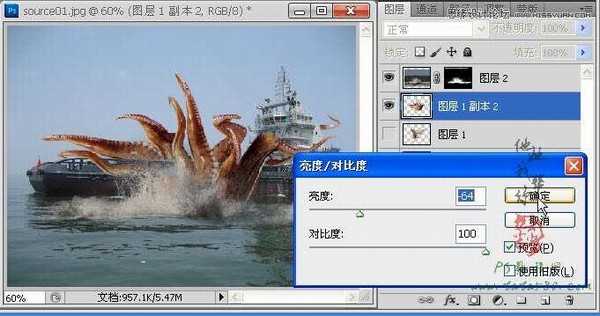
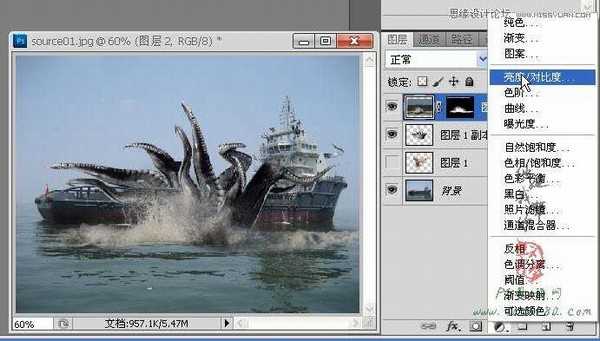
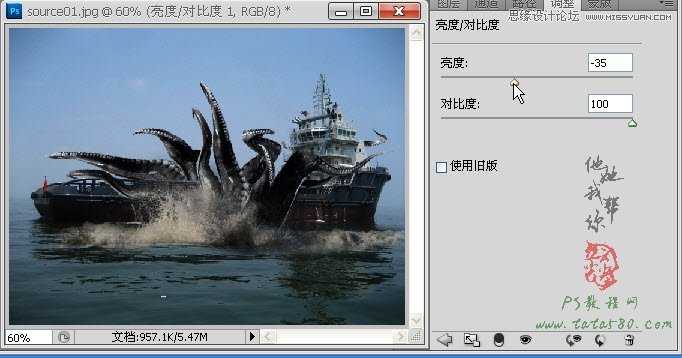
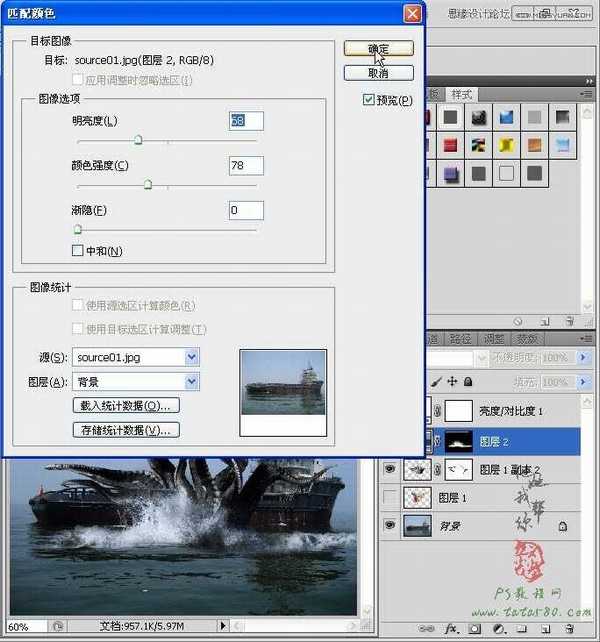
25、接下来对整体图像的颜色进行适当调整,单击图层面板下方的“创建新的填充和调整图层”按钮,选择“亮度/对比度”
1、在photoshop cs5中打开原图一(本教程利用photoshop CS5制作,其它版本通用),如下图所示: 2、通过文件-打开再打开原图二,如下图所示: 3、单击选择常用工具栏中的魔棒工具,将容差设置为25,如下图所示: 4、
1、在photoshop cs5中打开原图一(本教程利用photoshop CS5制作,其它版本通用),如下图所示:
9、单击图层面板下方的“添加图层蒙版”按钮,给“图层1 副本”添加图层蒙版,如下图所示:
17、给图层2添加图层蒙版,如下图所示: 18、利用黑色的画笔工具在图层2的图层蒙版上进行擦除操作,将除浪花外的其它区域擦除掉,效果如下图所示: 19、对于浪花的边缘部分要小心处理,不能直接用画笔擦除,应该把
17、给图层2添加图层蒙版,如下图所示:
25、接下来对整体图像的颜色进行适当调整,单击图层面板下方的“创建新的填充和调整图层”按钮,选择“亮度/对比度”
下一篇:Photoshop快速将风景图片合成超现实主义的仙境场景